Tips & Tricks
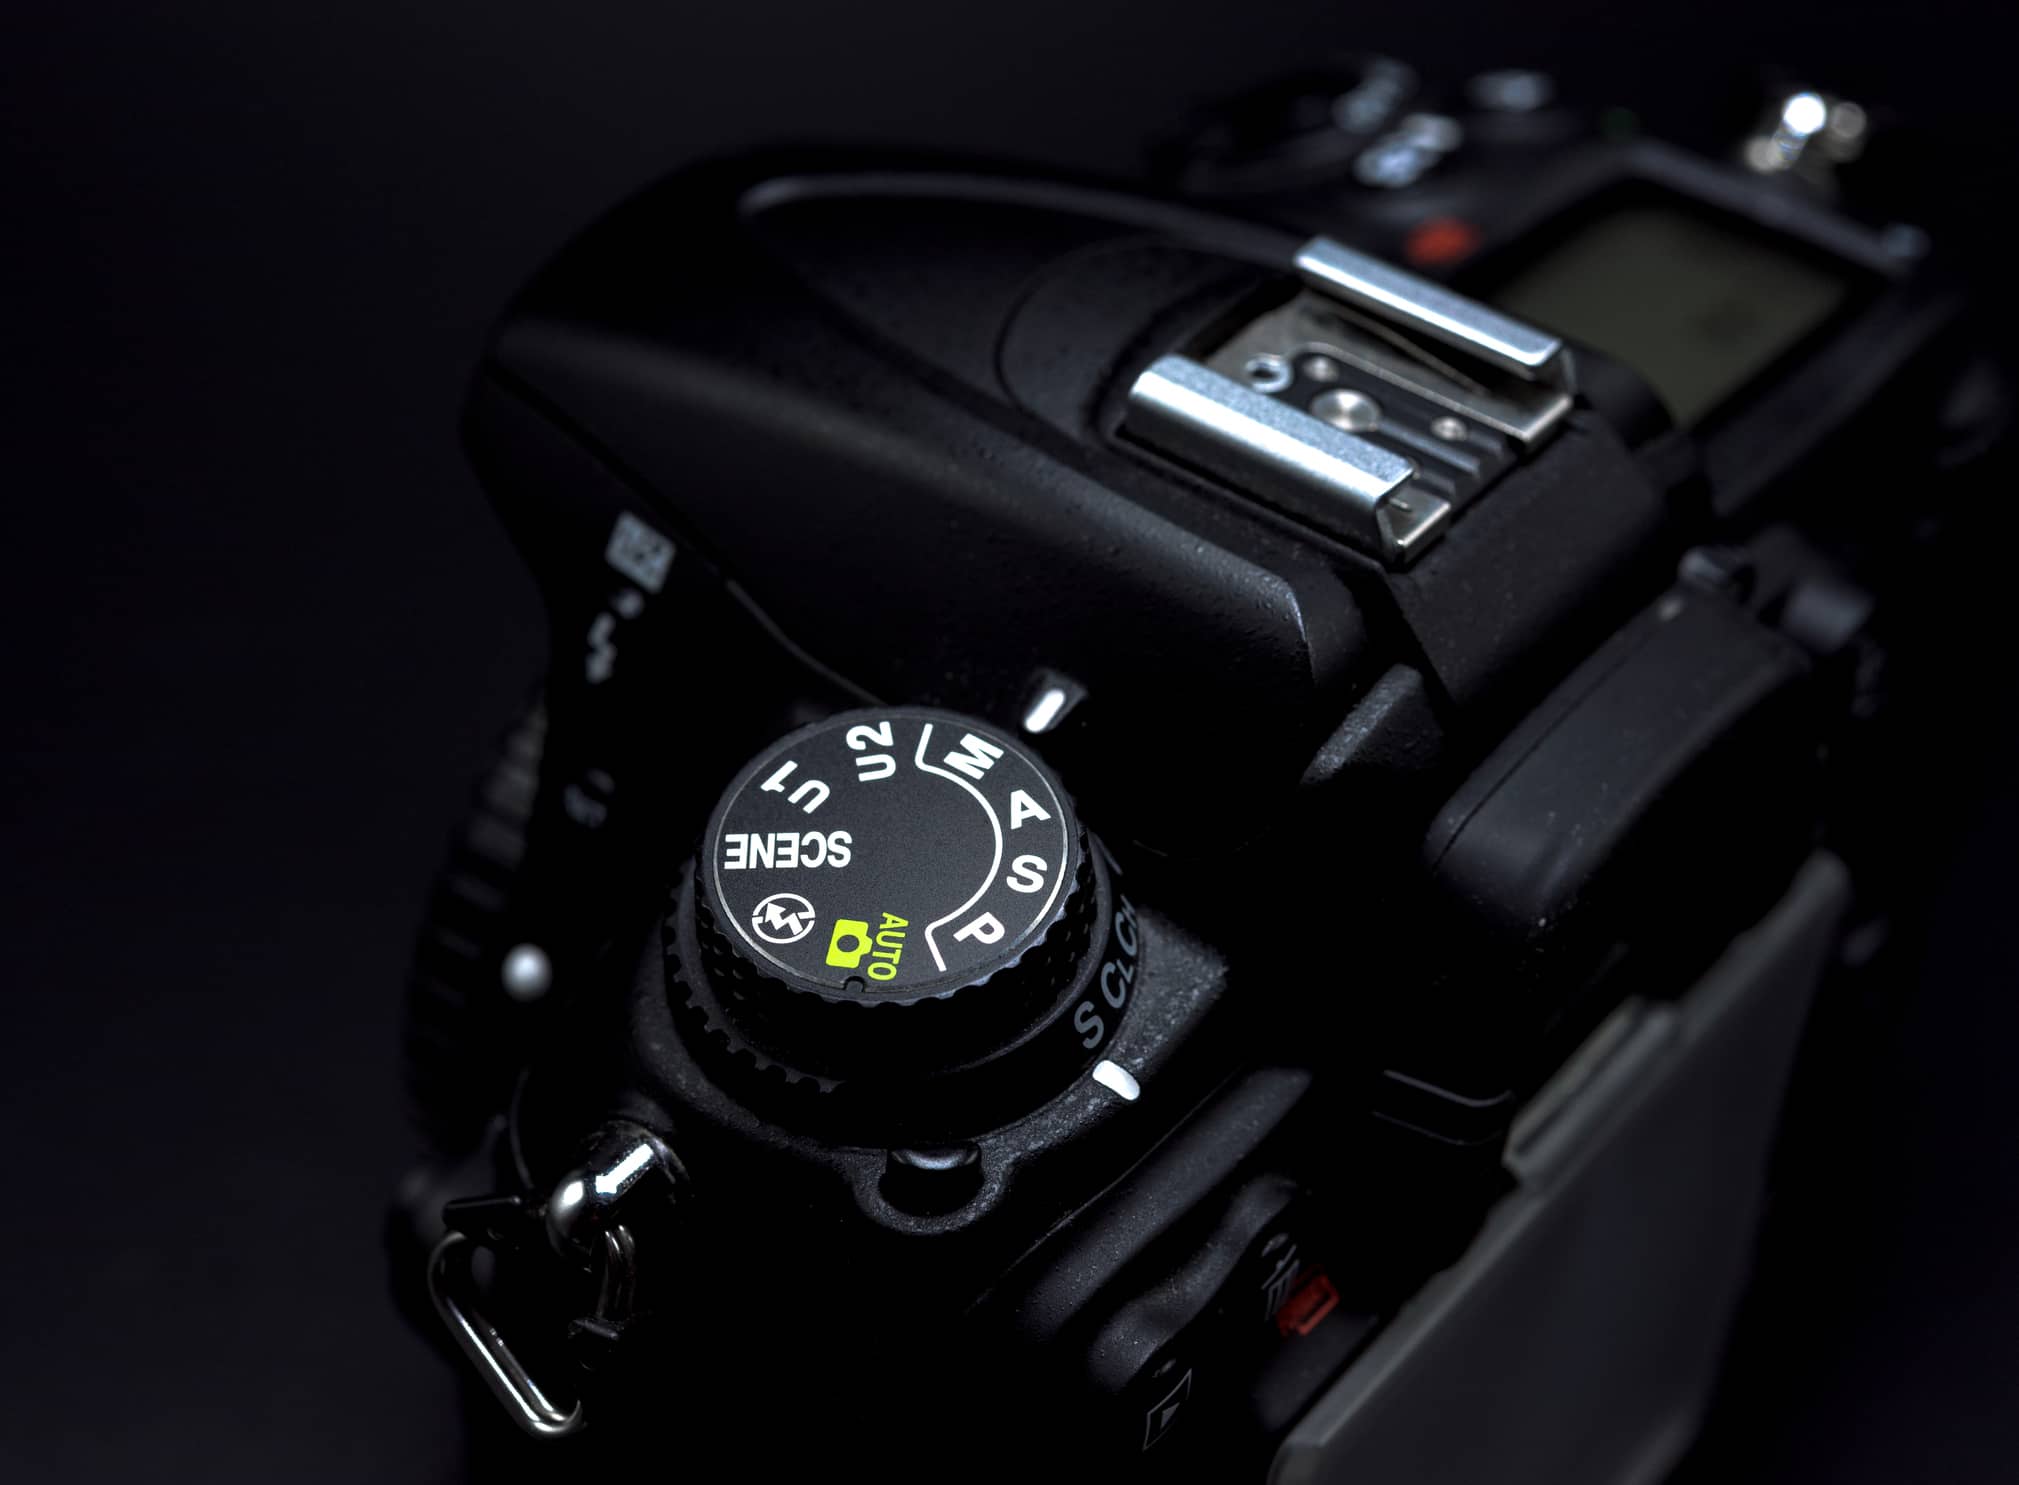
Understanding Manual Mode of a DSLR Camera
Photography Talk
One of the scariest things for every new photographer is the moment when you pick up your new DSLR camera and turn it to manual mode.
It is safe to say that all of us tried to take our first manual pictures just to be rewarded by an extreme over or underexposure. It takes some time before you slowly start figuring out what each setting does and how everything works together. But eventually, you simply give up on self-teaching and begin looking for a guide. After all, this will make things much easier, right?
Not quite.
As soon as you take your first look, you are faced with tons of new jargon - things like aperture, shutter speed, ISO, depth of field, and so on. Again you are left overwhelmed and even more confused than before. But don’t panic yet, as you have finally come to the right place!
We've taken the complicated manual mode of DSLRs and broken it down into a couple of sections, each with a short introduction and explanation. This will by no means make you an expert photographer, but at least it will give you a general understanding of what manual mode settings are for and how to use them.
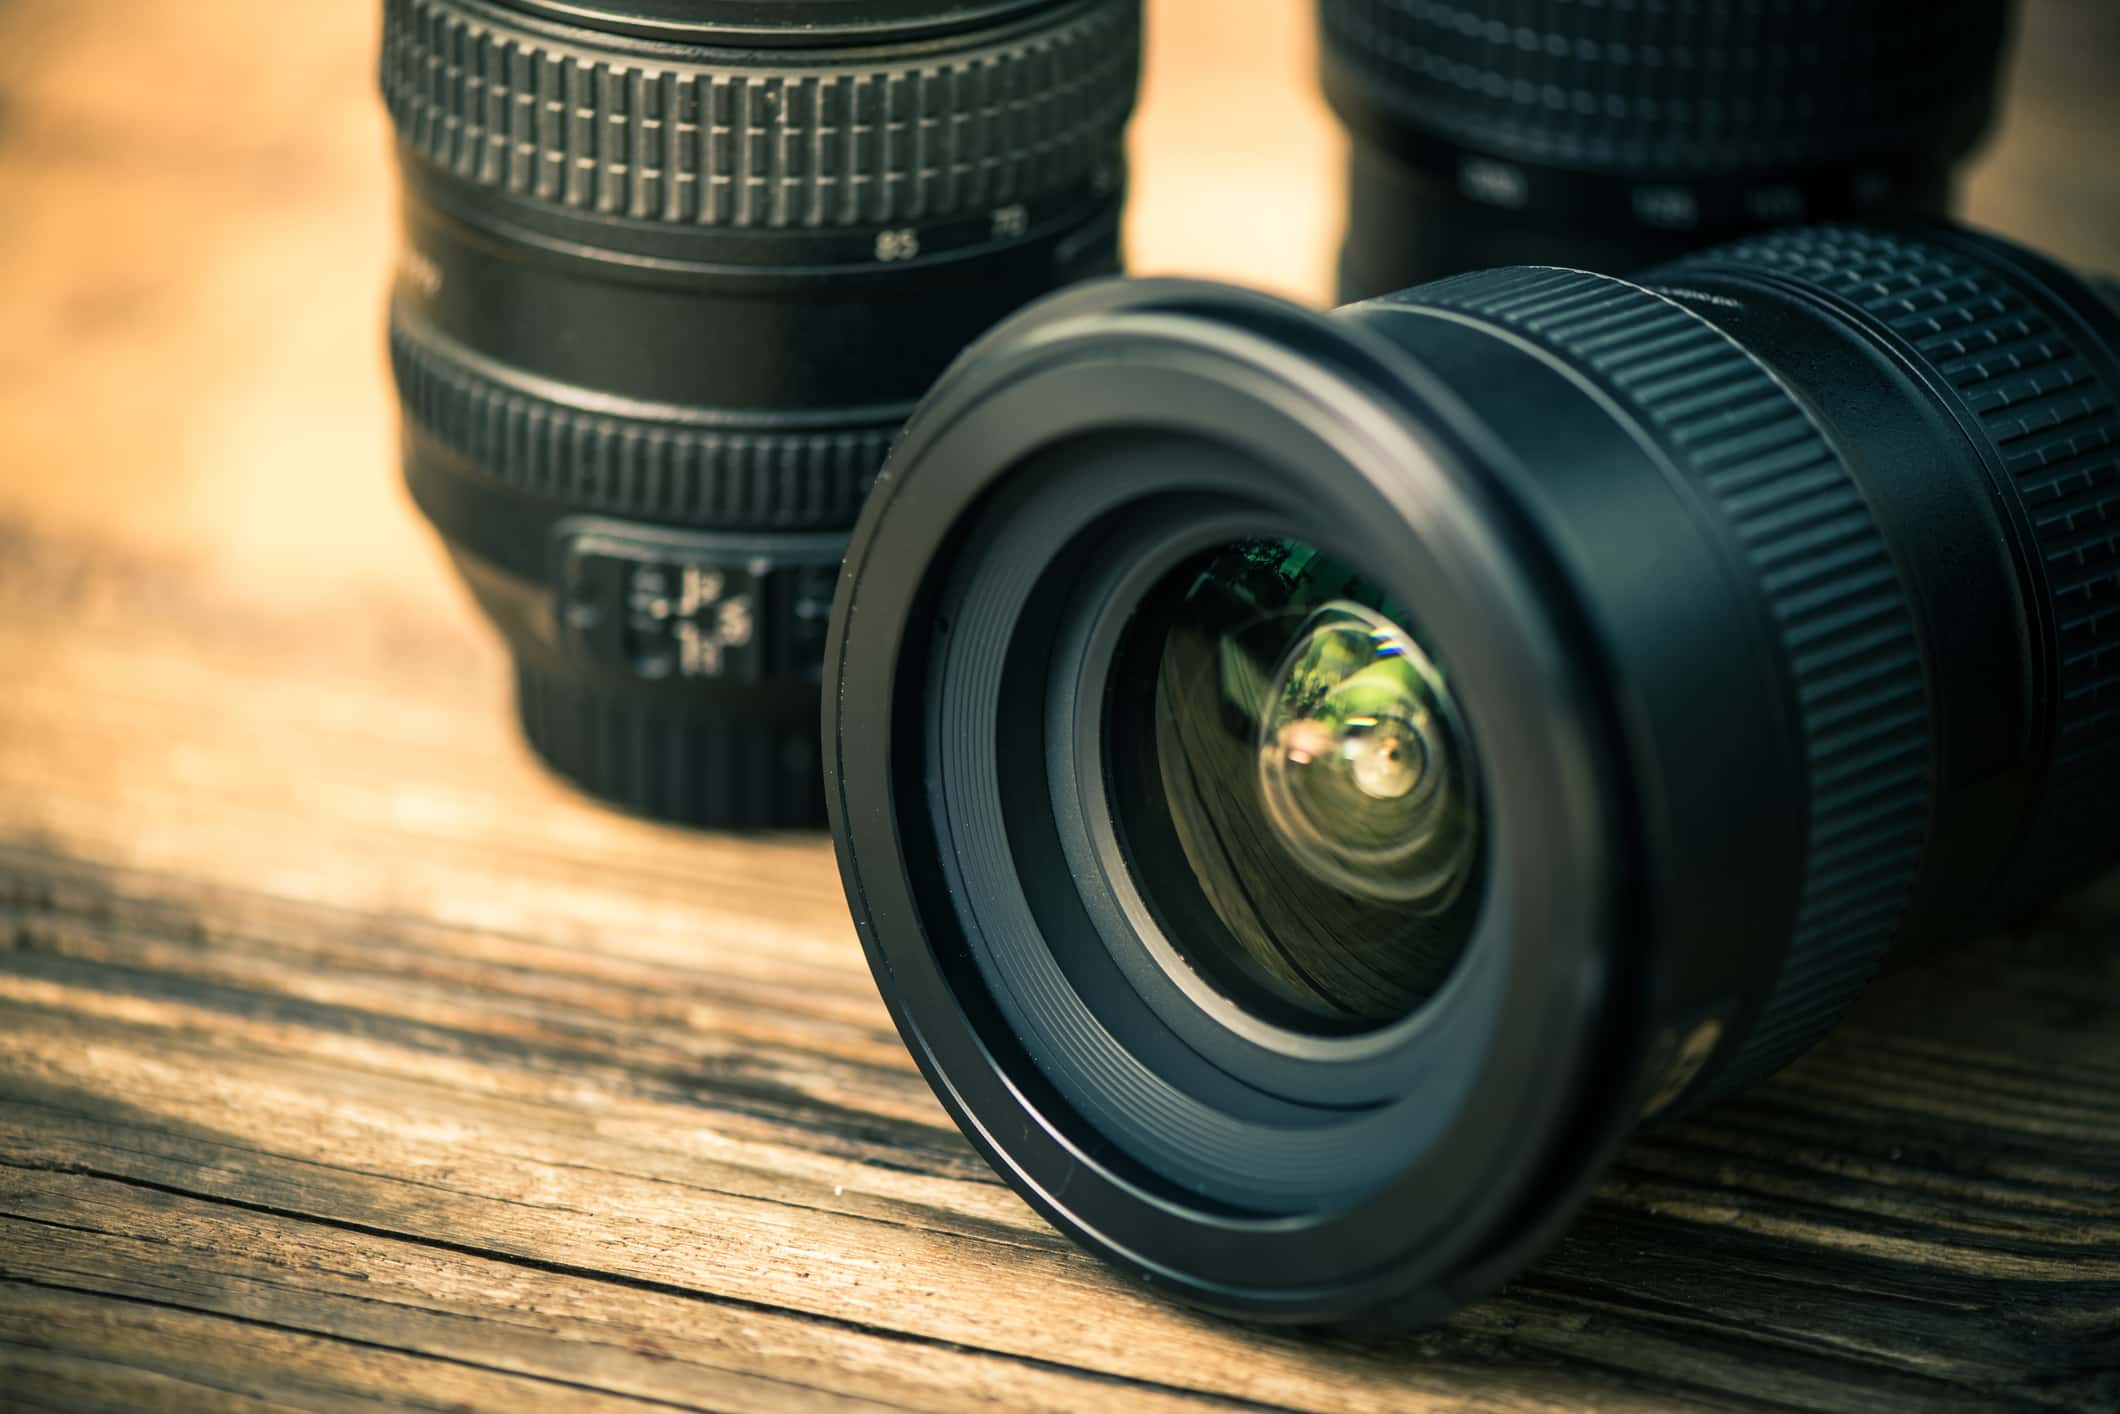
How a Camera Works
When you shoot in manual mode, it's all about the full control of your camera. To do that with good results, you first need to understand how your camera works. So here it goes.
As you point your camera at your subject, the light is reflected into your lens.
If you have a standard DSLR, the mirror inside focuses that light into your viewfinder, allowing a live preview. Once you press the shutter release (the button that makes your camera take a picture), that light travels through the length of your lens, past the shutter blinds, and hits the sensor that sits at the back of your camera.
The digital sensor then converts that information into your preferred format (and I will take this opportunity to recommend that you only shoot in RAW format when available) and saves it on your memory card.
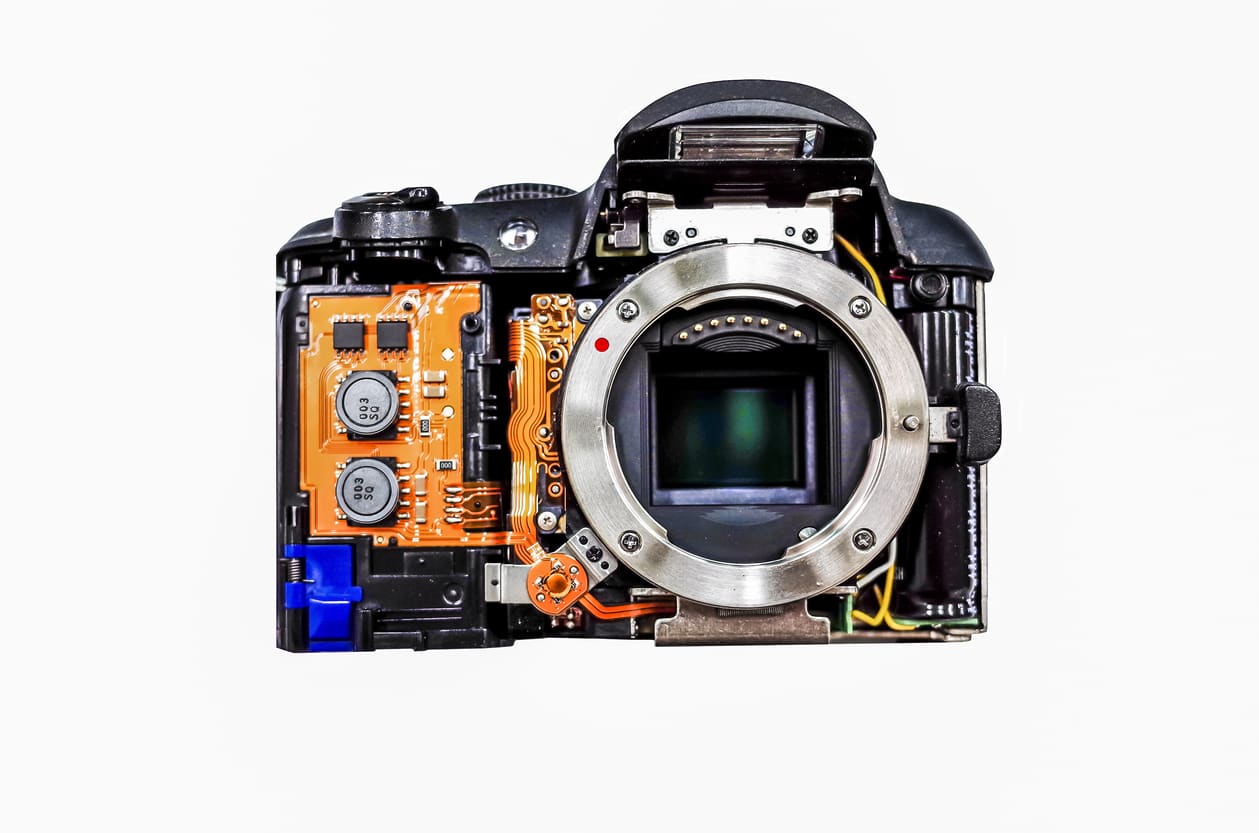
So all in all, every camera has three main components that do most of the work in the picture taking process. That is the sensor, the shutter, and the lens. In respect, each of these parts have a camera setting dedicated to controlling them.
Learn More:
What is ISO?
Over the history of photography, different camera manufacturers had different names for this setting. To avoid the confusion, the International Standards Organization introduced one system that was quickly adopted by everyone.
The ISO setting controls your sensor's sensitivity to light. In other words, the higher the number, the more sensitive to light your camera is. To understand this better, think of how your eye gets more sensitive to light in a dark room and then gets blinded when you go outside.
Although at first this seems like the only setting you would really need to compensate for the lack of light, it does have a big downside. The more sensitive your camera is, the more noise your final picture will have. Some higher-end cameras deal with this noise much better, but generally, we try to keep the ISO as low as possible.

Noise is the fine grain that appears in your picture, similar to what you found on old TVs when the program ended.
You should experiment with different ISO settings and figure out how high you can go while still getting good results.
The earlier in your practice you get to know this fine balance, the easier it will be to use it to your advantage in the future.
Learn More:
What is Shutter Speed?
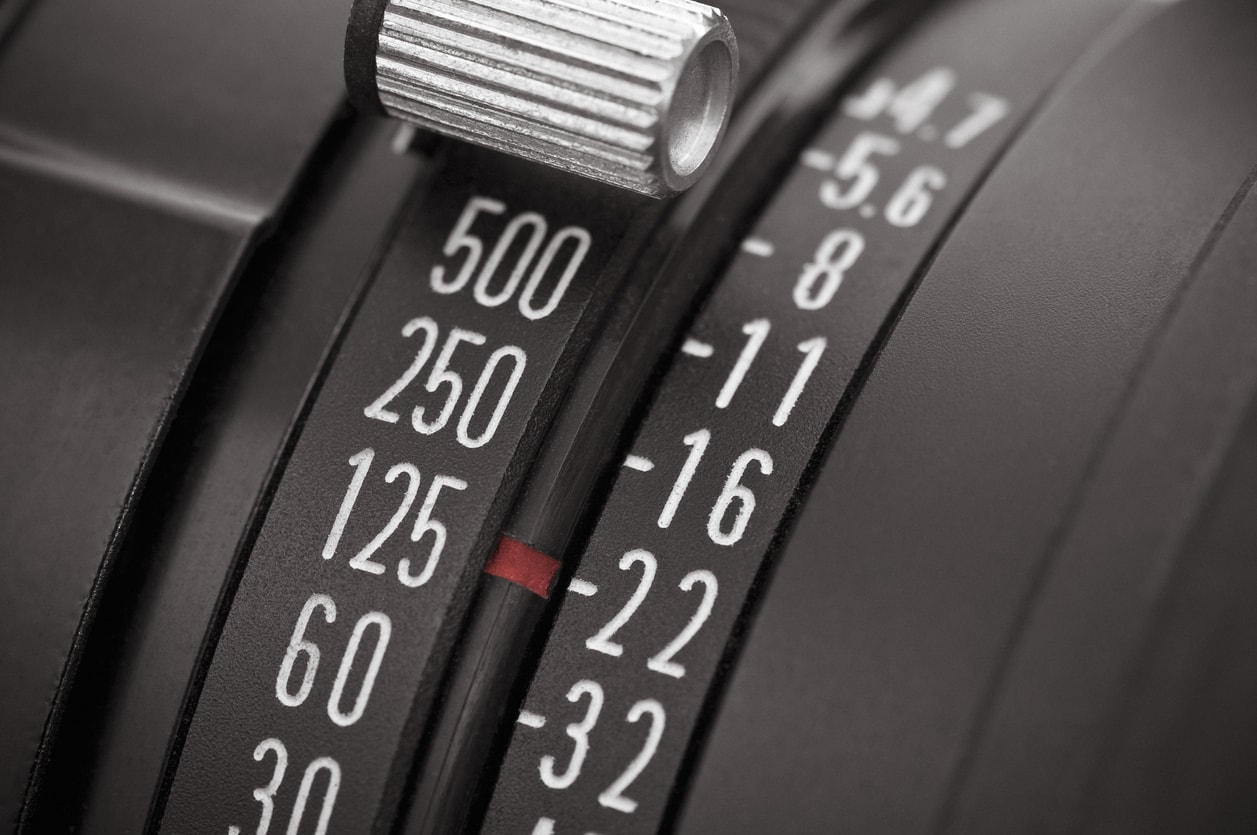
When you're not taking a picture, your sensor is hidden away behind a shutter. This is a small mechanical blind that opens and closes to take a photograph. And with using the shutter speed setting, you can control how quickly the shutter opens and closes, affecting the appearance of motion of your picture.
Shutter speed is measured in fractions of a second. For example, if your setting says 1/60, that means your shutter will be open for one sixtieth of a second. And as fast as this sounds, it’s actually considered to be on the slow side.
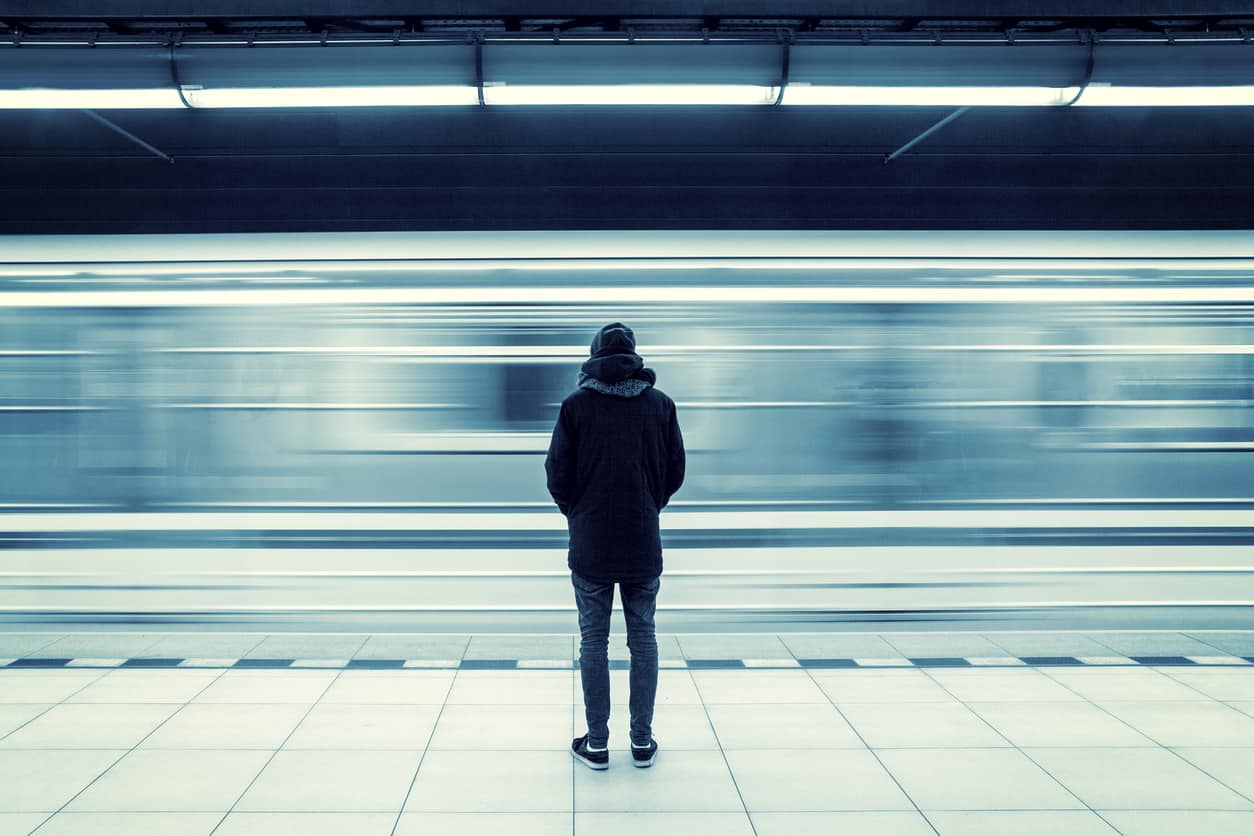
Personally, I recommend a 1/60 shutter speed as the slowest that you should shoot at while holding your camera. Anything below that, and you should mount your camera on a tripod as it would result in camera shake.
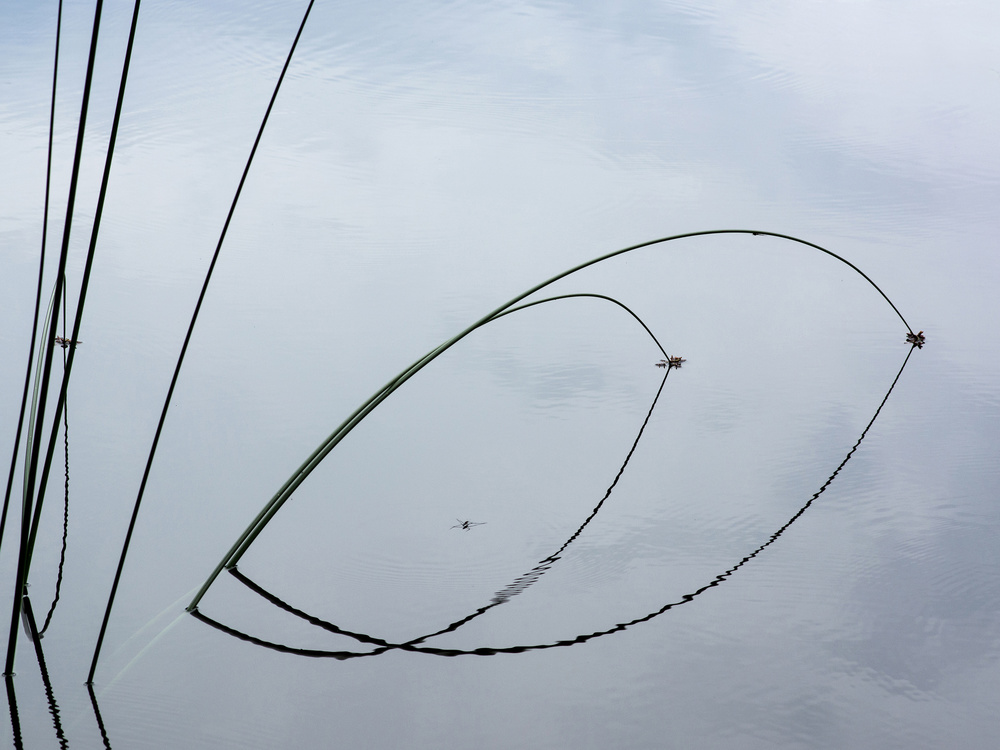
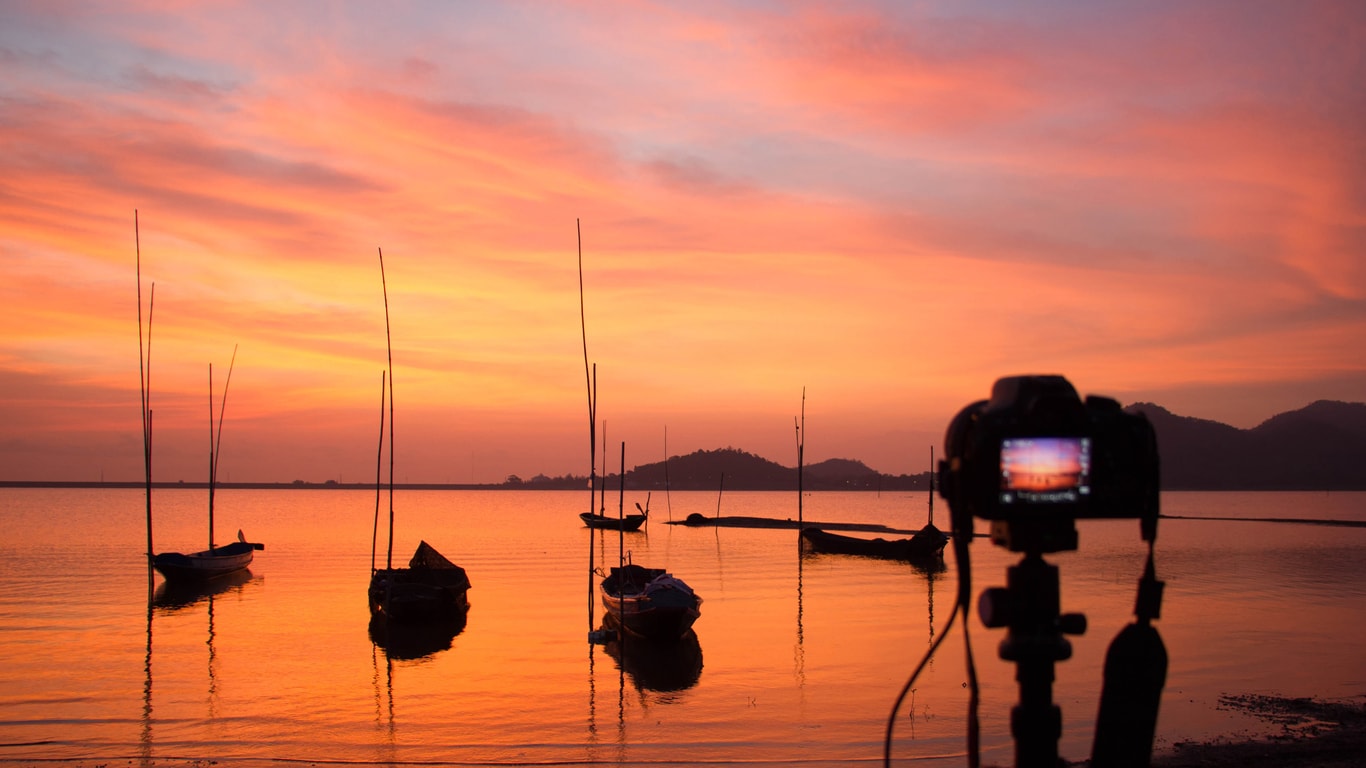
Camera shake is when your subject is blurred because of your camera’s movement while motion blur is a result of your subject moving while your camera is held still. Motion blur can often be used to show motion in the photograph, as seen below.
So, as you probably have already figured out, the slower the shutter speed, the more light falls onto the sensor. Whereas, the faster the shutter speed setting, the less light.
And now we can already start playing around with the two settings that we know. Instead of increasing your ISO for lighter photographs we can try using a slower shutter speed!
Learn More:
What is Aperture?
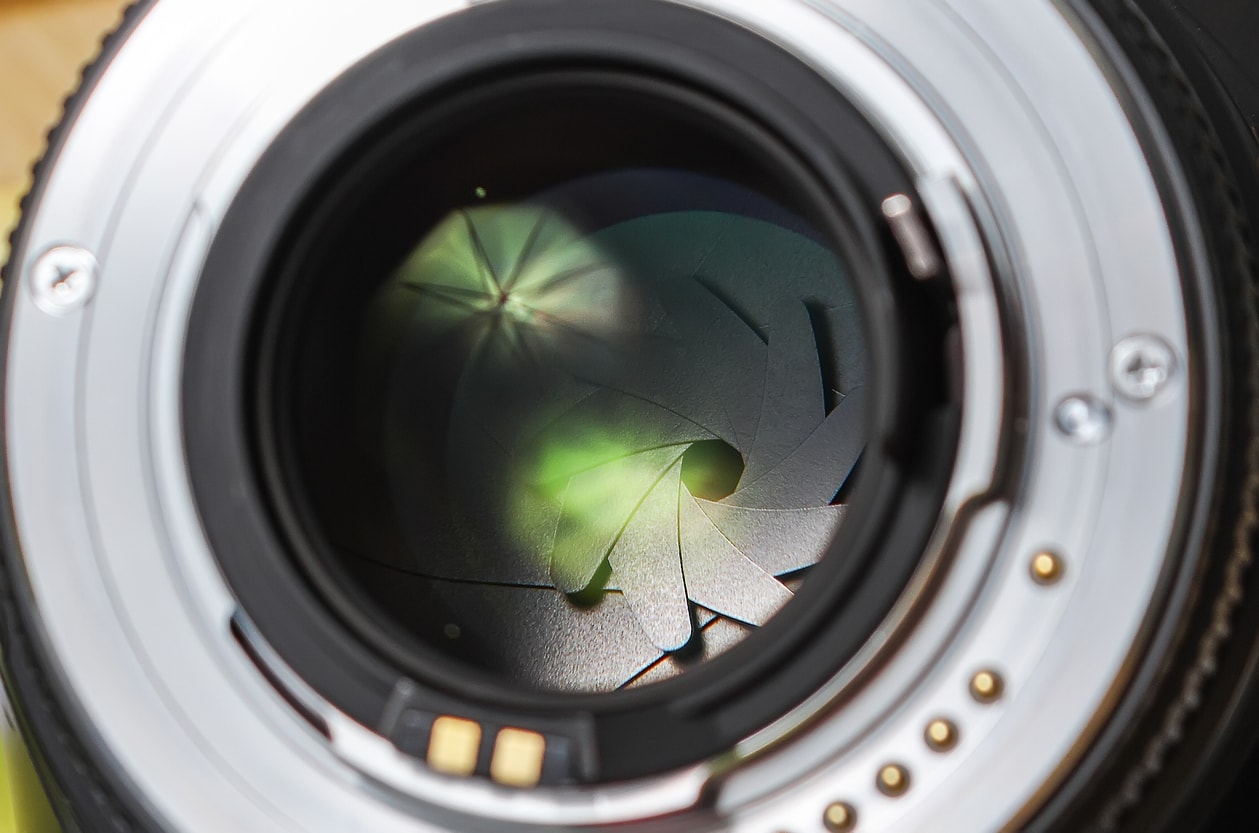
Aperture will most likely be the setting that takes the longest to wrap your head around, but it’s definitely worth the effort as this might be the most important camera setting that you will use.
Aperture is usually measured in f-stops, starting at f/1.4, f/2, f/2.8, f/4 and so on. As complicated as this sequence looks, it’s actually not that hard to memorize. All you need to remember are the first two numbers on the scale. Everything that follows after is doubled on every other stop.
How Does Aperture Work?
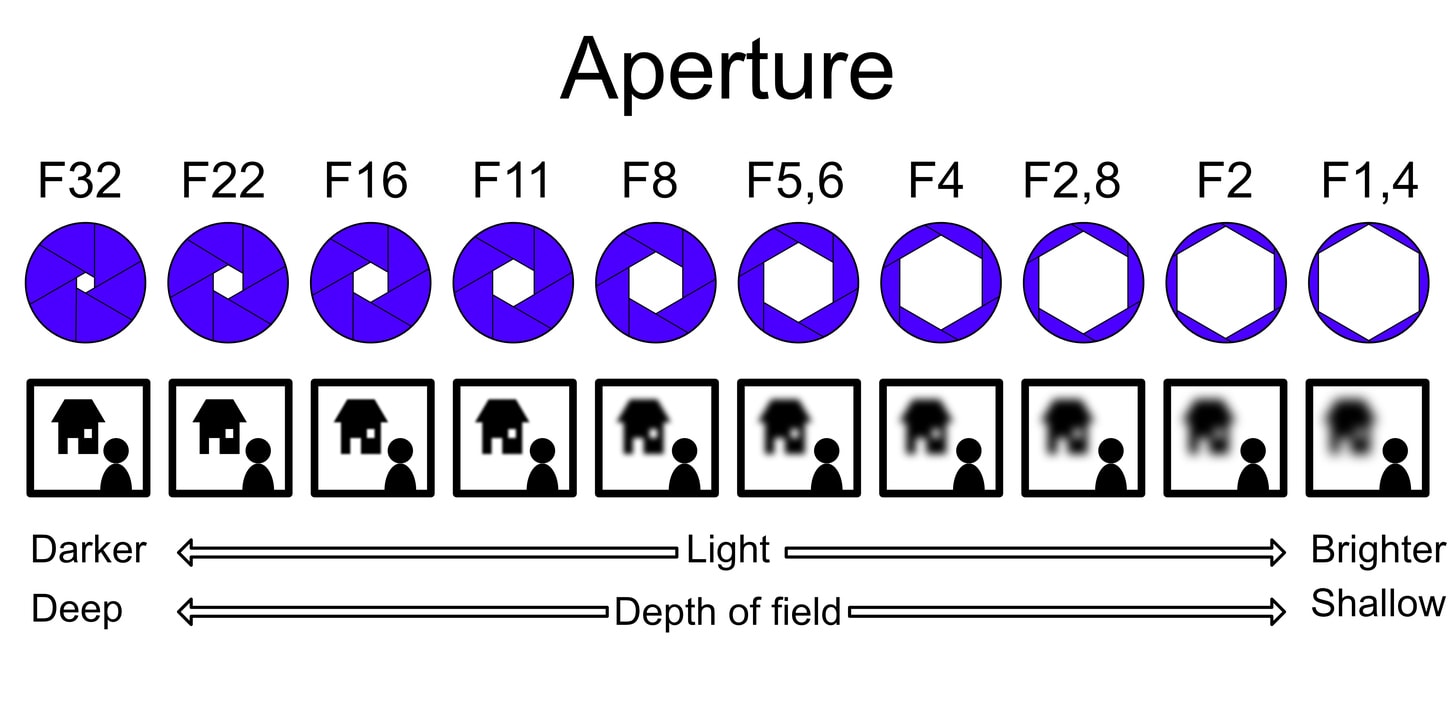
Aperture controls two different aspects of your camera. The first (and the more obvious one) is the amount of light that goes into the lens. Now, this is the part where you really need to pay attention - the smaller the number is, the bigger the opening becomes. There is an explanation for this, but I don't think it's necessary for the purpose of this article, as all it would do is confuse you even more.
The second aspect of aperture is the depth of field. This is the area of your picture that will be in focus. This one is much easier to remember, as a lower number means less focus, and in turn, a higher number means more focus.
Learn More:
The Best Things Come in Threes
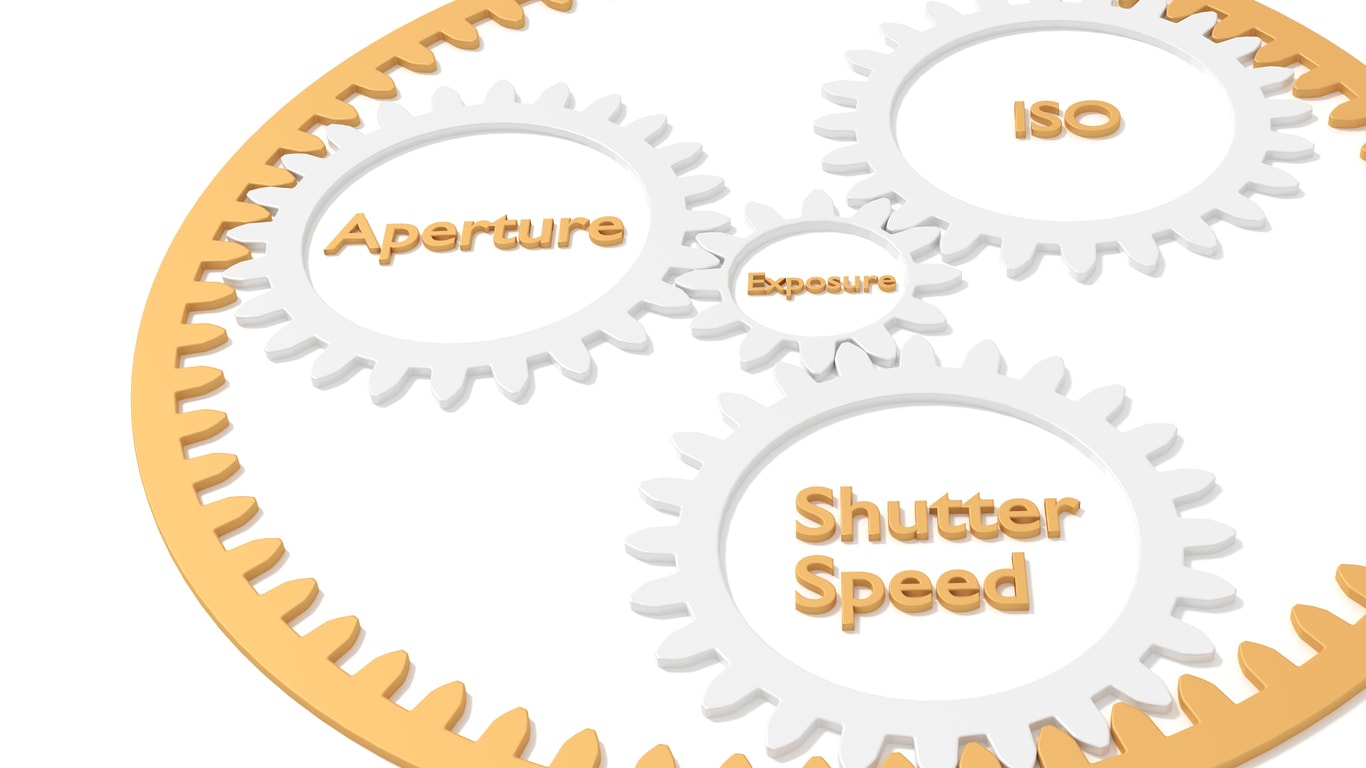
To achieve the best possible results when taking a picture, all of these settings have to be carefully used together. Remember that everything is measured in stops. So if you make your shutter speed slower by two stops, you have to open up your aperture by two stops to have the same amount of light captured.
Example:
You measured the light and ended up with the settings of 1/60th of a second and f/8. After taking a picture, you decided that you want to have a tighter focus on your subject and opened up your aperture to f/4 to reduce the depth of field. Now, to make sure that your picture is not overexposed, all you have to do is speed up the shutter speed by two stops. So your new settings should look like this: 1/250 shutter speed and f/4 aperture.
Now that you have a little understanding of how everything works and how all these settings come together, it's time to stop reading about them and start practicing. No matter how much you read about your camera, the only way to really get to know it is out in the field taking pictures.
Ansel Adams once said that “the first 10,000 pictures are your worst.” He said this in the days of film when you had to pay to take each picture. Now with digital cameras, this number should probably be closer to 100,000. So, go get your camera and begin developing your skills!