Tips & Tricks
A Simple Explanation of How to Create Stunning BOKEH Effects
Photography Talk
If you clicked on this article, I'm assuming that you already know what bokeh is, but if not, here's a quick explanation:
Bokeh is the out of focus area of a photo. Simple, right?
There are many facets to bokeh, however.
On the one hand, there is such a thing as good and bad bokeh.
On the other hand, several factors influence how bokeh looks, including the aperture and the focal length of the lens and the distance between you and your subject.
What's more, bokeh can be used as a creative tool to add dimension to your shots while also helping you mask unwanted features in the background.
See how bokeh is much more than the blurry part of the photo?
In this tutorial, you'll learn how to create incredible bokeh effects that will enhance the portraits you take.
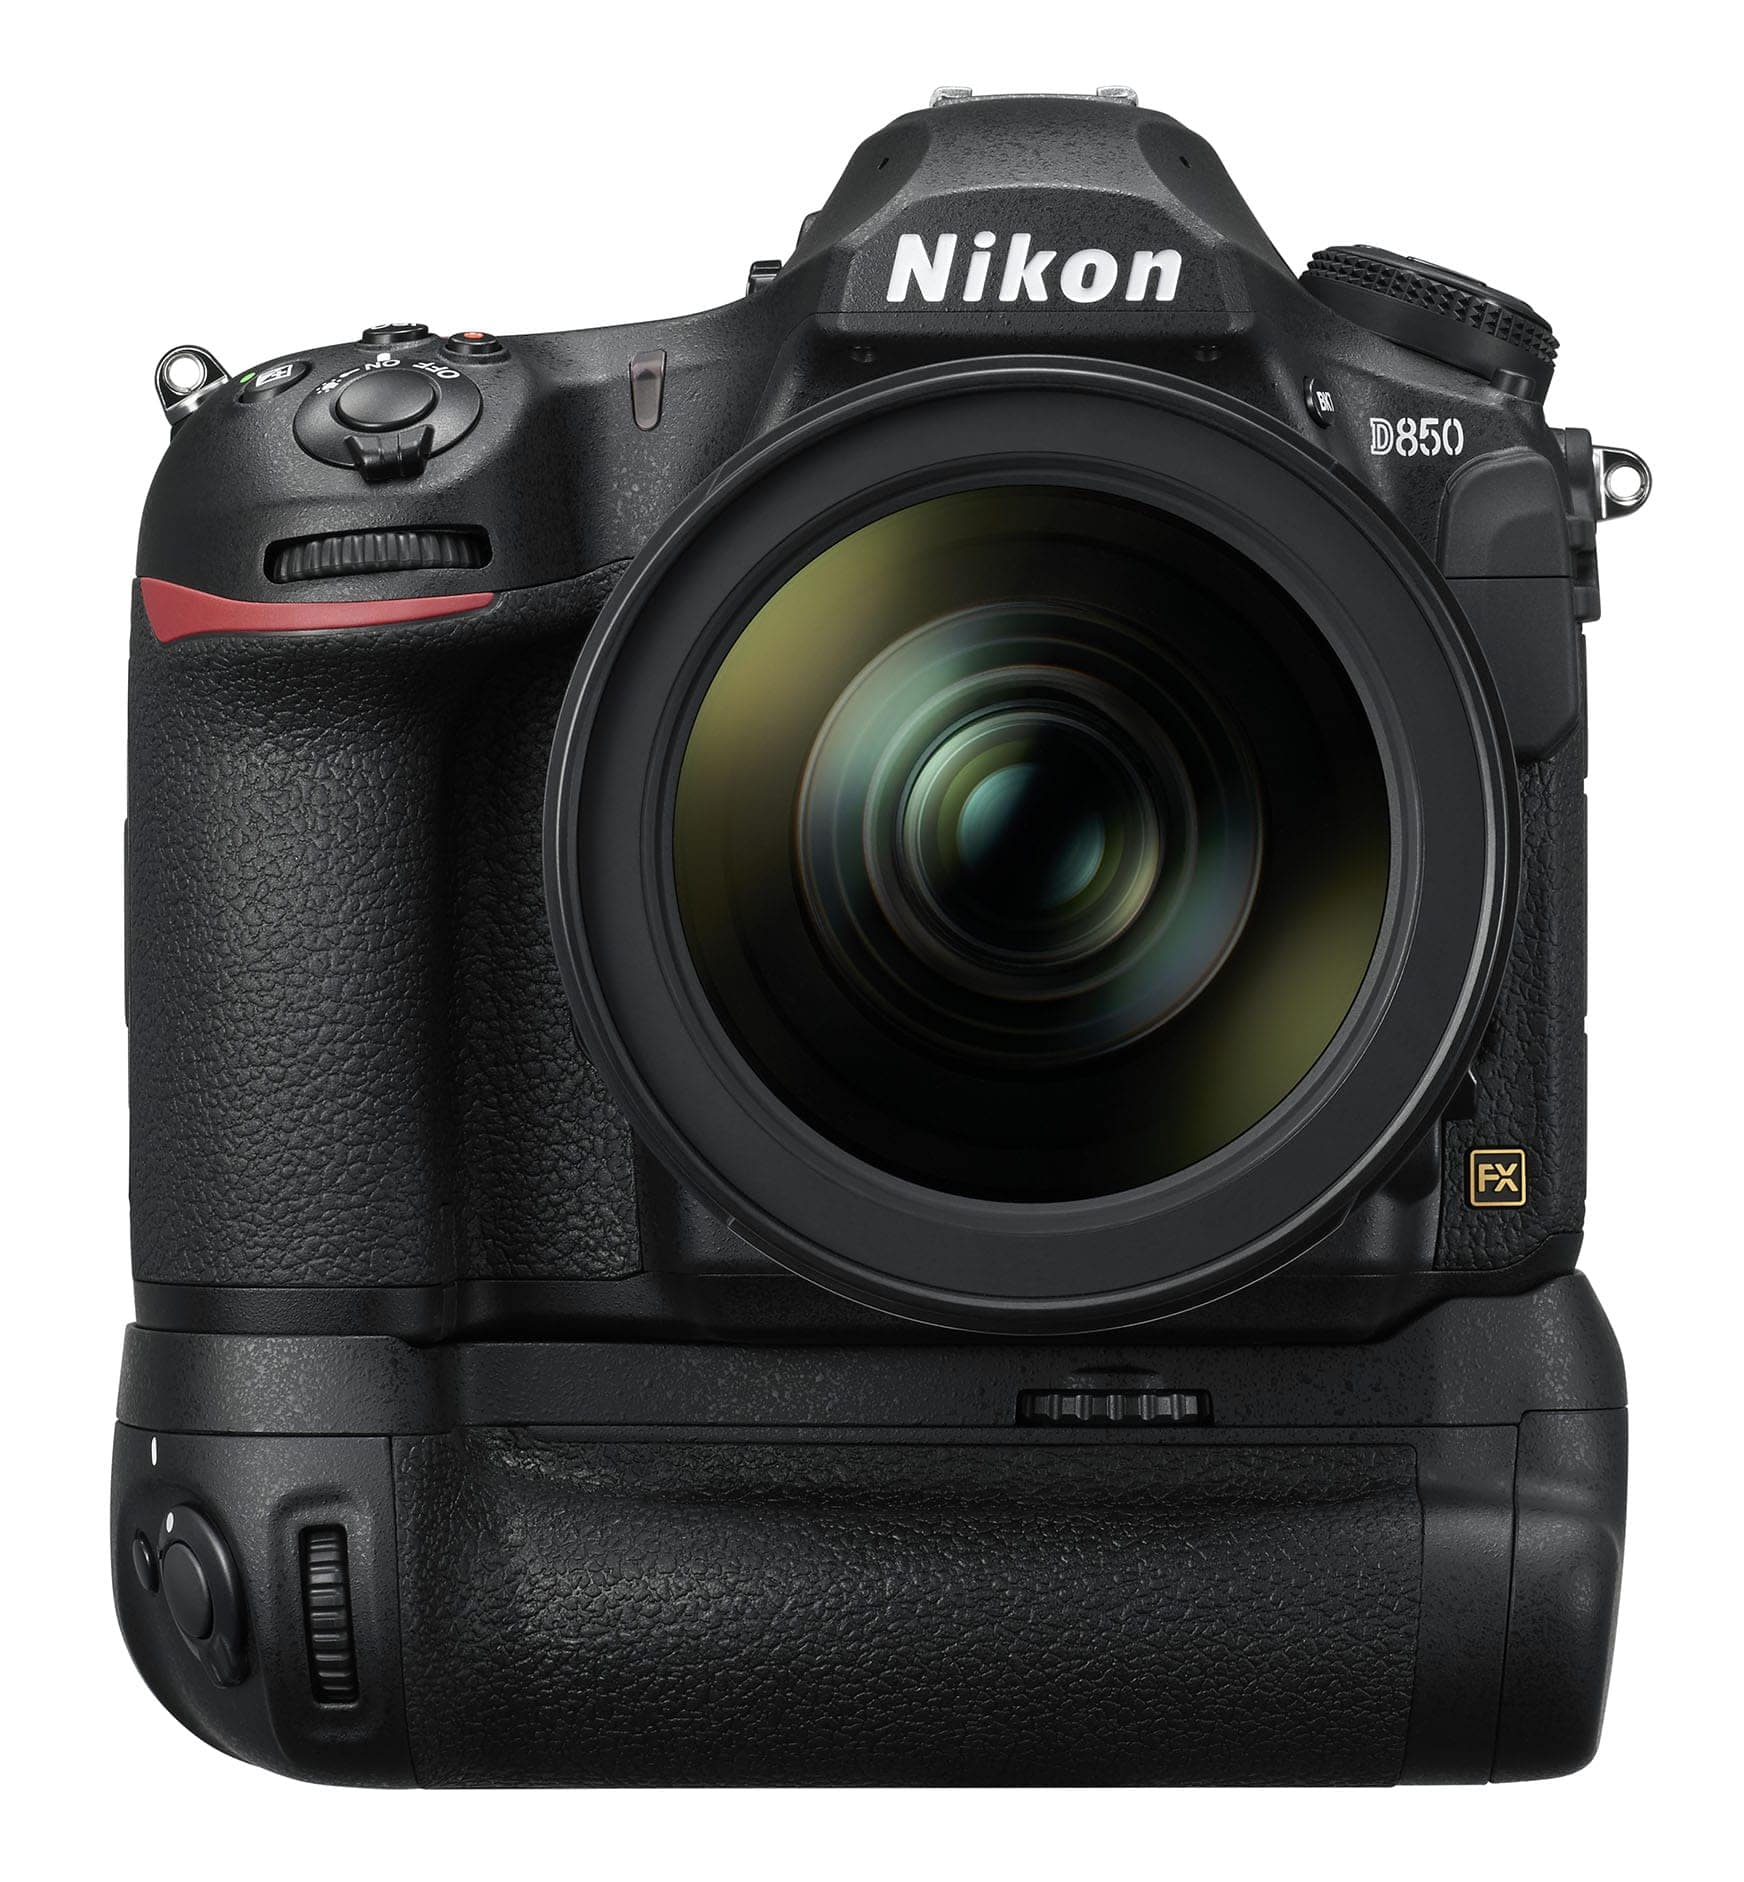
Step 1: Get the Right Lens
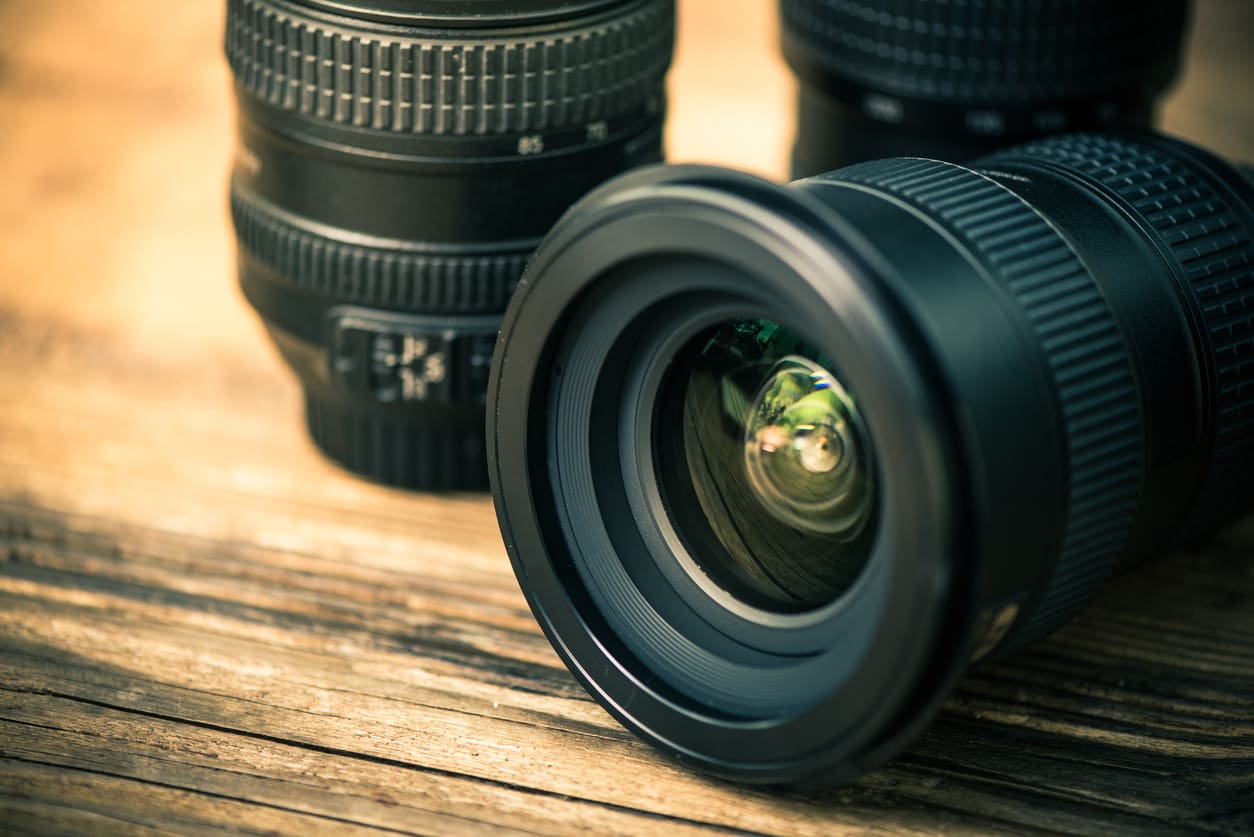
Editor's Tip: You can create bokeh with any lens, but for the best quality bokeh, consider a prime lens - something like a 50mm or 85mm - with a large aperture like f/1.2 or f/1.4. Either of these lenses are ideal for portraits anyway, and with beautiful bokeh, the portraits you take will be that much more impressive. You can find great deals on pre-owned lenses at Lensfinder.com.
Getting the right lens is the first step in creating gorgeous bokeh in your portraits.
When shopping for a lens, there are a couple of things you need to bear in mind, both of which I outline in detail below.
You Want a Large Aperture

One of the primary factors that influence bokeh is the depth of field. And one of the principal factors that determine the depth of field is the aperture that's used.
The larger the aperture, the shallower the depth of field. So, when shooting at f/2, you have a shallower depth of field than if you shoot from the very same spot using an aperture of f/22.
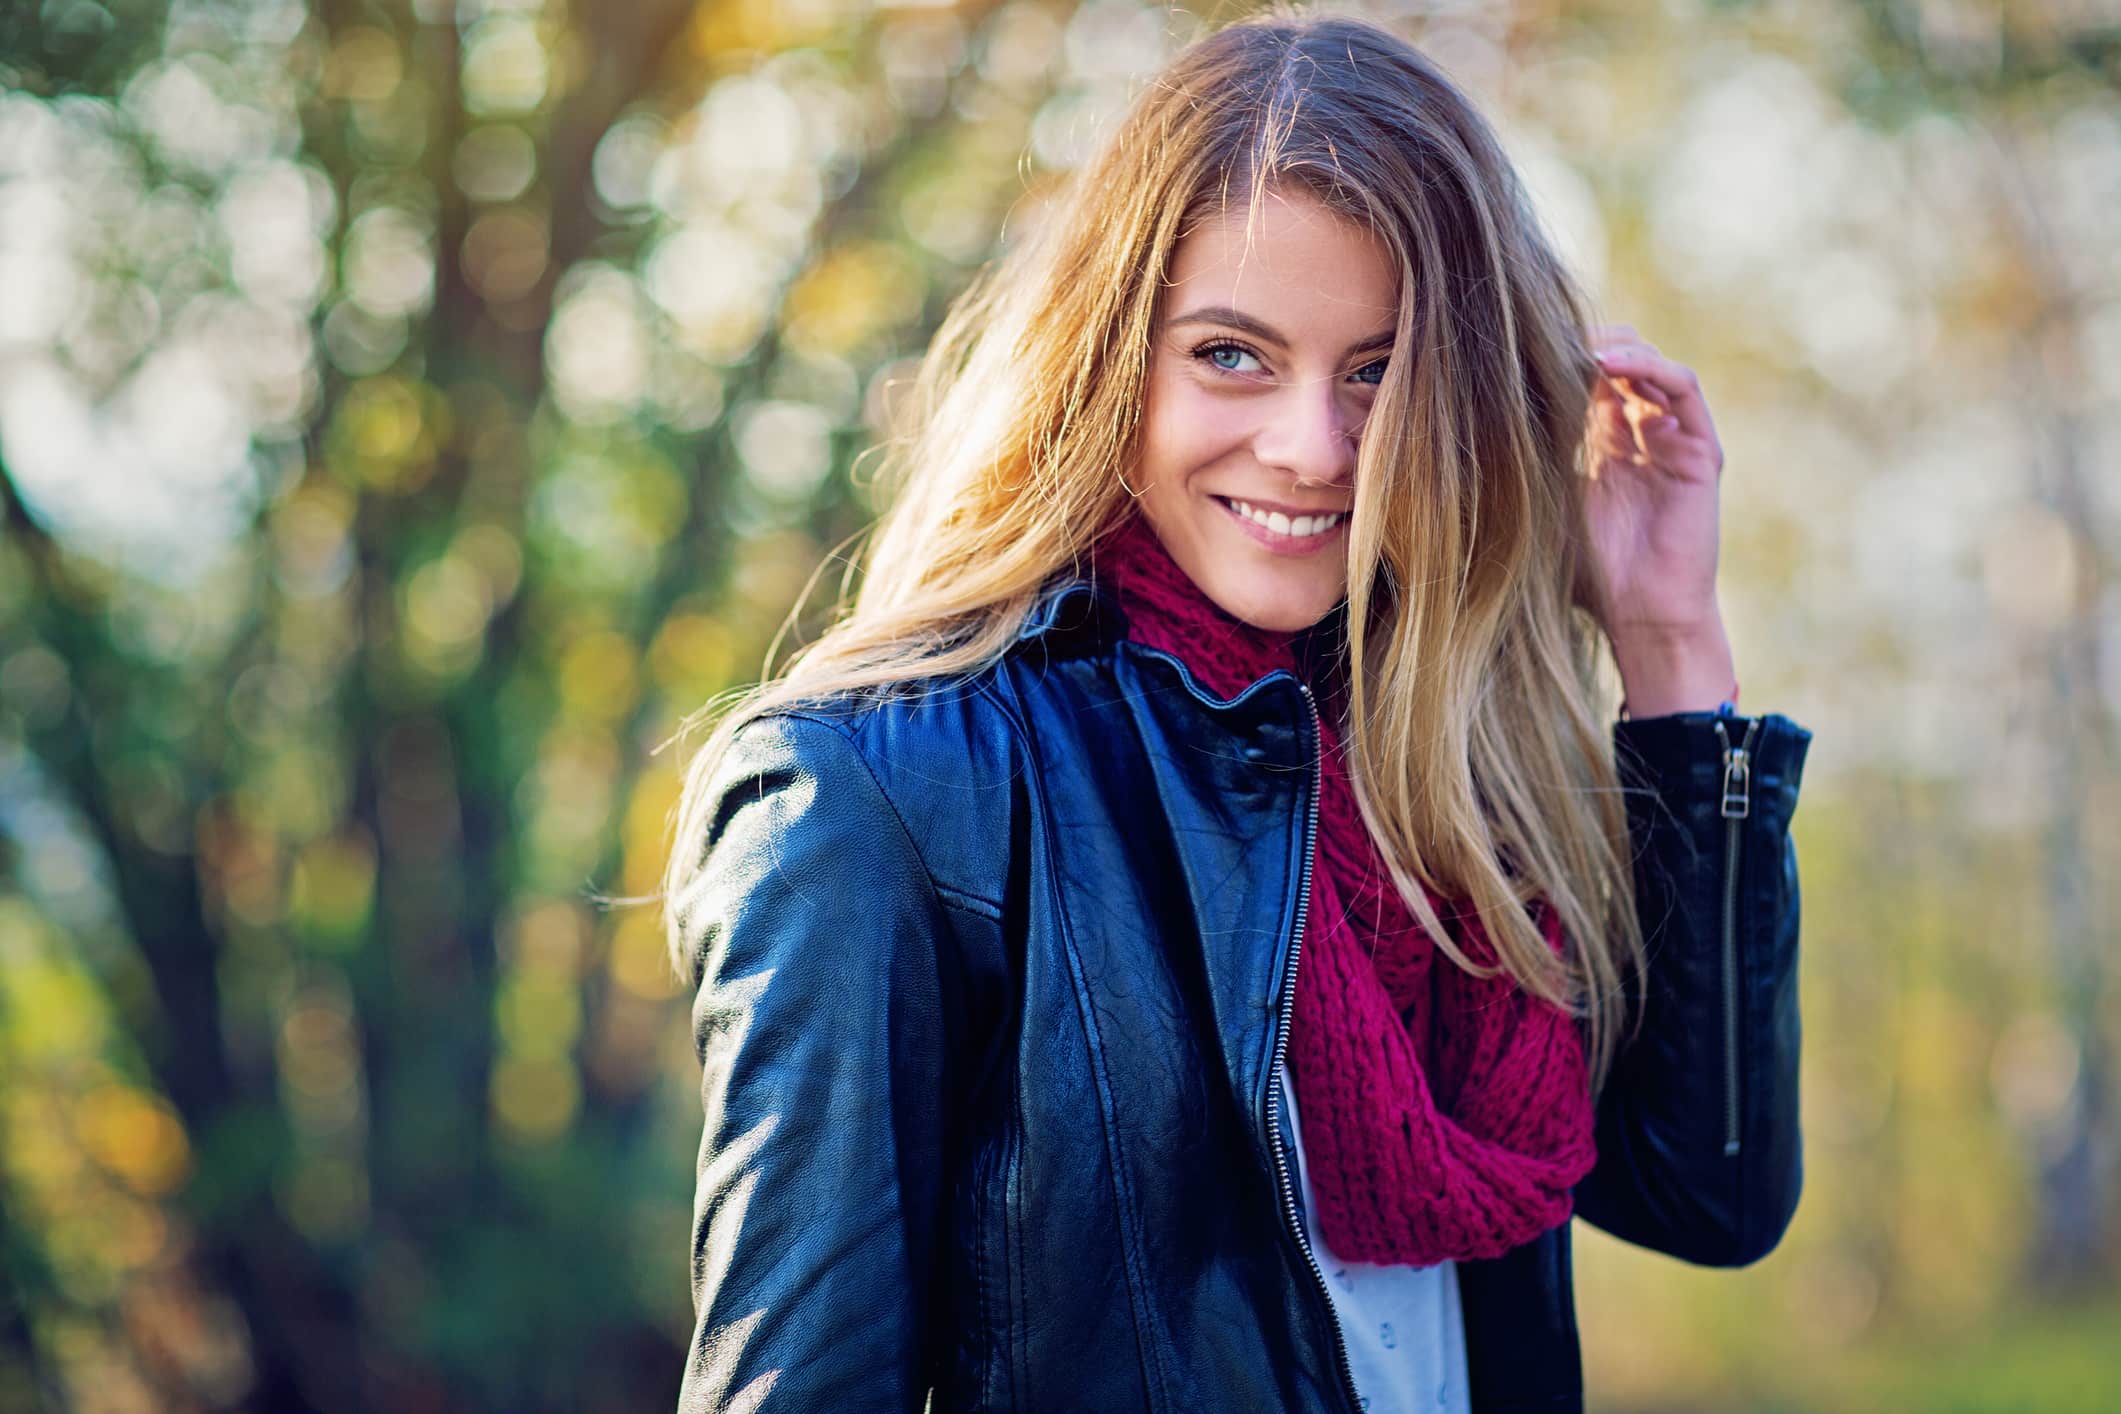
That makes lenses with wide maximum apertures advantageous for creating bokeh-filled backgrounds.
An f/1.2 lens would create the shallowest depth of field, and therefore the best bokeh, as seen in the image above. However, those lenses can be pricey.
For something that's a little easier on the pocketbook, try finding a lens with a maximum aperture of f/1.4, f/1.8, or f/2.
You Want a Longer Focal Length

Another factor that influences depth of field - and therefore, bokeh as well - is the focal length of the lens.
All else being equal, longer focal lengths create a shallower depth of field and larger bokeh.

That means that a 135mm lens will produce more pronounced bokeh than a 24mm lens.
That's not to say that a wide-angle lens can't create nice-looking bokeh, but it's just easier to do with a longer focal length.
Learn More:
- A Beginner's Guide to Aperture and Depth of Field
- Focal Length and Field of View Explained in 4 Steps
Step 2: Get the Distance Just Right
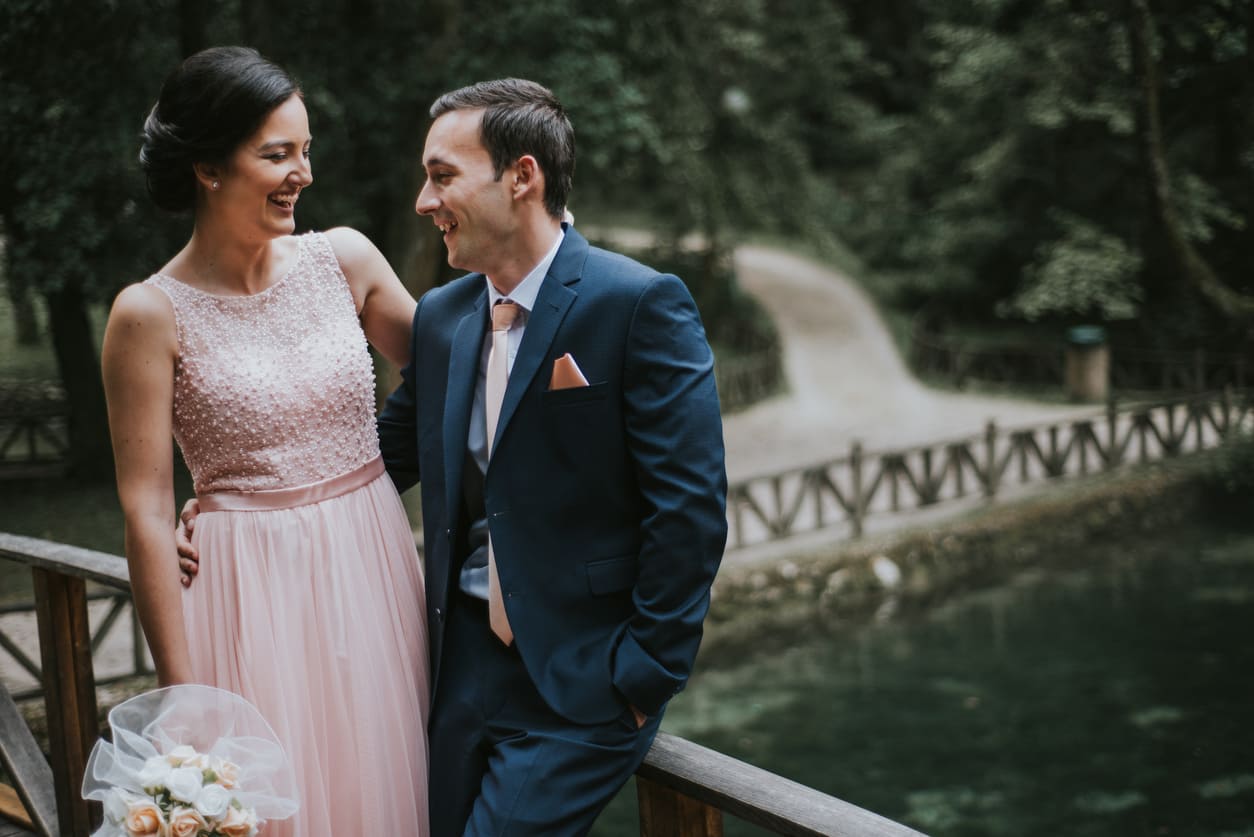
It's not just the lens that influences the quality and quantity of bokeh in a portrait.
The distance between your lens and the subject as well as the distance between the subject and the background also have a say in how bokeh appears.
More specifically, the closer you are to the subject, the blurrier the background will become.
Likewise, the further the subject is from the background, the blurrier it will be.
So, when framing up your portraits, minimize your distance to the subject and maximize their distance to the background to get the most pleasing bokeh effects.
Learn More:
Step 3: Keep an Eye on the Background
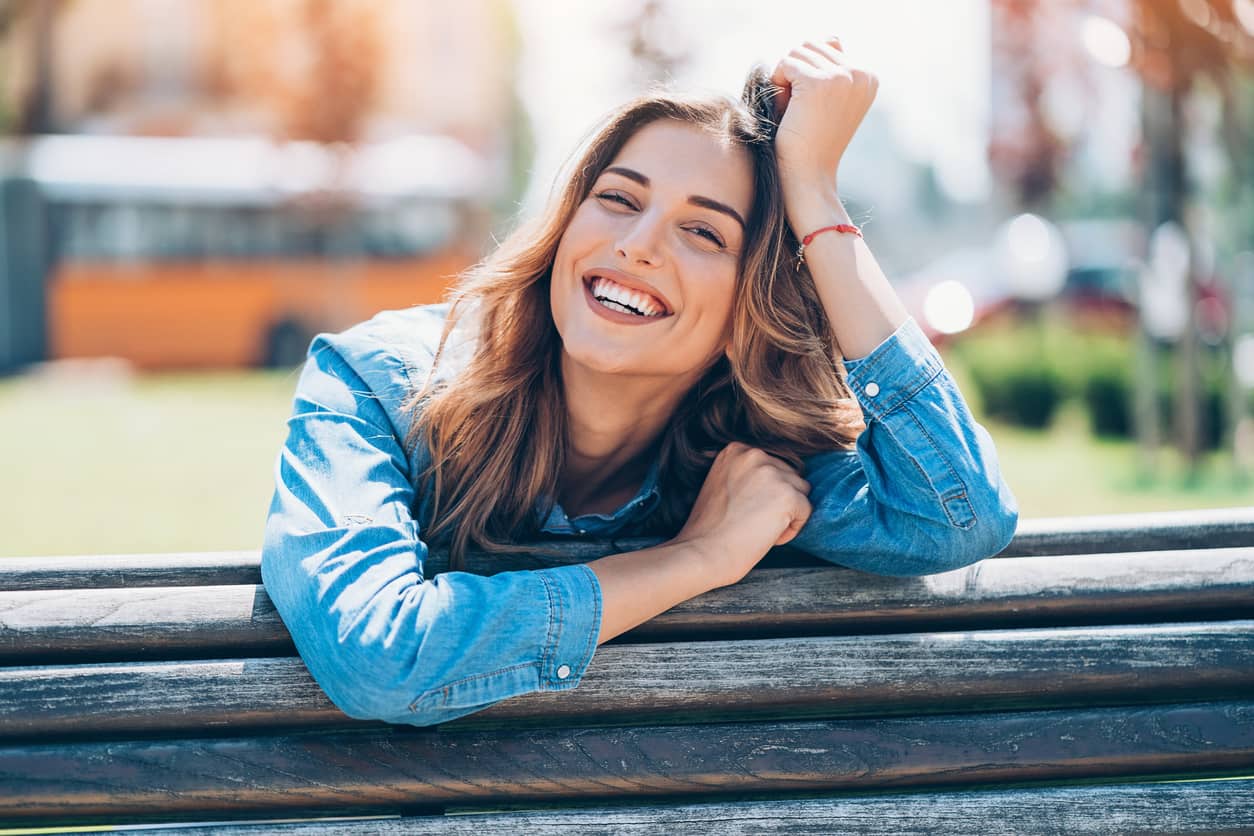
Even with the right lens and the perfect distance, you'll still need to keep an eye on what's happening in the background of the image.
For example, if you're taking a portrait outdoors and your subject is in front of a busy street, vehicles on the street might still be distinguishable, even if they're blurred out (like the school bus in the image above).
Those big blocks of color might be distracting in the background, so you'll need to take steps to adjust your shooting angle to crop them out of the shot.
That might mean kneeling down and shooting up toward your portrait subject or changing your positioning relative to the subject so you can incorporate other elements into the background.

Another important point to consider with the background is its level of contrast.
Yes, it'll be blurred out, but if there's a ton of contrast with a lot of bright highlights and dark shadows, the background could be a little on the distracting side.
The whole point of blurring the background is to help the portrait subject stand out in the frame, separated from the background.

If you put them in front of a busy background, even if it's blurred out, it can still be a little much.
So, look for backgrounds that have muted tones and contrast so your portraits have a nice, even-keeled background.
Learn More:
- Got a Bad Background? Save Your Portraits With These 3 Easy Tips
- Portrait Tips for Beginner Photographers
Step 4: Touch It Up In Photoshop
I recommend that you strive to create good bokeh in-camera with the tips outlined above, but if you find that your bokeh just isn't up to snuff, you can enhance bokeh or add new bokeh effects to your images in post-processing.
And though Photoshop might seem complicated, adding bokeh is actually pretty straightforward.
In fact, you can blend one of your portraits with a bokeh image by placing the bokeh image on a layer above your portrait, change the blend mode to "Screen," and voila - bokeh!
For a detailed look at how to create stunning bokeh effects, check out the video above by PHLEARN.