Tips & Tricks

How to Get the Most Out of Your Camera
Photography Talk
Not sure why your images aren't quite what you want them to be?
Well, it might be because your camera isn't set up to allow you to take shots quickly and efficiently.
And if that's the case, you're going to miss more shots because your camera isn't ready!
In the video above, Mango Street offers up three quick and easy tips to get your camera locked and loaded for your next photo shoot.
Follow along as they explain each tip, and for more commentary on each one, check out the summary below.
Set Up Custom Shooting Modes
Not all cameras have custom shooting modes available, however, if your camera is among the lucky ones, getting these custom modes set up will save you tons of time and effort down the road.
Essentially, custom shooting modes allow you to set certain settings and parameters and save them for usage later.
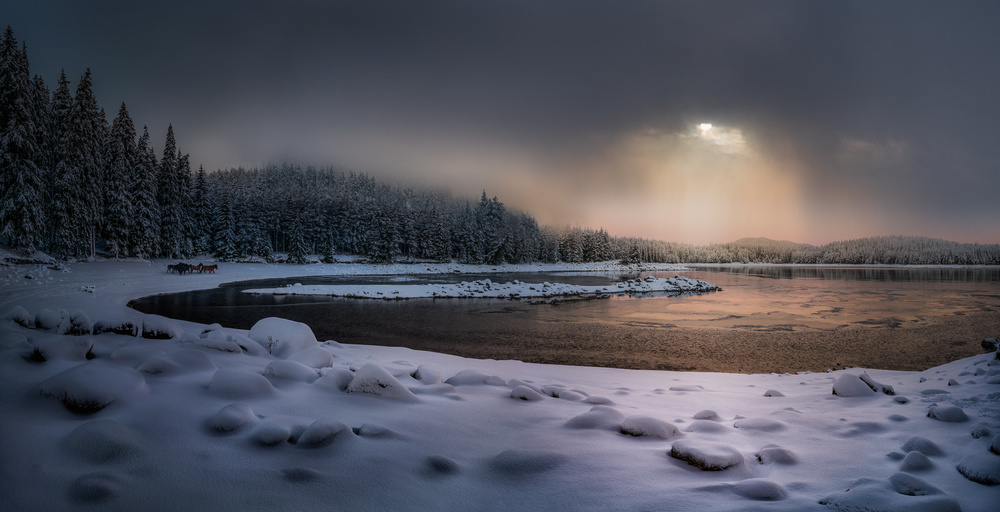
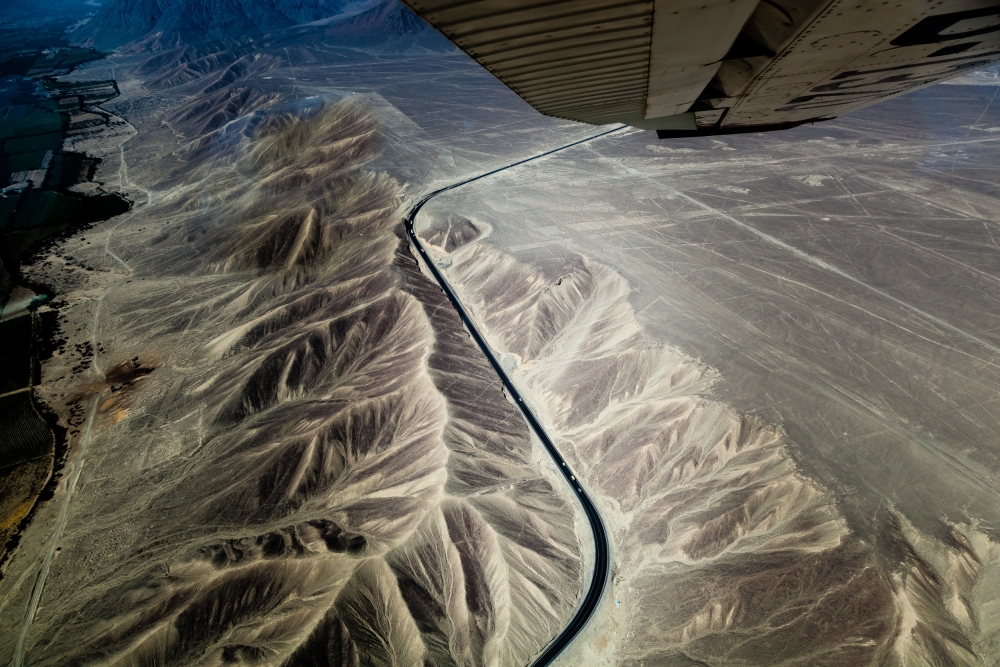
That's handy for creating modes for varying types of photography, like portraits and landscapes, which often require much different exposure settings.
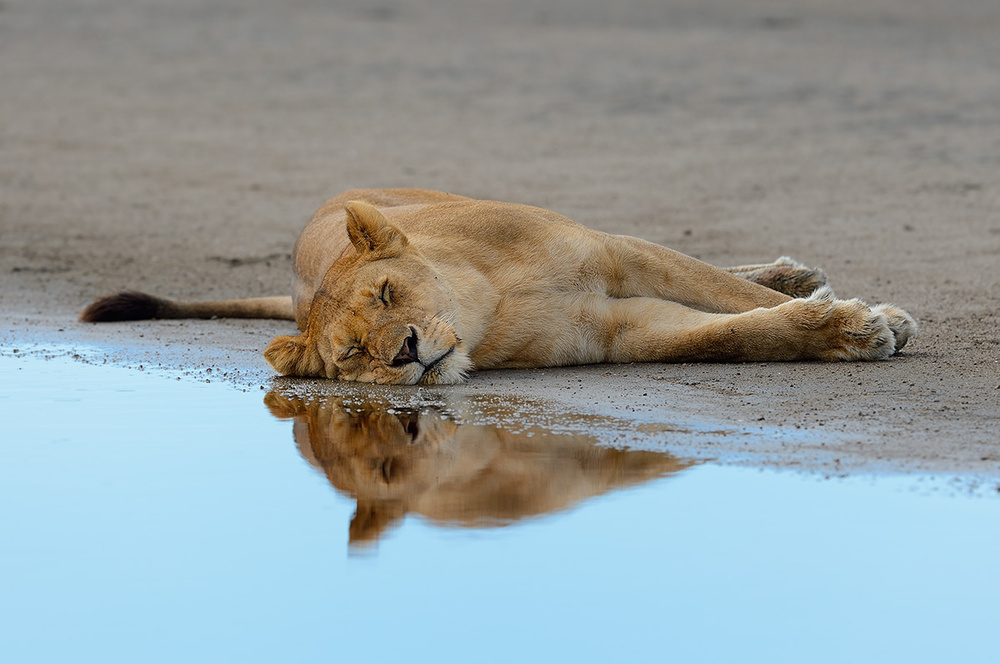
Additionally, for portraiture, you often want the background blurred, which requires a very large aperture, but for landscapes, you want the background sharp, which requires a small aperture.
By setting up individual custom shooting modes for each type of photography, you can save all those specific camera settings, that way you don't have to spend all that time adjusting them each time you change the type of photo you're taking.
You can even create one mode for still photos and another for video!
Learn More:
- New Camera To-Do List: 3 Things To Do Right Out of the Box
- 12 Simple But Impactful Tips for New Photographers

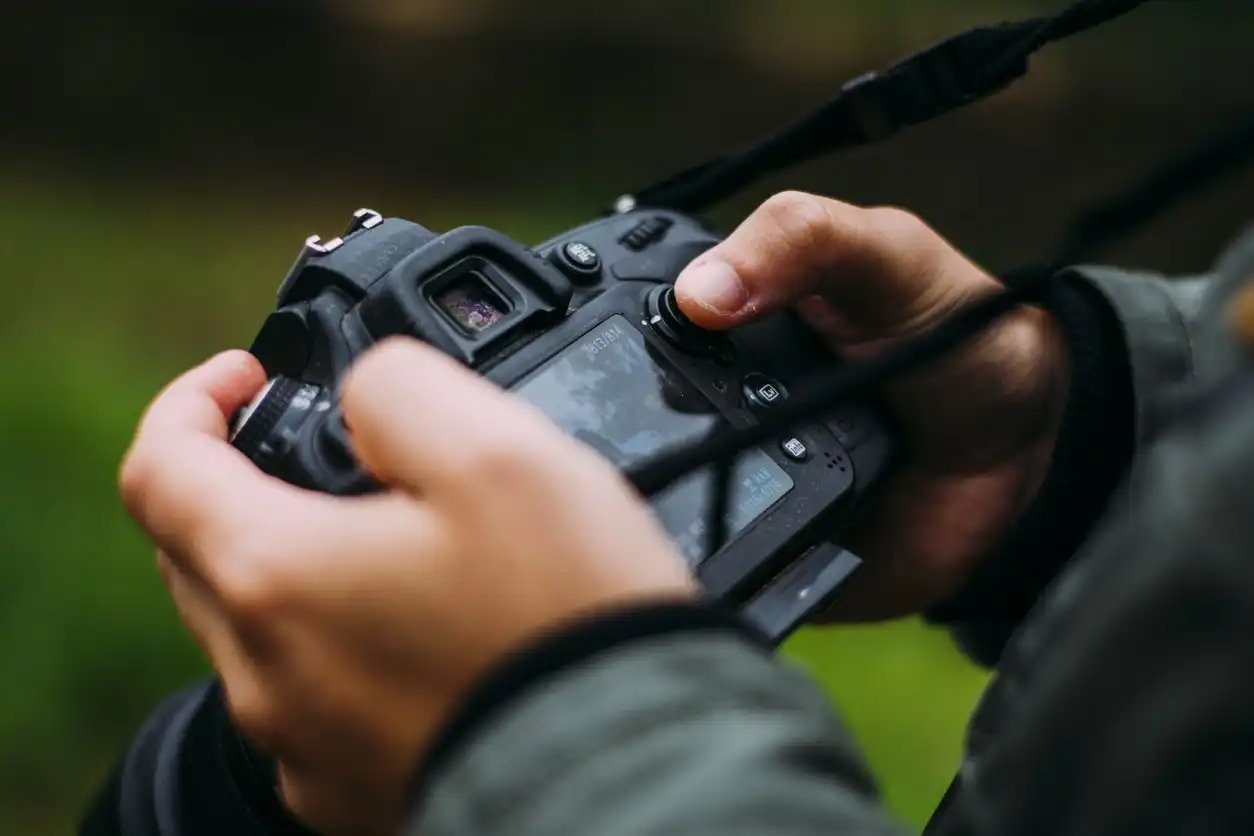
Use Back Button Focus
When you pick up your DSLR, the chances are that to acquire focus, you need to depress the shutter button halfway.
The problem with that setup is twofold: first, sometimes it's hard to depress the shutter just halfway, so you can end up with a litany of "oops" photos you didn't want to take, and second, sometimes you want to refocus the shot after you acquire focus.
Back button focusing helps solve both problems...

That's because by separating the focus button from the shutter button, you eliminate the "oops" shots from pressing the shutter all the way while also having the ability to see the scene in sharp focus in the viewfinder.
All that's needed is to assign the task of focusing to one of the custom buttons on the back of the camera, and using it to acquire focus for the shot.
Once you've got the scene in focus, then press the shutter button to get a nice, sharp result.
Learn More:

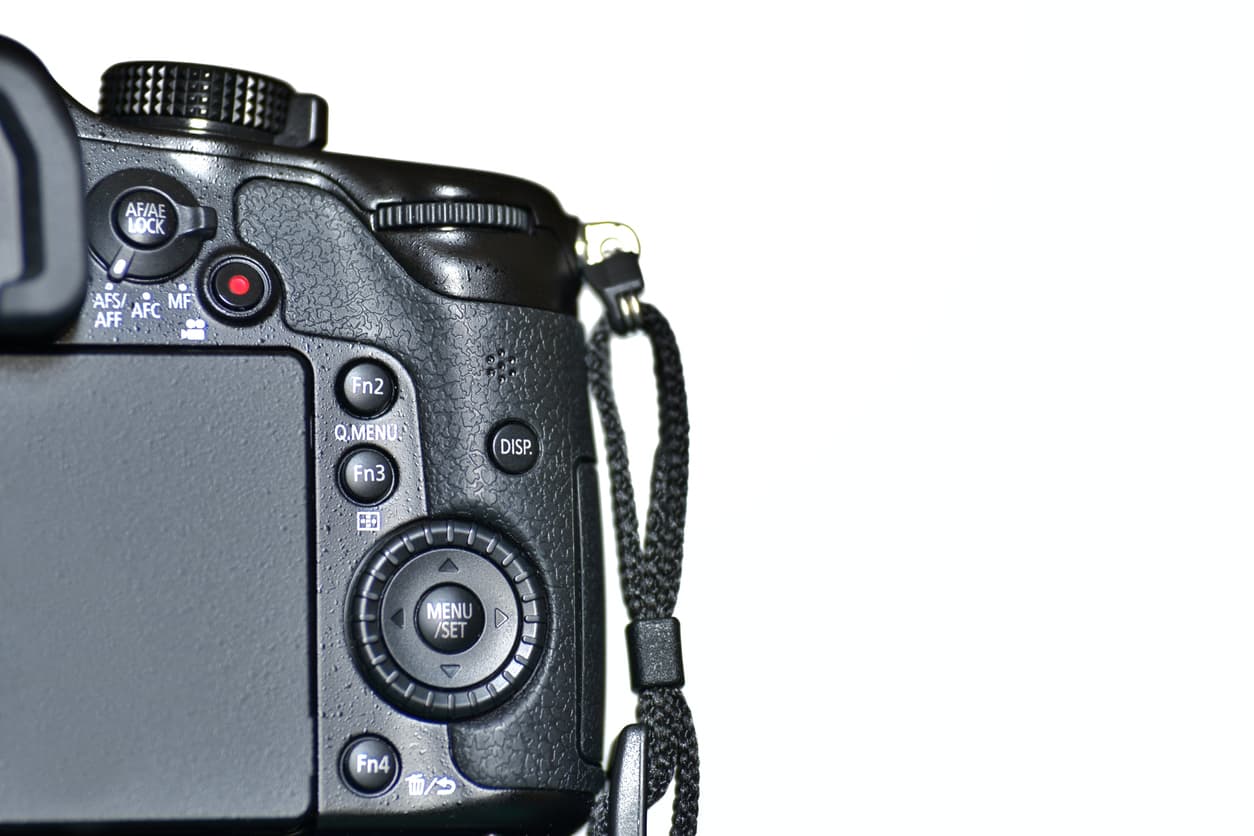
Customize the Menu System
As the folks from Mango Street point out in the video, menu customization isn't the sexiest of topics.
However, it's still a big time-saver down the road, and can help you get the shots you want.
By setting up a custom menu, you can put the most used functions onto a single page, that way you don't have to waste time scrolling through page after page of default menus to find the things you need.
You can access anything in a custom menu that you can elsewhere, you just have to create the menu, add the desired functions, and you're all set!
In the end, a big part of the battle to get the photos you want is actually being able to get your camera and take the photo in a reasonable amount of time.
All three tips outlined above will help you do just that.
That means you'll be more prepared to shoot, and while you're shooting, you'll need less time to make needed adjustments to get top-notch shots.
These are simple steps, but in photography, the difference between an awesome shot and a clunker can often be just a few seconds!