Articles
5 Tips for Better Product Photos – and Why you Should Learn Them
Photography Talk
If you read the title of this piece and thought, "I don't do product photography," don't be so sure. If you've ever put an item up for sale on an online auction site, posted something on Craig's List or tried to sell anything via an ad in your local newspaper, guess what? You've had an opportunity to put effective product photos to work for you. What's more, if you can produce the kind of photos that really highlight the features of an item, there's a good chance that you'll find plenty of people willing to pay you for that skill.
Here's the thing: humans are visually-oriented creatures. Professional marketers invest huge amounts of money in beautiful photos and video footage for their ads for one simple reason: they entice people to buy. The same concept holds true for sales on any level. Think about it. When you're browsing ads for a Saturday garage sale outing, you're going to be drawn to those that have photos of their items first, and the ones with the best photos are more inviting than others. It's simple human nature and a great thing for a photographer.
Alright, we've covered the why. Let's look at the how. Here are five tips to help you create the kind of images that give viewers the visual information to generate interest in whatever you're trying to sell, from your own artwork to other people's products.
1. Set up a sweep:
A background that doesn't have distracting features like corners and seams will help focus attention on the subject. Using a sweep creates a seamless "floor" and background that can be lit in different ways, to provide just the kind of background for a given item.

A sweep is simply a background that starts below the bottom of the frame and runs horizontally away from the camera, then curves upward into a vertical background. Paper, fabric and plastics are the most common materials used. White is probably the best color choice to start with. The size of the material you'll need depends, of course, on the size of items you'll be shooting.
2. Light the sweep for effect:
One of the advantages of a sweep is the fact that you can vary its length and curve, along with the angle of your main light, to model shadows that give you just the effects you need. Using a main light situated slightly above and in front of your "stage", you can create gradient effects, arched or angled shadows, or completely featureless backgrounds.
3. Bounce the main light for modeling:

Modeling light helps highlight the form and features of your subject, so you can make details pop or soften shadows to accentuate curves, etc. The easiest way to accomplish this is to use simple, white bounce cards to reflect the main light into the areas that need light and to build shadows where you want them. Bouncing the light also helps avoid color temperature mismatches between light sources. A matte surface will produce softer light and help prevent "hot spots".
4. Use your tripod:
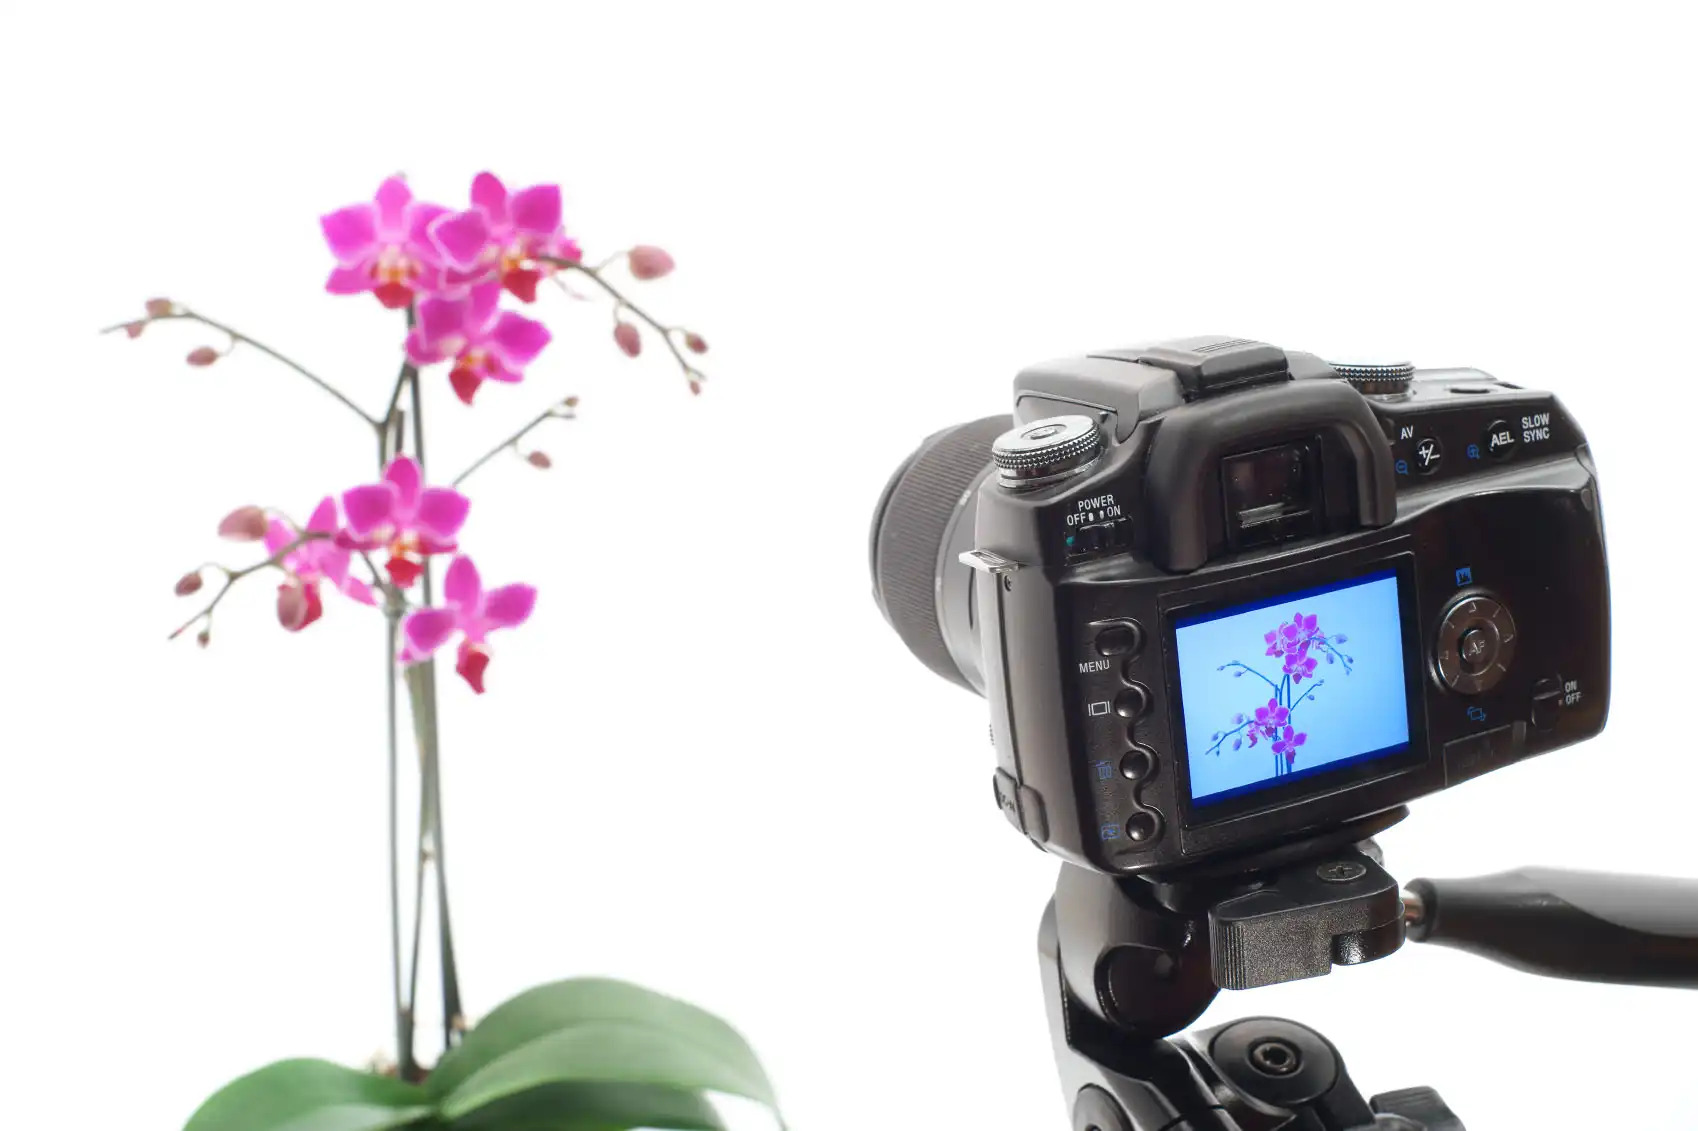
Don't count on your rock-steady grip to avoid camera shake. Tripod mounting your camera not only helps you avoid vibration, but will help you maintain your settings in between shots. It also allows you to keep your ISO setting low, to minimize noise in your images. It should go without saying that using a remote release or your camera's timed shutter setting is the logical choice, too.
5. Shoot tethered:
Your viewfinder and even your camera's LCD can make it difficult to judge your framing and lighting, much less spot those annoying little flaws that spoil your shots. If your cameras is capable, shooting tethered can be a huge aid to composing your shots and can save your back and neck, too.
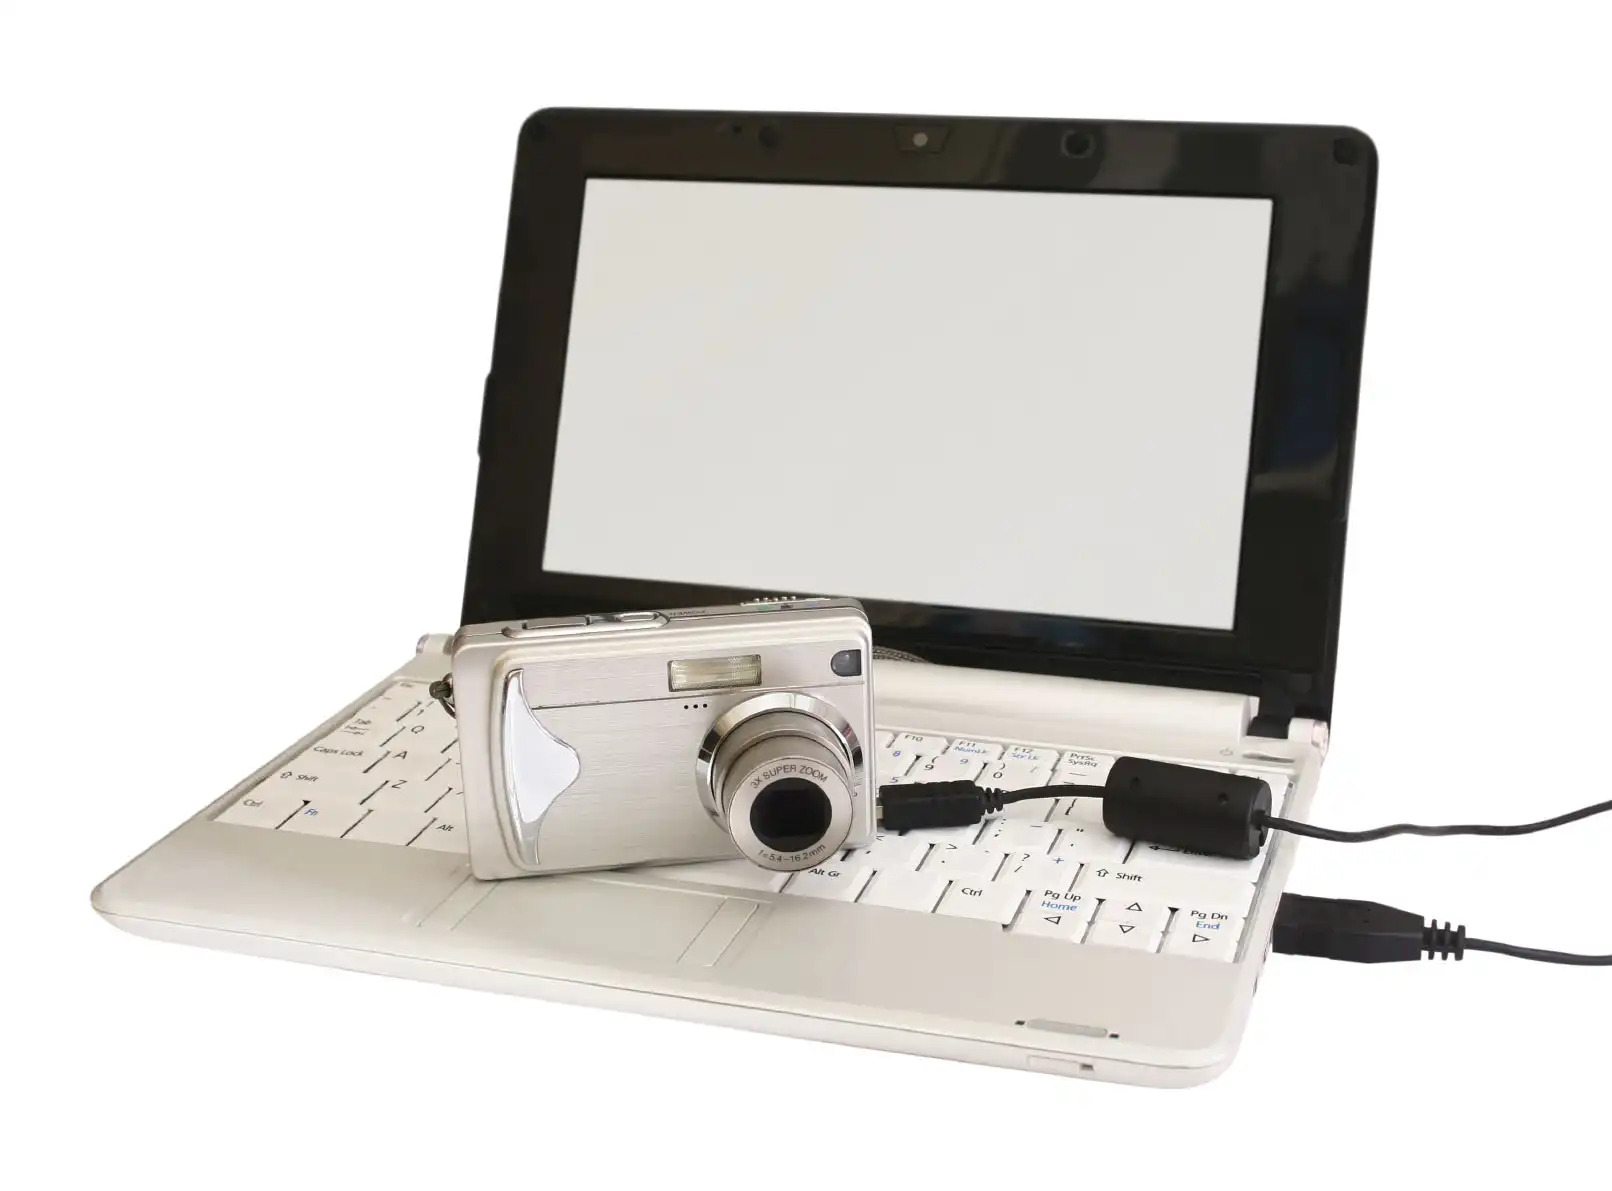
For those who don't know, "shooting tethered" means connecting your camera to a computer or tablet via a USB cable or wireless device that lets you view what your camera is seeing on a larger screen. The software that comes with many modern DSLRs also allows you to control functions like focusing, exposure compensation, white balance and on some models even zoom, as well as activate the shutter, right from the computer. Once you try it, you won't want to go back to bending over.
Bonus Tip: Check out MyStudio®
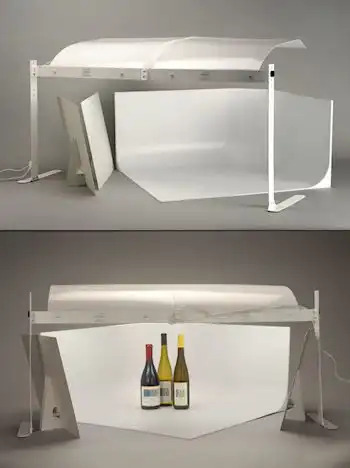
Setting up a sweep and lighting can take more time than you might want to spend, especially if you're working in a space that's used for other purposes. If, like me, you'd like to be able to "set up shop" for your product photos quickly and easily, without taking up the whole room, you really should take a look at the MyStudio line of tabletop studios and equipment from Pro Cyc. You'll find everything you need for professional-quality product shots and more, from components to complete, daylight-balanced, compact studios with the sweep molded in, like the MS32 Table Top Photo Studio. Take a look at the video below to see what you can accomplish with this awesomely setup:
{source 0} {/source}
{module Article bottom share buttons}
{module Recommended Reading}


