Photographers
The Big Woodshed BuildSo I’ve not been publishing anything here...
Monty Rakusen Photographers Blog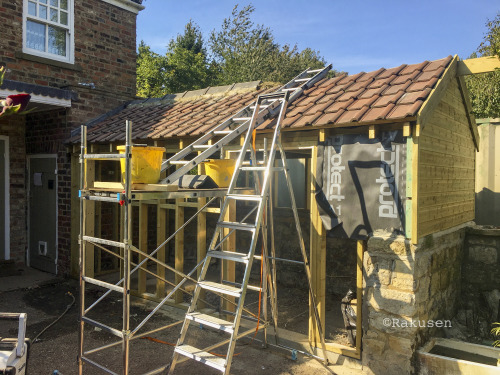


The Big Woodshed Build
So I’ve not been publishing anything here over the summer because I’ve been busy on my building project and what follows is the story of the big woodshed (and boiler room) rebuild, a tale of learning and achievement and tonnes of concrete.
Part 1
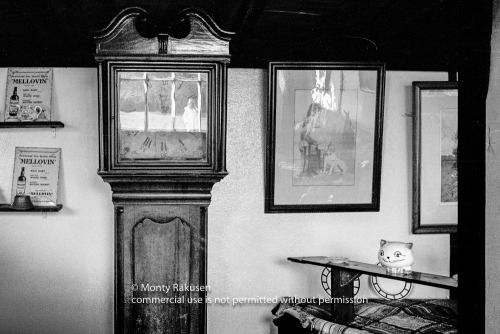
Since I came to this house 30 years ago, we have had a falling down woodshed. When I first had central heating put in, I had them put in a big green oil tank inside the shed so you couldn’t see it. This is now illegal. I was quite happy to give the shed a coat of paint now and then and a bit of DIY, but in my naivety I didn’t mind its rather ramshackle appearance. It was more than 100 years old. The roof pan tiles were maybe 200 years old, and it was built over a wall that pre-dated the house which was built before 1653, so the foundations were 400 years old at least.
Part 2
One day in early Summer I went into the shed to tidy up the firewood ready to put in more and I noticed a change. The Northern wall had moved off to the North by about 300mm and the support beams were hanging in clear space. Not only that, but above my head hung several tonnes of old clay tiles. It had the feeling of danger and something had to be done. I went and borrowed an Acrow prop from my neighbour and shored it up. I couldn’t call my usual builder because I knew it would take him too long to come and fix it. We were in lockdown and getting anyone to do anything was going to be a problem.
The other worry was that there was a suspicious smell of heating oil coming from the tank and there was a damp patch. A new tank also was needed and in order to get the old tank out of the shed the South wall would have to come down. I spoke to my friend, John Coombes and he said “well just build it yourself” and together we made drawings and he explained to me what I needed and what I should do mostly by Whatsapp, because we were both shielding.
Part 3
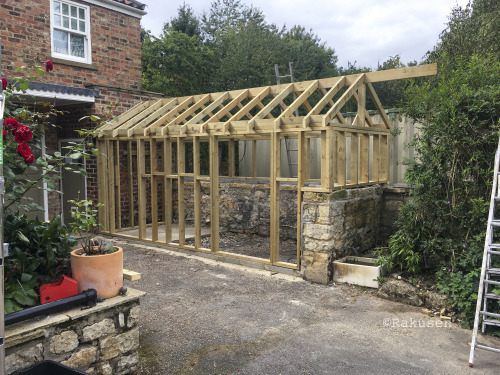
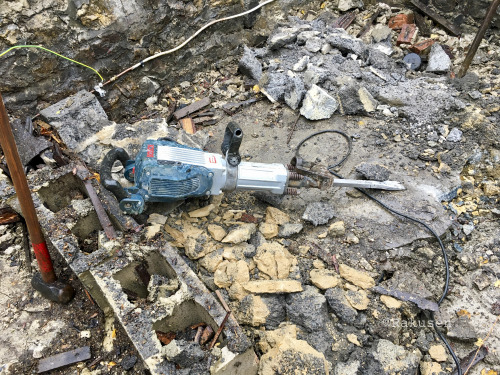
I dismantled the building carefully removing and cleaning and stacking the tiles. Much of the timbers were burnt and some saved for firewood. We found a company to supply and fit a new tank at the back of my Studio, and run the pipework in reverse. Once the building was down they removed the old tank. Unfortunately, the new oil tank is slightly smaller than the old one and we had just had a delivery of oil, so the fitter guy was happy to go home with 200litres of free heating oil! I bought an electric mitre saw which I fitted up in the studio and I proceeded to work. I put in new foundations into the ancient ground full of rock. I laid high density blocks and mixed many tonnes of concrete. Then I built the South wall on the ground and Lyndon and I lifted it into place. John Coombes helped me design the rafters and drew me diagrams of how they worked and would fit, and then I put up the ridge beam. I lost many nights sleep trying to figure out how to successfully integrate the 400 year old wall, but eventually I found the solution of laying level capping stones along it.
Part 4
Building has a lot of problem-solving involved much of which I have done at 3am in bed. Eventually I had a timber skeletal structure built and then I started to lay tiles. Stupidly I had stacked them wrongly, so that those that had been at the bottom were now at the top of the roof. This meant I had to spend days re-cutting them. Still, it worked out. I had hoped to dry-fix the ridge tiles as this is a modern building requirement and in theory much easier than wet-fixing (using cement). I do not know otherwise, and as far as I can research there is no way to dry-fix 150 year old tiles!
Several days later, and 30 buckets of cement, I had wet-fixed them. This was my only disappointment of the build and it was a crippling and exhausting experience, climbing precariously up there with bucket after bucket of cement and huge heavy black ridge tiles. Whilst doing the roof I had to learn about flashing. I had wanted to use a lead alternative but it was not available. John Coombes said I should do step-flashing, but the type of old brick that my house is built from did not lend itself to that. I rarely disagreed with John’s advice but this was one time I went against it, and I did straight flashing. In the end it looks fine, but I could have done a better job.
Once the roof was on, I was able to clad the walls with beautiful ship-lap cladding. This was a joy to do.
Part 5
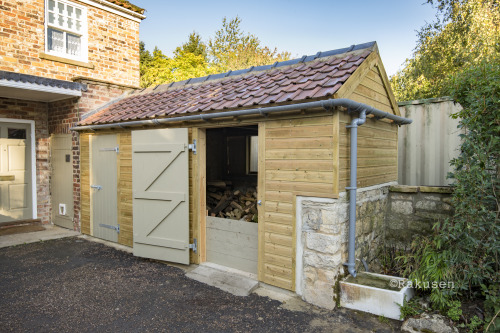
I took timber over to John’s house and he made me the doors in his workshop, and I spent a day fitting them and to my surprise they fitted. So now the project is mostly completed and I am just waiting for three dry days to oil the exterior and the heating engineer to turn up to fit a new boiler in the boiler room part of the shed. Our boiler is over 30 years old.
It was an amazing experience and my thanks go to John Coombes for his patience and advice, Ceri Pritchard for listening to my tales of building and of course Liz Rakusen and Lyndon Rakusen for supporting me.
I shall now hopefully go back to my desk to write new stories. I have been doing a little photography for my clients and I am looking forward to my next project.