Tips & Tricks
3 Beginner Smartphone Photography Tips
Photography Talk
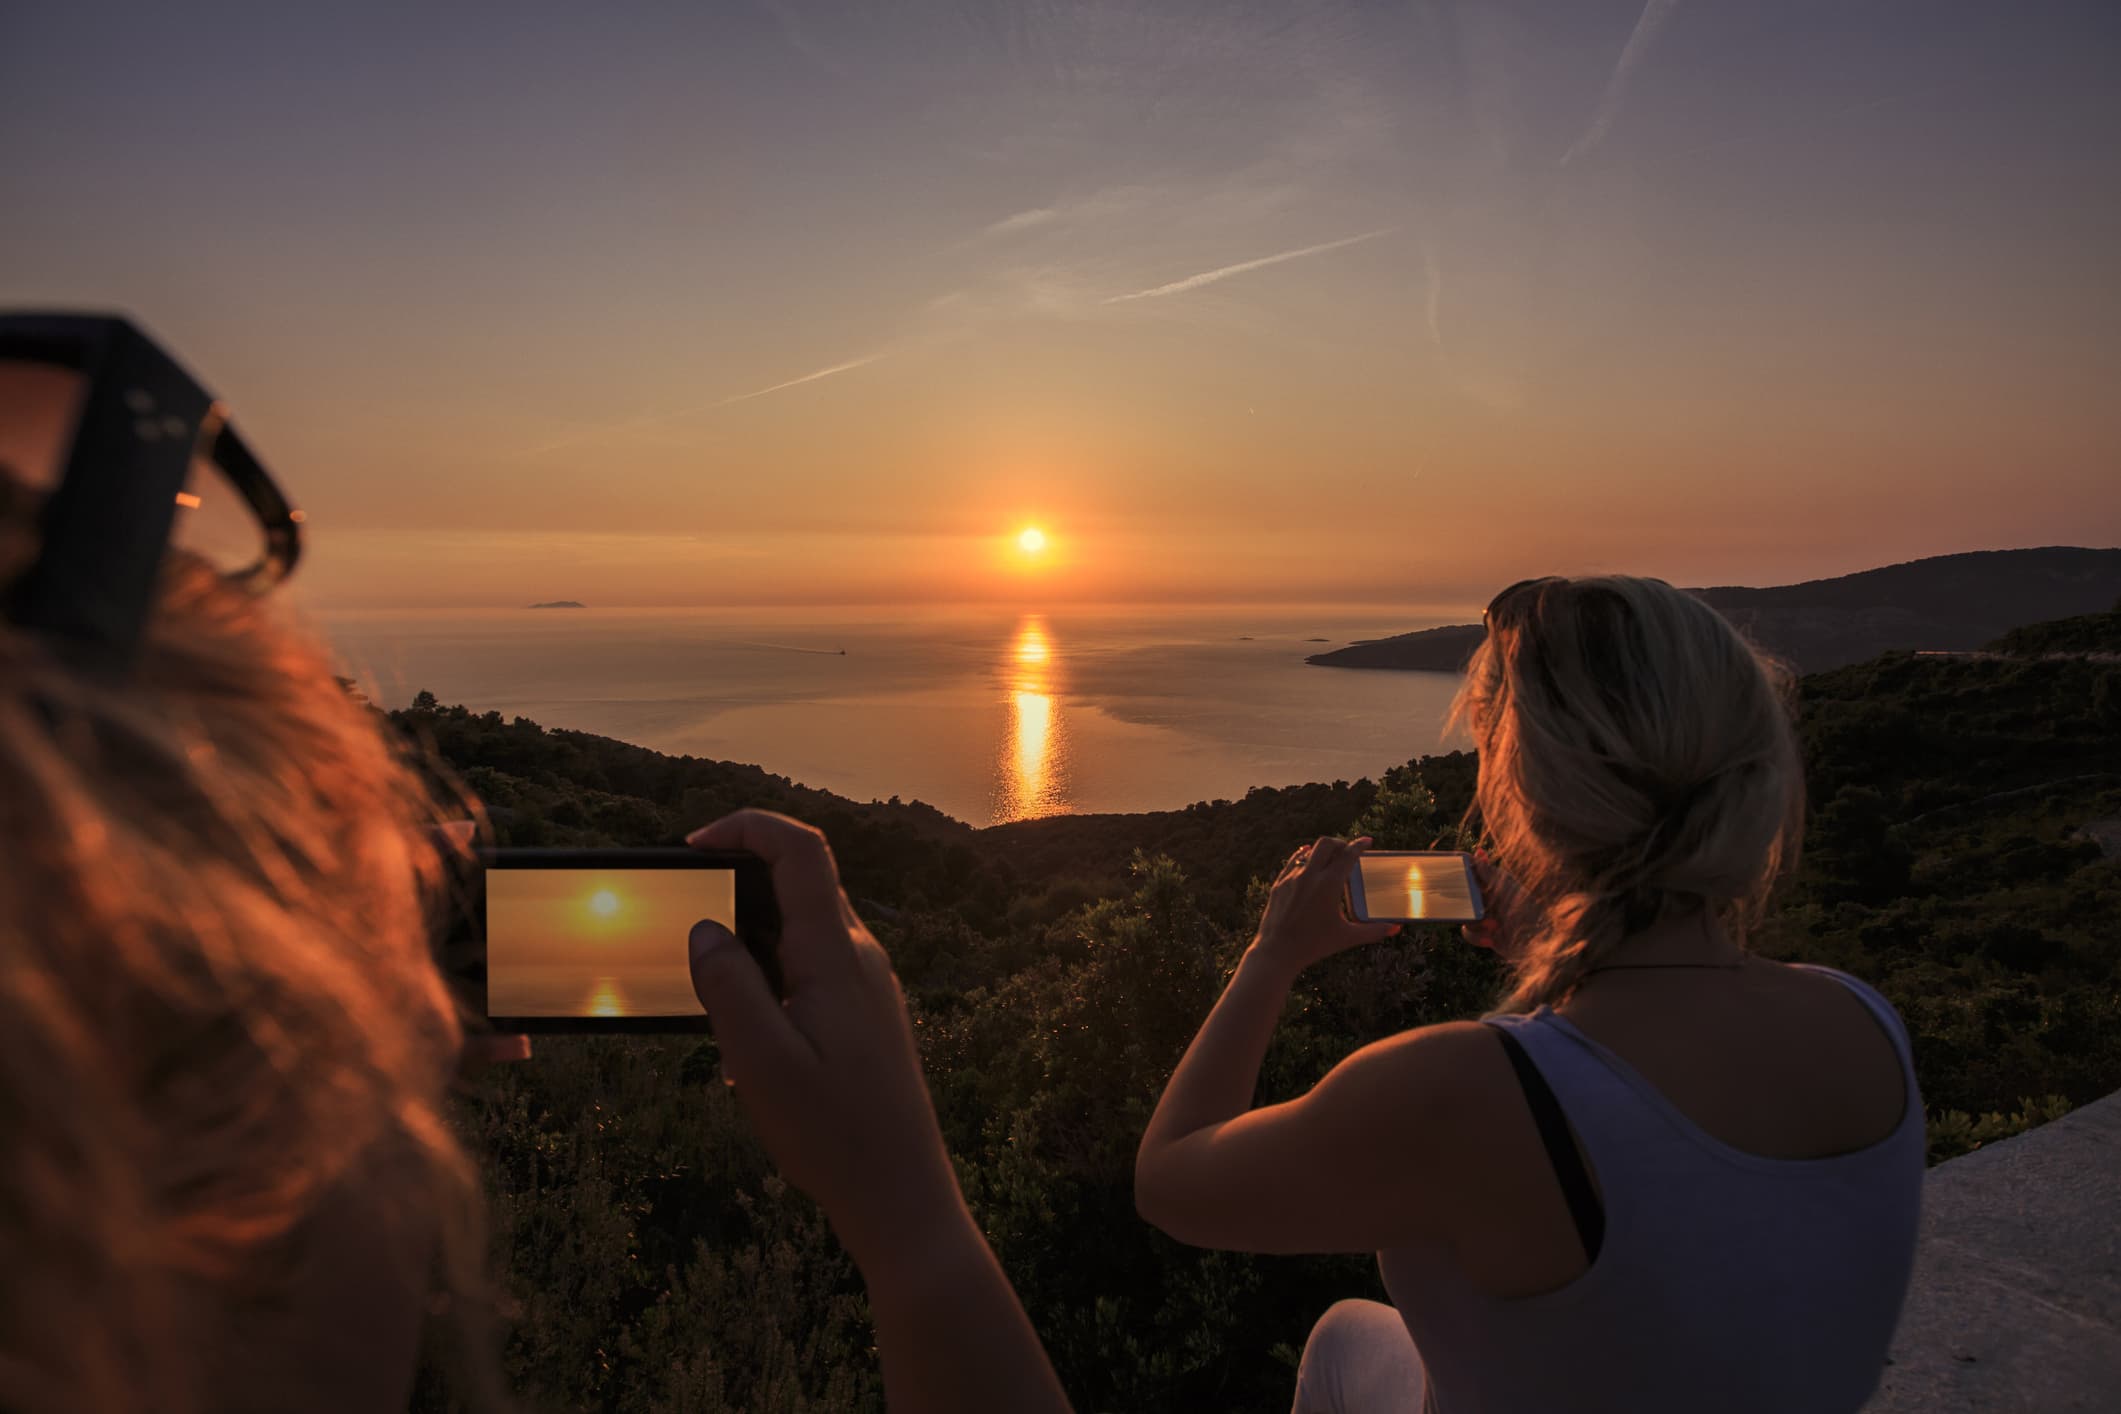
For quite a few years now, smartphones have essentially played the role of introductory camera, in the process, killing off a good chunk of the point-and-shoot market.
That means that more people than ever are using their phones as their primary camera.
That also means that it's more important than ever to understand how to use your smartphone camera to get the best possible pictures.
Here's a few critical smartphone photography tips to help you on your way.
Try Landscape Orientation
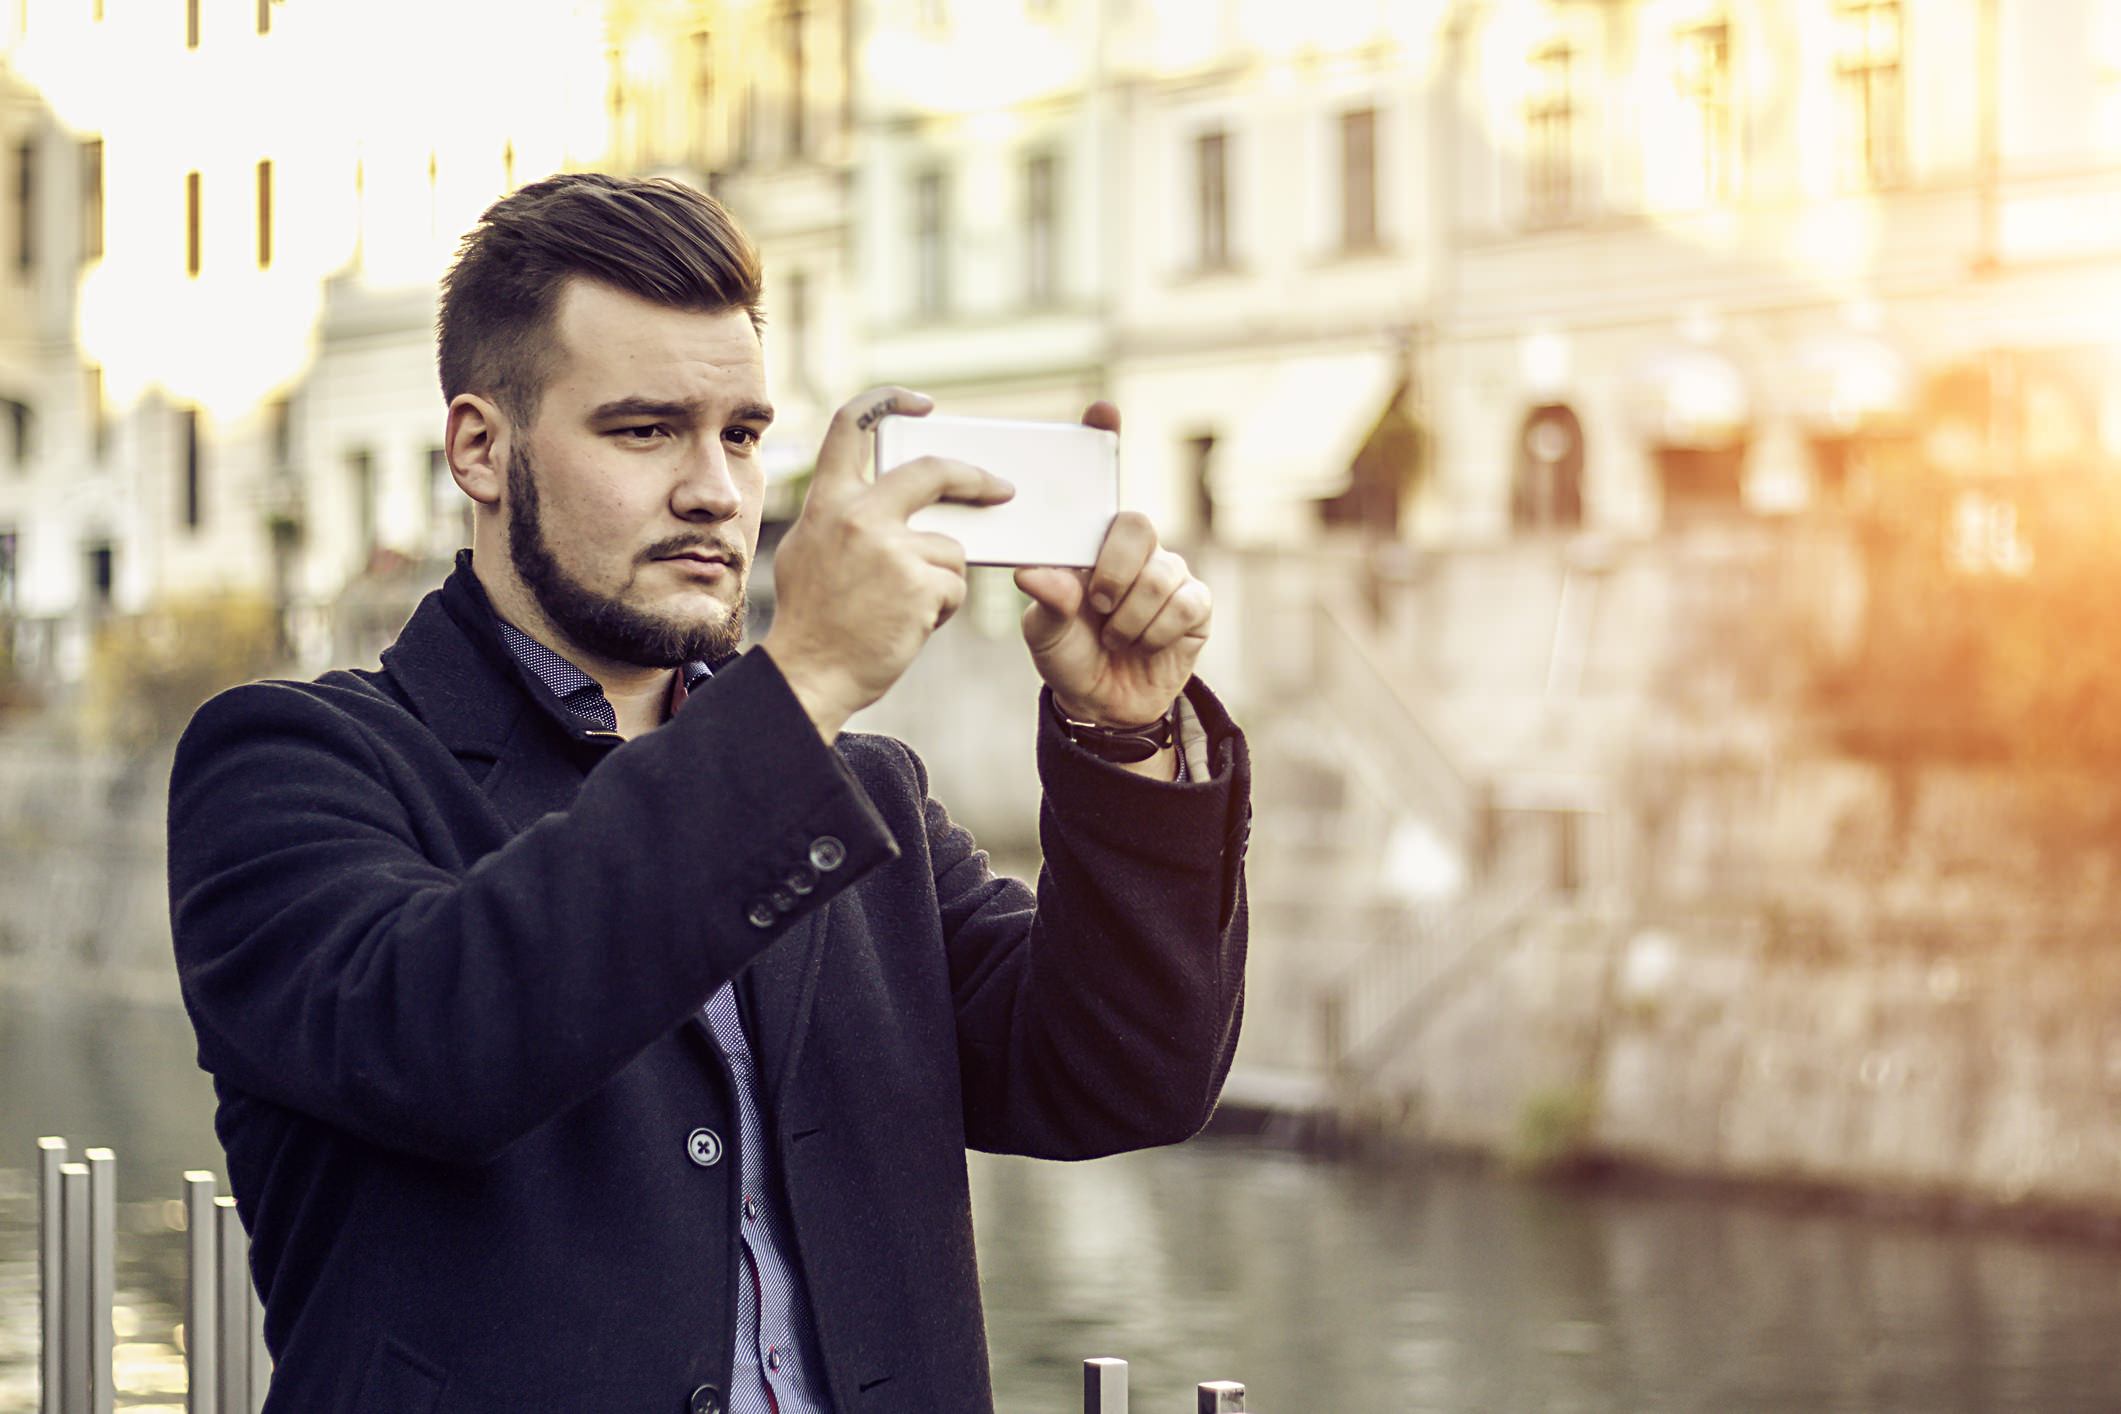
Because phones are taller than they are wide, it's simply easier to hold them in vertical orientation.
That means that a lot of beginner smartphone photographers neglect the landscape format that's so pleasing to so many subjects, particularly landscapes.
Beyond that, viewing images on a computer screen or a TV is a better experience if the image was taken in landscape format.
Otherwise, you lose about 40 percent of the image area when you shoot in vertical format, and when you view it on a widescreen, you get those ugly black bars on either side of the shot.
So, a good rule of thumb is to default the phone's position to the horizontal.
Only when you're taking photos of something tall - like a waterfall, a building, a tree, and the like - or a full body portrait, should you keep your phone in vertical format.
Learn More:
Get Geared Up
Though smartphones are certainly equipped with better cameras today than ever before, just like traditional cameras, you can still help your phone take better images by adding essential gear.
For me, there are two add-ons that are must-haves for smartphone photographers: a lens and a tripod.
Smartphone Lenses
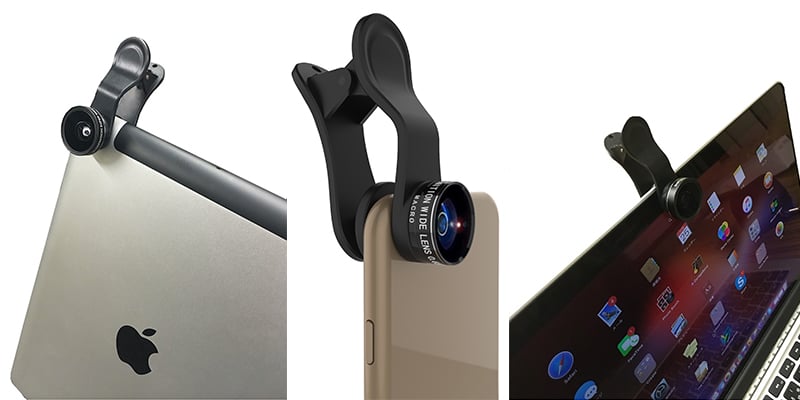
With regard to lenses, you can change the field of view of your phone's lens to accommodate anything from wide-angle to macro and even to fisheye.
That, in turn, gives you many more creative possibilities for generating unique images with your phone.
But not all smartphone lenses are made equally...
I prefer lenses like the one shown above by Kenko.
Why?
For starters, it clips onto my phone, so it's incredibly easy to use.
Just clip it on, and you're ready to go! No messing around with weird attachments or complicated cases.
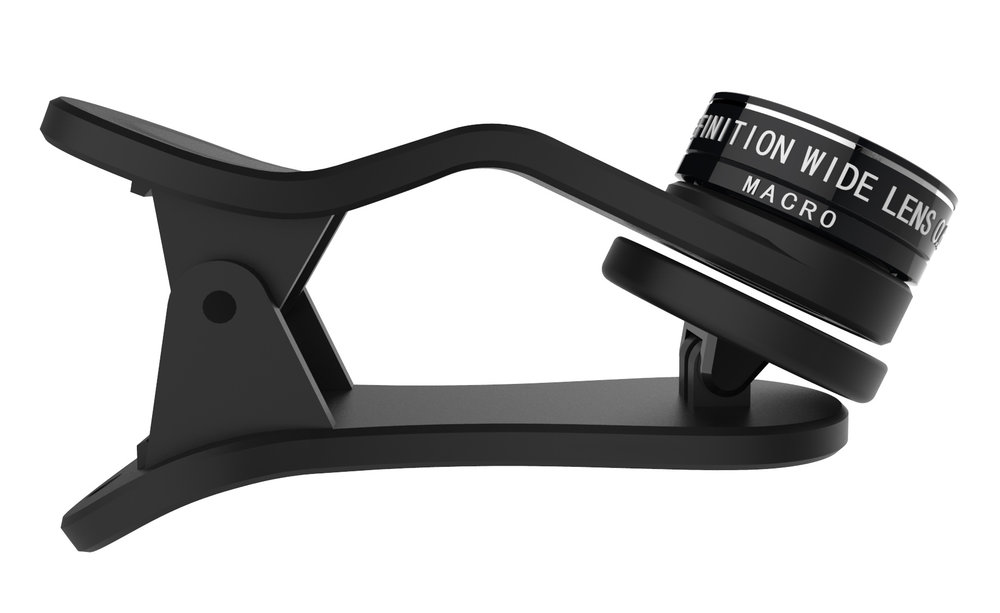
Secondly, it's made from fine-processed glass that offers the utmost in image quality.
In other words, I get clear, sharp images with this lens with excellent colors and contrast.
I also like the variety of clip-on lenses that Kenko offers.
The macro/wide-angle lens offers a .65x wide-angle view that's ideal for getting photos of large landscapes. You can also use it to photograph large groups of people with a 120-degree field of view.

If you need an ever wider angle of view, try a .4x super wide-angle lens.
With a 165-degree field of view, this lens is perfectly suited for capturing all the scenery and drama of a landscape. You can even get up close to a subject, but still incorporate its surroundings, as seen in the image above.
You can also try a 180-degree fisheye lens if you want to create images that have an ultra-unique look to them.
The point is that your smartphone has a decent camera with a decent lens, but with a set of add-on lenses, you can expand the camera's capabilities and pursue more creative images.
What's not to like about that?
Learn More:
- Get the Specs and Pricing on Kenko Smartphone Lenses
- How to Take Better Portraits With Your Smartphone
Using a Tripod With a Smartphone
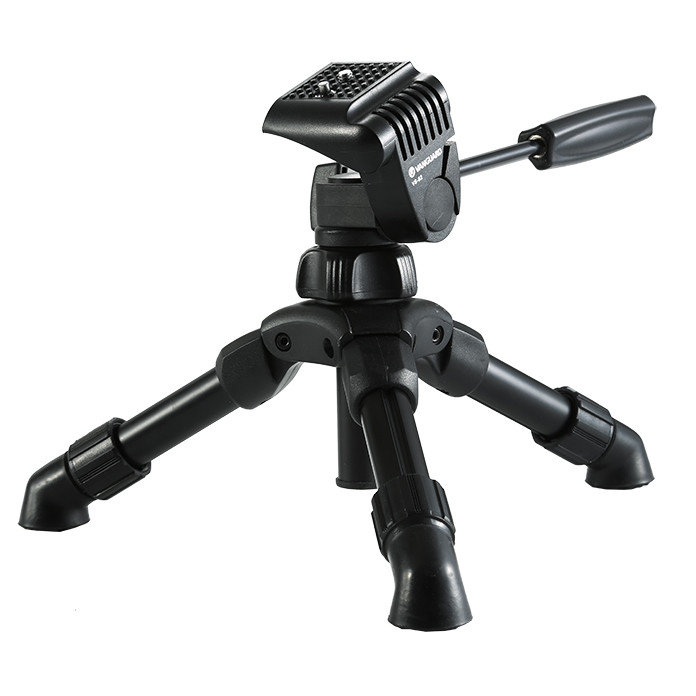
It might sound strange to use a tripod with your smartphone, but trust me when I say that it can make all the difference in the world.
One of the biggest enemies to the quality of a photo - whether you take it with a smartphone or a more traditional camera - is blurriness due to camera shake.
Naturally, one of the best ways to minimize camera shake and maximize the sharpness of your images is to use a tripod.
Of course, you don't want to lug around a giant tripod if you're shooting with your mobile phone, so getting something like the Vanguard VS-82 (shown above) is a good bet.
This little guy weighs less than a pound, and folded up, it can fit in a purse or small bag, or even your pocket.
It's got a two-way pan head that swivels 360-degrees, and it's non-slip rubber feet ensure it's got a good grip no matter if it's on a perfectly flat table or an angled surface.
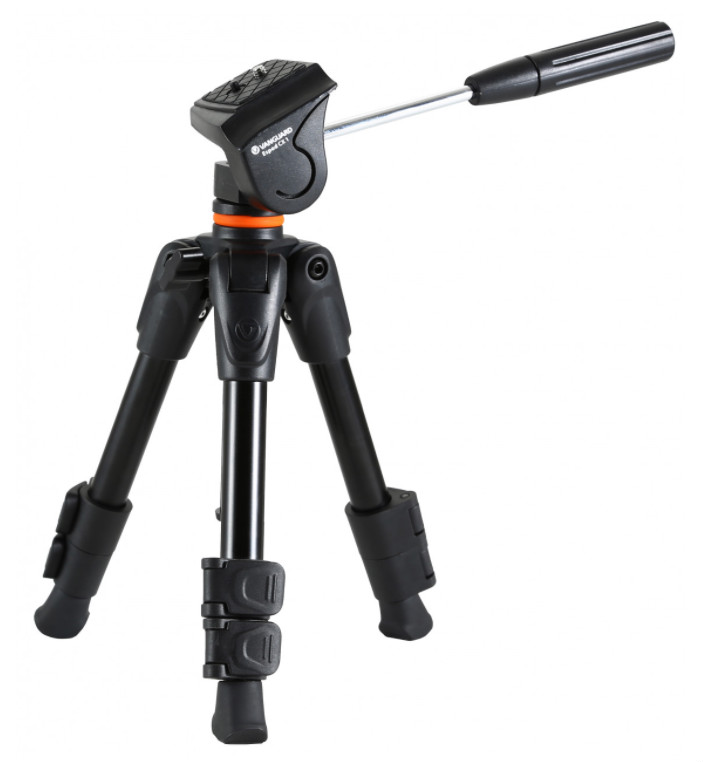
If you need something that's a little larger, the Vanguard Espod CX-1 (shown above) is an ideal choice.
It weighs a little more than the VS-82 (by about a half pound), but with three-section legs, it offers more height (up to nearly 23-inches).
Like the VS-82, the Espod CX-1 has a two-way pan head with 360-degree movement and anti-slip rubber feet for stability.
It folds down to less than 11.5-inches, so it won't exactly fit in your pocket.
However, it's still ultra-portable and an excellent solution for mobile photographers.
All you need is to get a tripod adapter for your specific phone, and you'll be good to go!
Learn More:
- Get the Specs and Pricing on the Vanguard VS-82 Tripod
- Get the Specs and Pricing on the Vanguard Espod CX-1 Tripod
Take a TON of Photos

A great way to improve your mobile photography skills is to actually take a lot of photos.
And I mean a lot of photos. There's no reason not too!
The more photos you take, the more you will develop your creative eye.
Additionally, the more photos you take, the better you'll be able to recognize features like good lighting that will only improve your photos.
What's more, your phone probably has a good deal of storage, and it's not like it's hard to swipe through your photos and delete the ones that didn't quite turn out.
You have your phone with you all the time anyway, right? Why not capitalize on every opportunity you can to improve your photography?
Learn More:
- How to Stabilize Your Camera for Sharper Images
- Doing Just This One Thing Will Improve Your Photography
That's just the tip of the iceberg regarding smartphone photography tips.
For more insights into how you can improve your mobile photography, check out the video above by Serge Ramelli.


