Tips & Tricks
Top 10 Photography Tips You Need to Master
Photography Talk
Ready to take your photography to the next level?
This is where you should start...
The following 10 tips are some of the cornerstones of great photography. They're simple and straightforward, too, so you can start using each tip right now, today, and see improved results.
Without further ado, let's get to it!
Eliminate Camera Shake

Camera shake causes blurry photos, and usually occurs when you handhold the camera.
Step one is to learn how to properly hold your camera such that you give it the most stable base possible.
That includes using both your hands - one on the camera grip and another under the camera body/lens. You should also tuck your elbows into your chest to give your arms additional support, as shown in the image above.

Another key to preventing camera shake is to make sure that the shutter speed you're using is fast enough to prevent blur.
It's easy to remember, too: just make sure that the shutter speed is equal to or greater than the focal length of the lens.
So, for example, if you're shooting with a 50mm lens, the shutter speed should be 1/50 seconds or faster. If you're shooting with a 200mm lens, the shutter speed should be 1/200 seconds or faster, so on and so forth.
Of course, using a tripod will help prevent camera shake as well.
Learn More:
Simple Backgrounds = Better Portraits
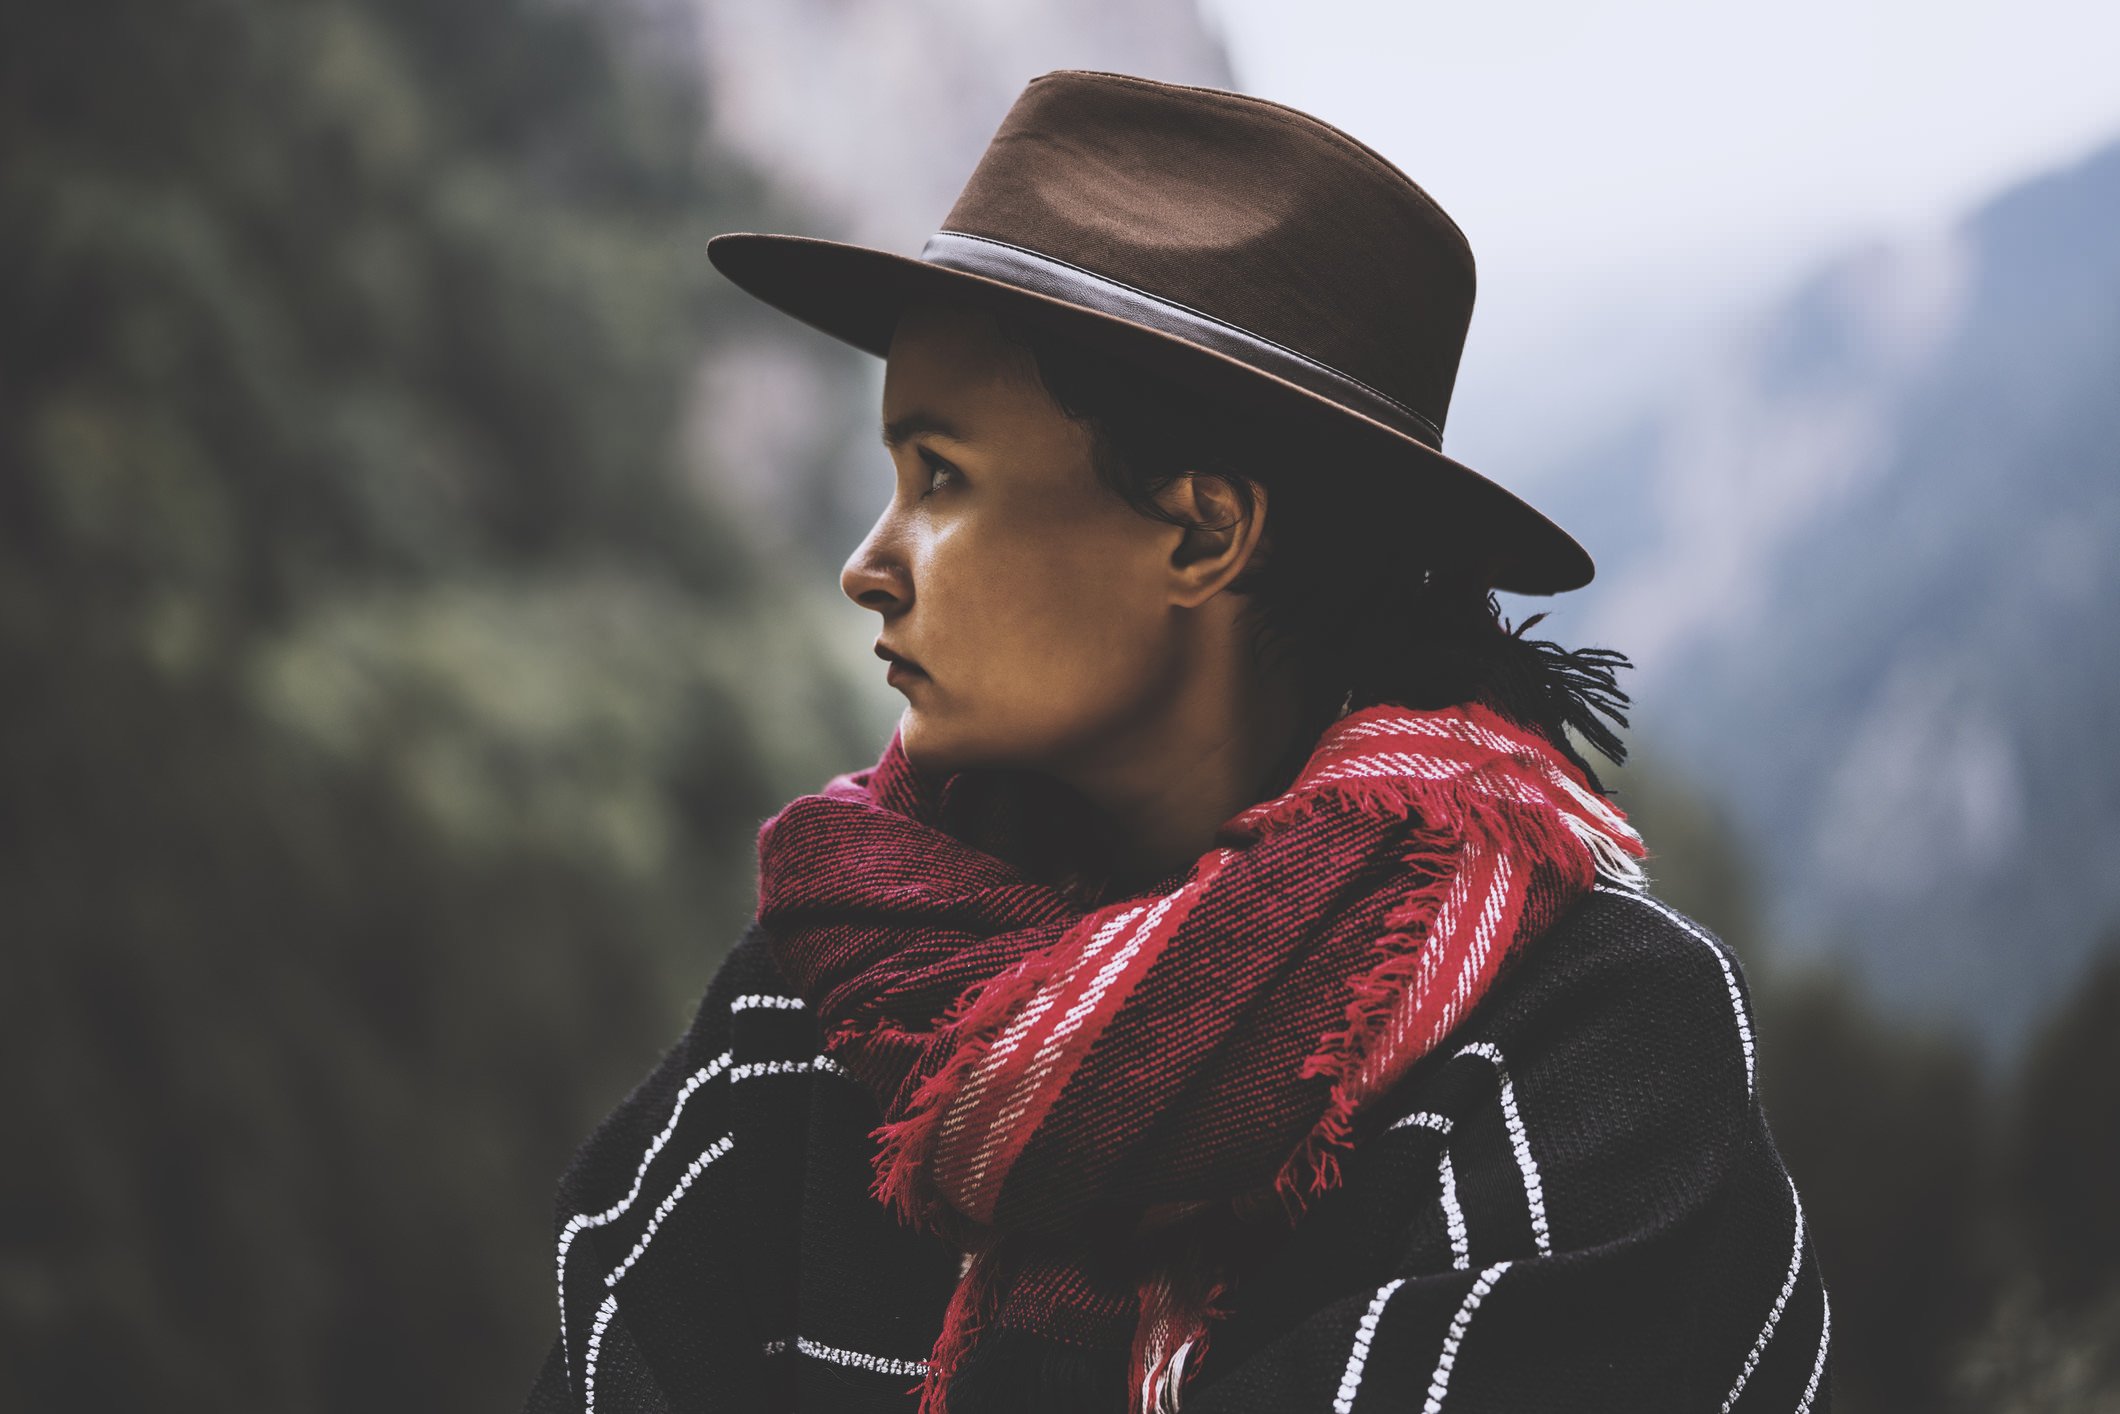
If portraiture is your thing, perhaps the quickest and easiest thing you can do to make better portraits is to simplify the background.
The whole point of a portrait is to highlight the person in the photo, not the background behind them.
If the background is too detailed, it becomes a distraction and can draw the viewer's attention away from the person in the photo.
So, find non-descript and simple backgrounds that won't compete for attention.
If you find a great spot for a portrait but are concerned about the background being too crazy, use a large aperture to minimize the depth of field and turn the background into blurry goodness, as seen in the image above.
You can also blur the background in Photoshop. Learn how to do that in the video above by Cozy Clicks Photography.
Learn More:
Don't Use the Pop-Up Flash

The light emitted from the pop-up flash on your camera is bright, intense, harsh, and unnatural. In other words, don't use it!
If you're in a situation in which there's dim lighting, opt for another avenue of getting a well-exposed image.
Perhaps the easiest thing to do is to increase the ISO.
ISO controls the sensitivity of the camera's sensor to light, so the higher the ISO number, the more sensitive the sensor will be.
If you're taking photos at ISO 400 and they're simply too dark, try ISO 800, 1600, 3200, and so on.
You'll notice an increase in digital noise as you increase the ISO, but a little noise is a small price to pay for a better exposure.
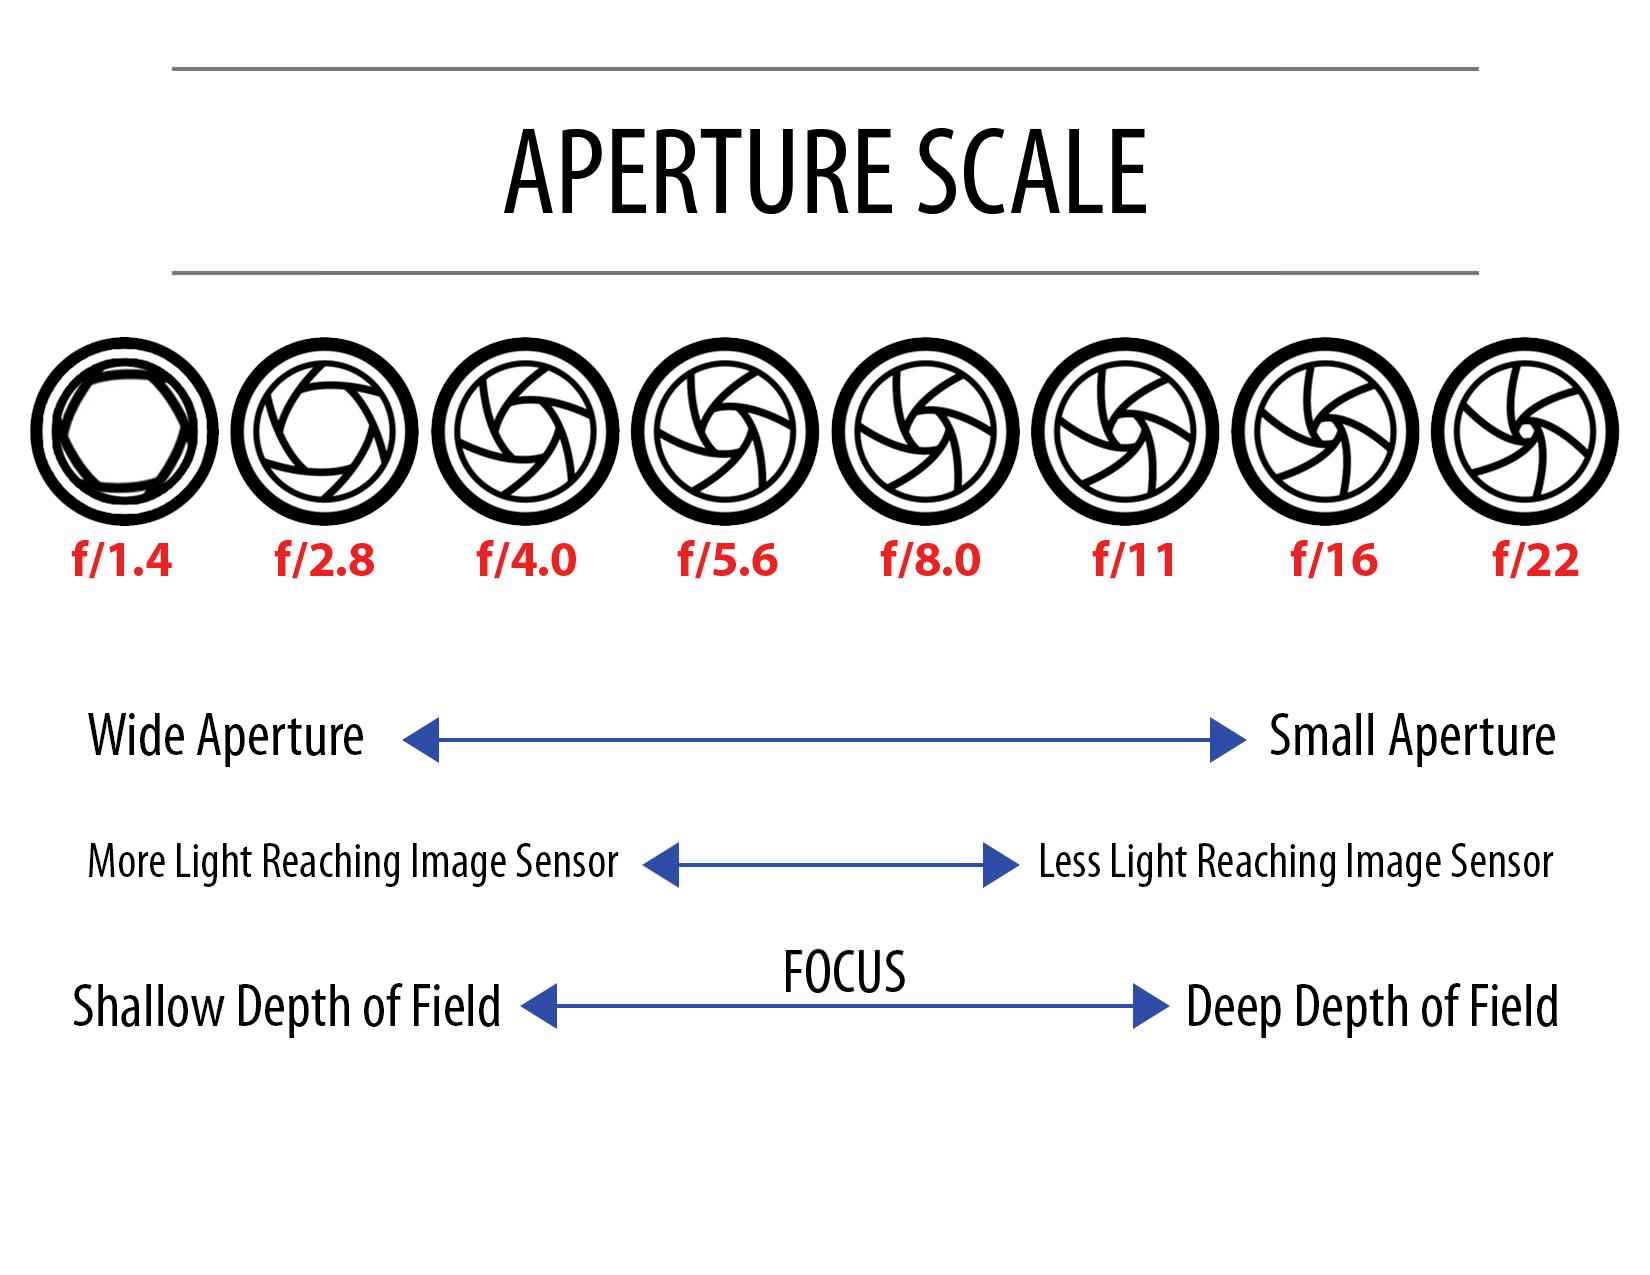
You can also open the aperture to allow more light into the camera's lens.
The aperture is the set of blades inside the lens, and its size is measured in f-stops.
The f-stop scale includes very large apertures like f/1.4 to a very small apertures like f/22, as seen in the chart above.
If you're shooting in low light, open up the aperture to brighten up the image.
Learn More:
Tailor the ISO to the Situation
As noted above, ISO controls the sensitivity of the camera's sensor to light.
That means you need to use the appropriate ISO for the situation.
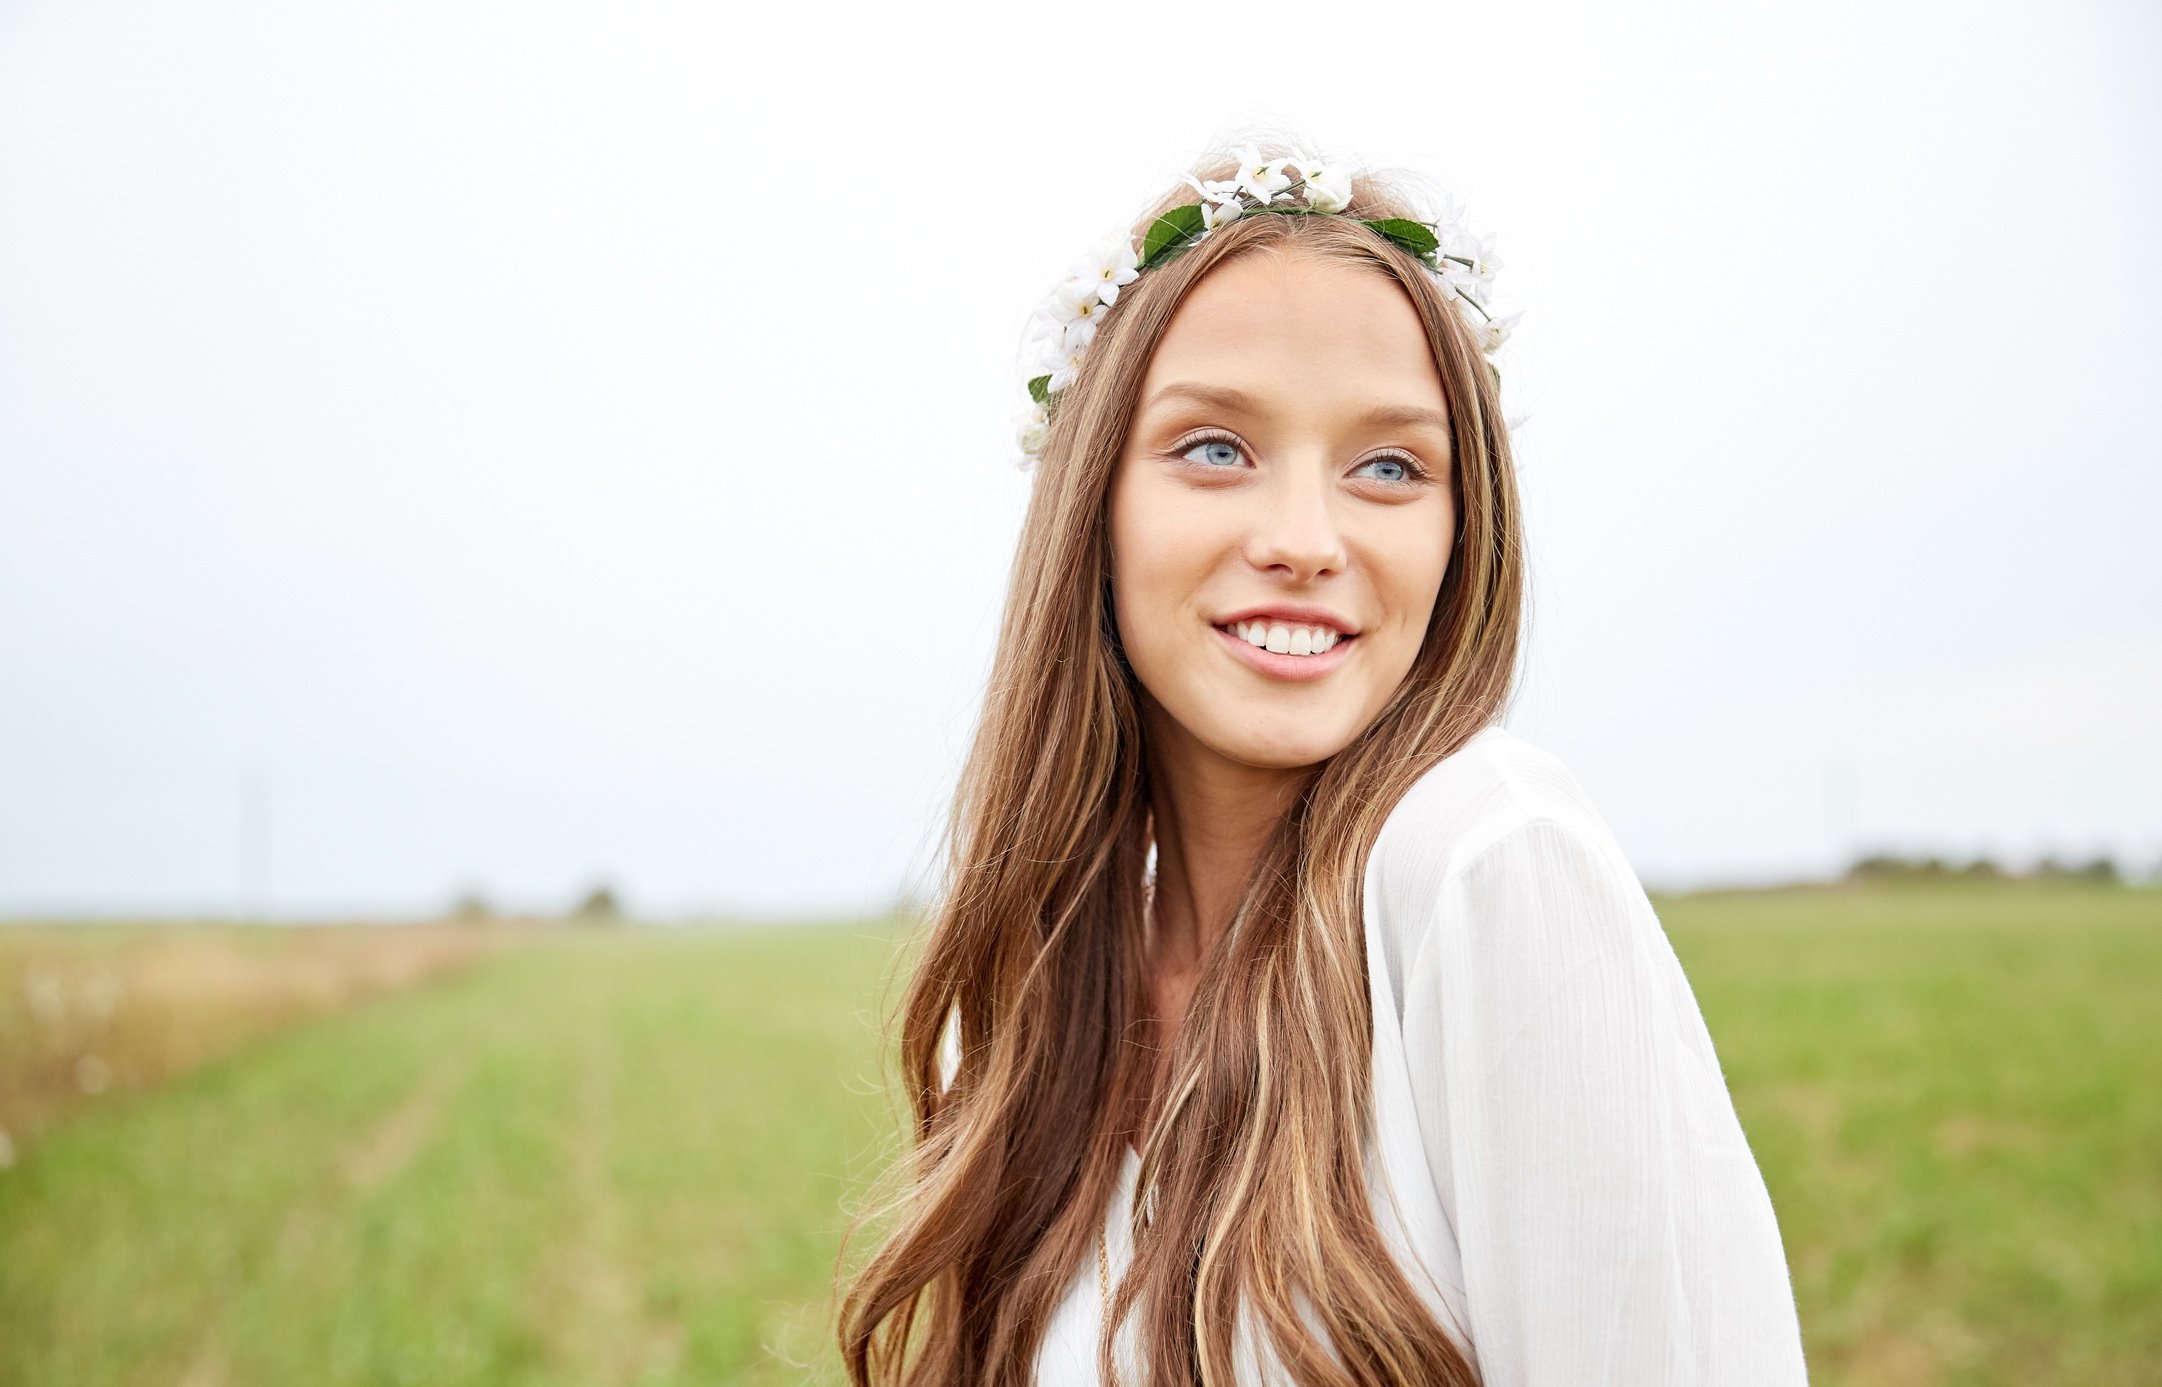
For example, if you're shooting at midday in broad daylight (as is the case in the image above), minimizing the ISO (which might be anywhere from 50-200 depending on the camera) is prudent.
That's because when there's an abundance of light, you don't need to make the sensor even more sensitive to light.
Conversely, when there's little light, bump up the ISO. Many of today's digital cameras can shoot at ISO 3200 and above without much digital noise evident in the shot.
Learn More:
Get Creative With Shutter Speed
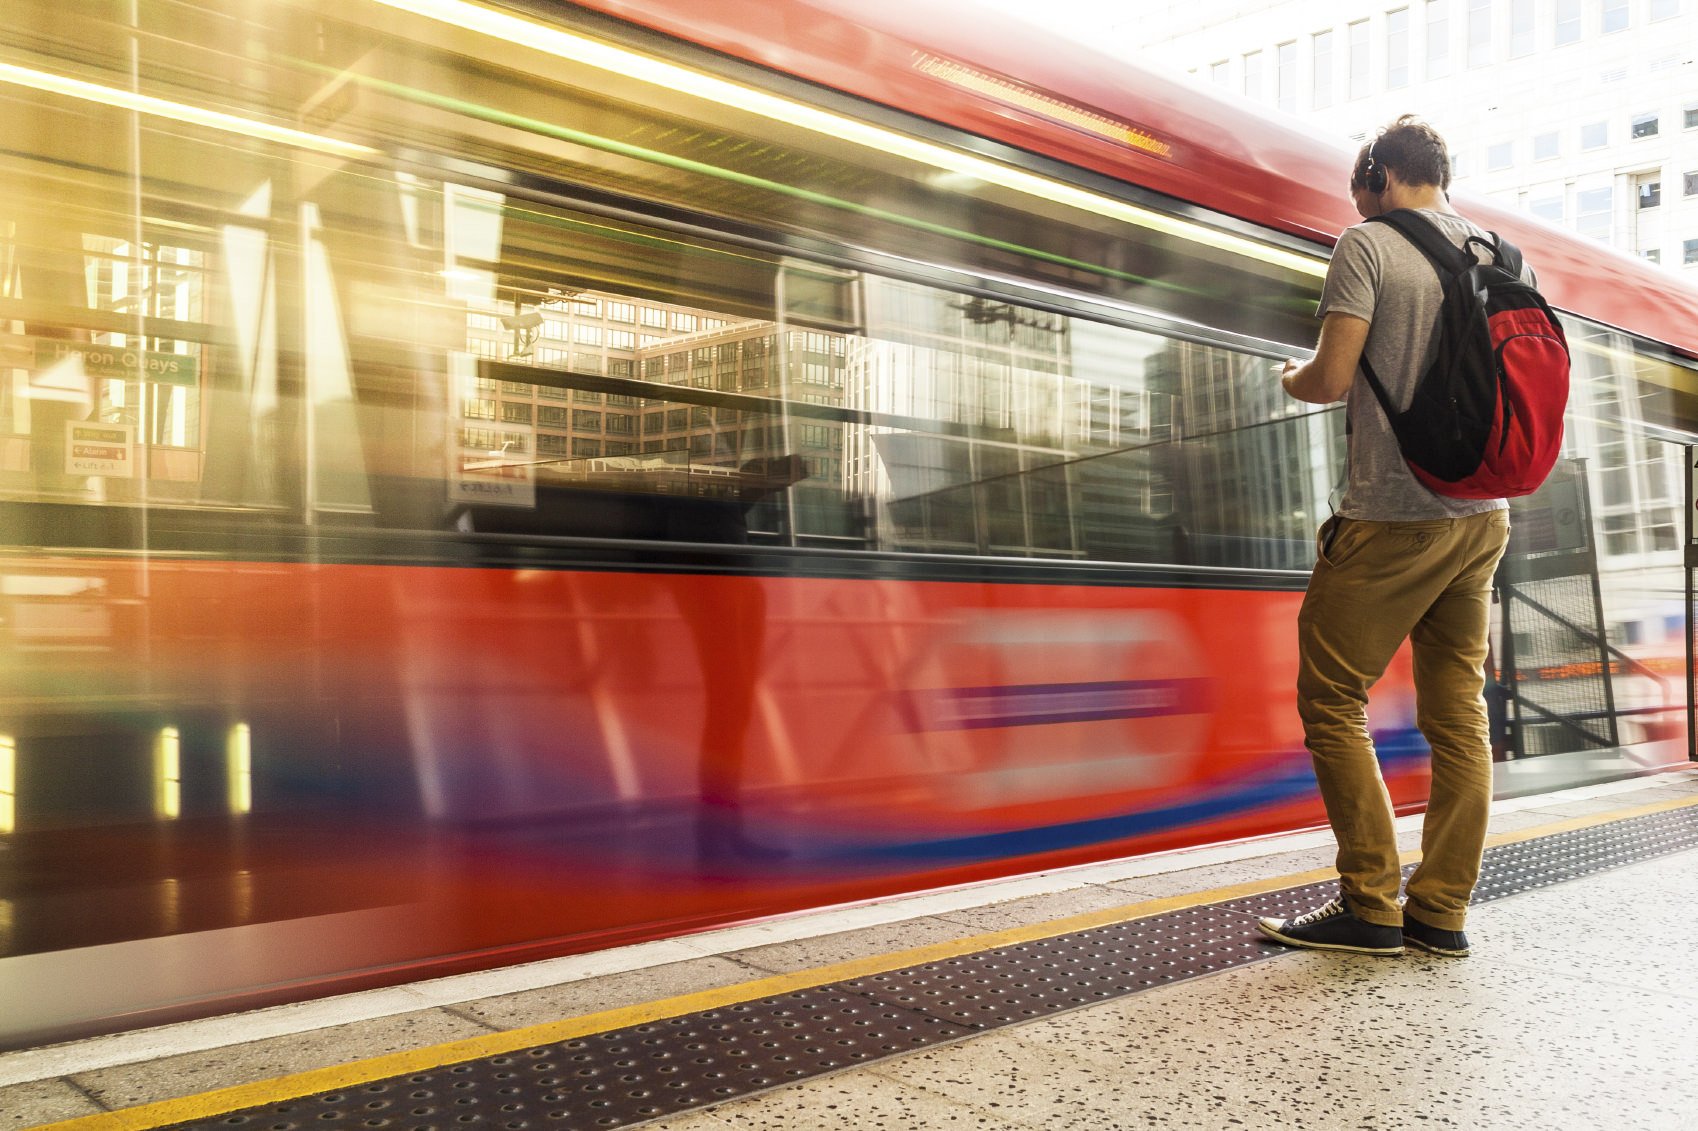
Of the three exposure settings - aperture, shutter speed, and ISO - shutter speed offers perhaps the most possibilities regarding creative photos.
That's because you can freeze movement with a fast shutter speed or blur movement with a slow shutter speed.
When slowing the shutter speed, you have all sorts of options for creating a sense of movement in the shot.
You can create images with light trails from passing vehicles, blur the movement of a person as they walk, run or dance, and even create photos of the night sky with exaggerated star trails.
All you need is a moving subject, a slow shutter speed, and your camera mounted to a tripod!
Learn More:
Try Panning
In addition to freezing or blurring movement, you can also combine the shutter speed you use with panning the camera to create another interesting visual effect.
Panning might seem a little complex, but it really isn't.
To begin, select a shutter speed that's slightly slower than you'd normally use - perhaps by one or two stops. For example, if you'd normally shoot at 1/125 seconds, lower it to 1/30 seconds.
Then, as the subject moves in front of the camera, move the camera along with it, maintaining the subject in the frame. As you do, keep your finger on the shutter button, pressing it down halfway to lock the focus.
Next, press the shutter all the way down, ensuring that you continue the panning motion, even after the shutter has fired.
See how to get awesome panning shots in the video above by Josh Katz.
Learn More:
Get Familiar With the Sunny 16 Rule

When you move from shooting in full auto mode to shooting in manual mode, it can be a little overwhelming.
After all, that means that you're in charge of determining the appropriate aperture, shutter speed, and ISO to get a good exposure.
The Sunny 16 Rule helps you figure out what settings to use, though.
If it's sunny out, dial in an aperture of f/16, a shutter speed of 1/100 seconds, and an ISO of 100.
But the rule also accounts for other situations, like when it's slightly overcast or when it's really cloudy, as seen in the chart above. Check the Learn More link below for a detailed lesson on the Sunny 16 Rule.
Learn More:
Use the Rule of Thirds

One of the most common (and easiest) photography rules you can use to improve your photos is the rule of thirds.
The rule simply states that you should divide the frame into nine equal boxes (as seen above) and use the gridlines to help you compose the shot.
The idea is that if you place the subject along one of the horizontal or vertical lines - or, even better, at one of the four intersecting points - that you will have a much stronger and balanced composition.
Learn More:
Add Depth to Your Landscapes

The biggest issue with creating a compelling landscape photo is often conveying the size, scale, and depth of the scene. After all, you're trying to represent a three-dimensional space in a two-dimensional medium...
To give your landscapes more depth, you need to incorporate foreground elements into the shot, like the rocks in the image above.
By taking a lower shooting position, you can include things like rocks or flowers in the immediate foreground. You might also include a person or a manmade object - a fence or a bicycle, for example - to give the scene a greater sense of dimension.
Additionally, you can use a wide-angle lens to improve the depth of the shot.
Since they have a wider field of view, wide-angle lenses allow you to include more foreground in the scene. This is especially true if you shoot in vertical format.
In fact, a vertical format landscape photo often has the most depth for that reason. So, try tilting your camera on the vertical plane, find something to incorporate into the foreground, and you'll have a delightfully deep image to show for it.
Get additional ideas for capturing more depth in your landscape photos in the video above by NatureTTL.
Learn More:
A Polarizing Filter Will Elevate Your Landscapes
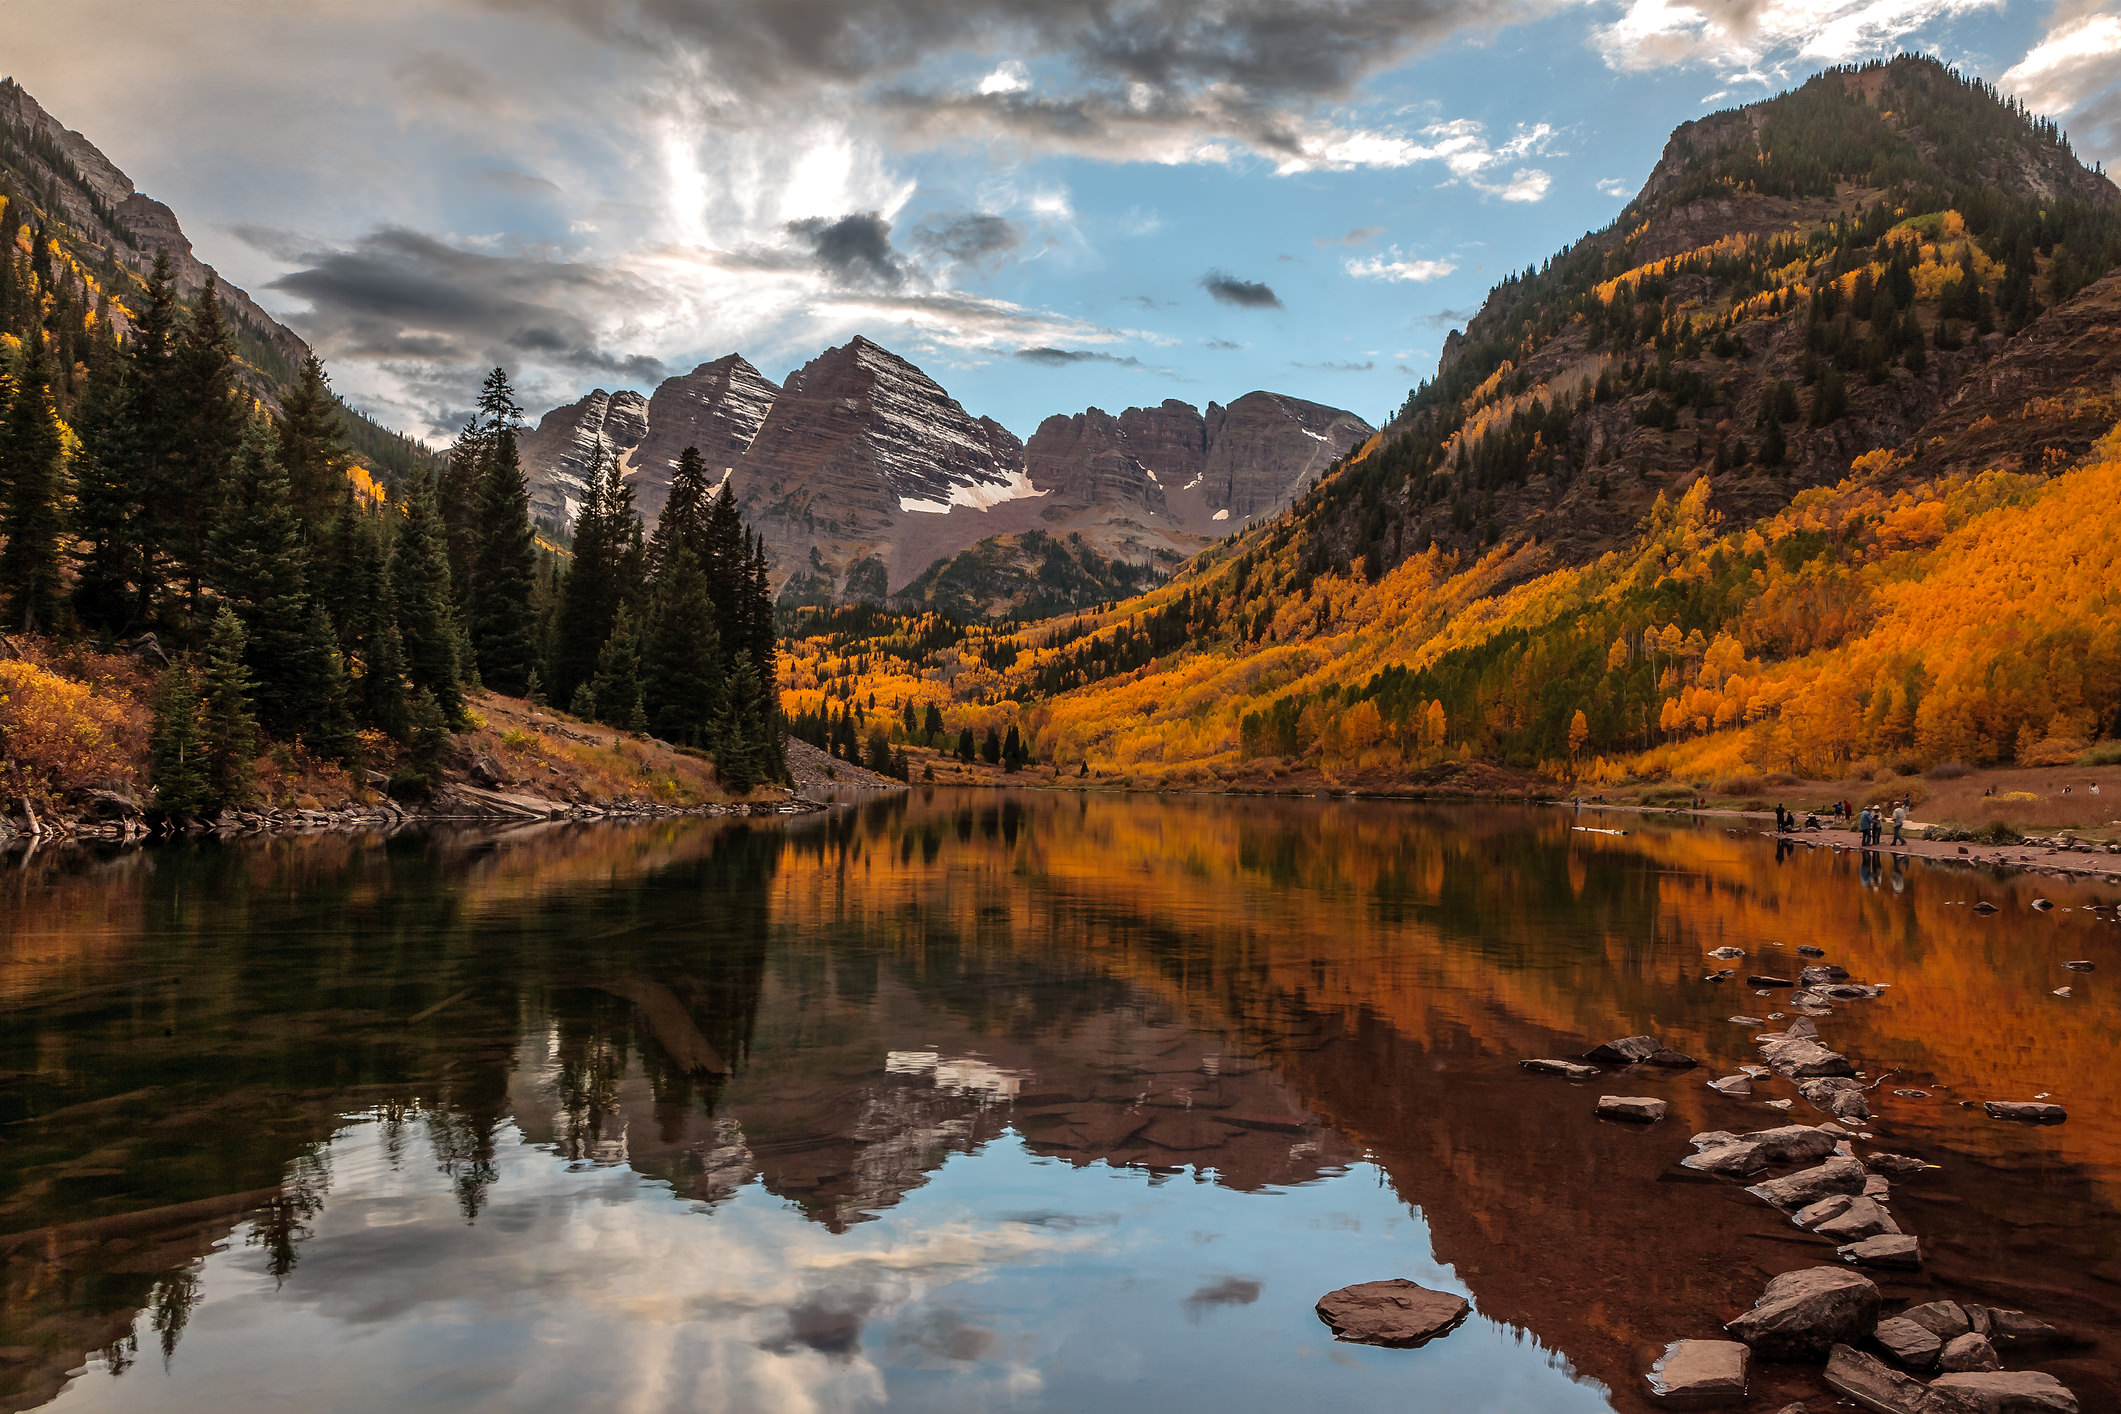
One of the very first things you should buy as a landscape photographer is a polarizing lens.
Polarizers are great because they can improve your landscape photos in so many ways.
For starters, they create more contrast in the sky by making the blues deeper and the white clouds brighter.
Second, polarizers cut down glare off non-metallic surfaces like water. That means you can actually see into the water instead of seeing a glare from the sun.
Polarizing filters also cut down atmospheric haze, giving you a cleaner shot in which you can actually see background elements.
In other words, what's not to like about a polarizer?!


