Tips & Tricks
How to Create Smooth Head Turns in 2D Animation With Cartoon Animator and After Effects
Tuts+PhotographyCreating and animating head turn motions in 2D is easier than you think with the help of Cartoon Animator and After Effects. These simple effects can add that extra 'wow factor' to engage the audience in video presentations, livestreams and more.
What You'll Learn in This Animation Tutorial
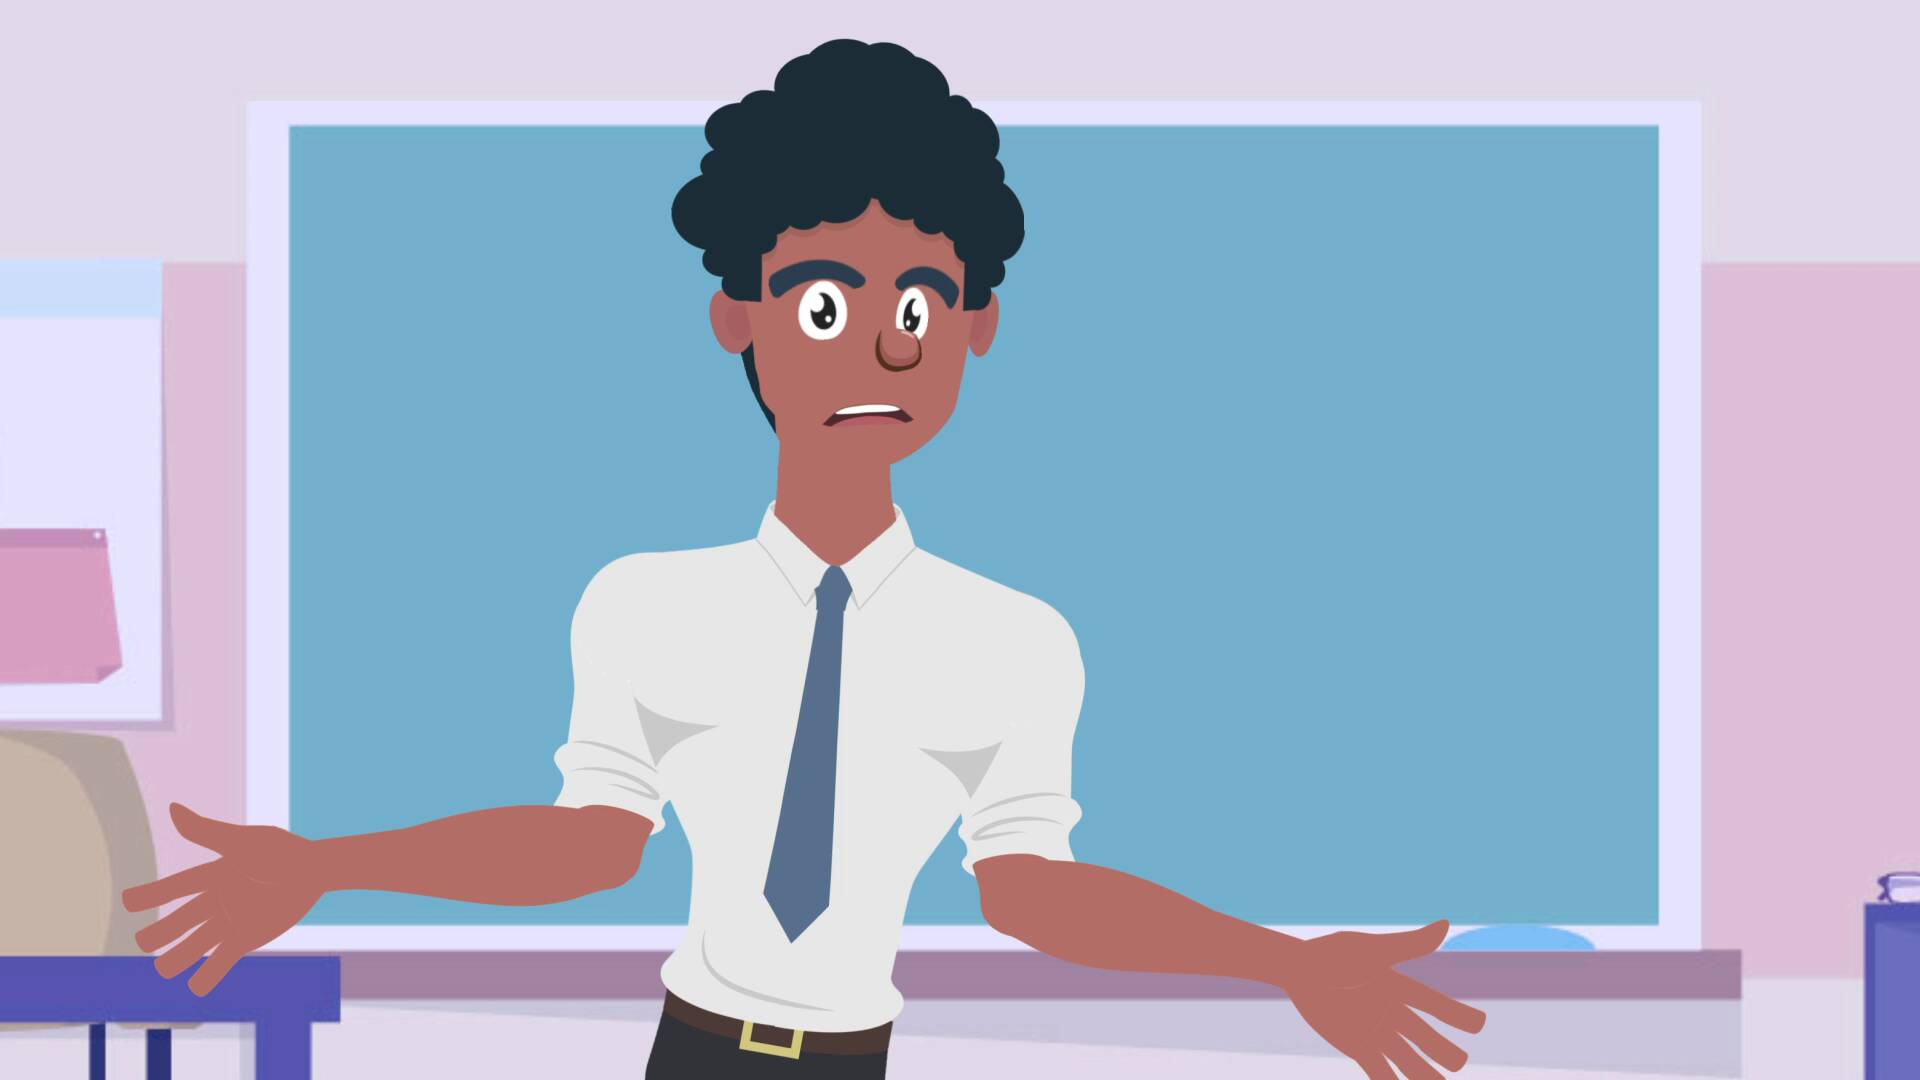
In this tutorial, you will learn how to animate a smooth head turn using Cartoon Animator and Adobe After Effects. You can create your own character, or use default characters in a number of different styles (including comic figures, animals and paintings).
- How to create a custom head using your own designs or character packs from Envato Elements
- How to import custom character elements such as eyes, nose and mouth etc.
- How to create a smooth and simple head turn motion for a 2D character using Cartoon Animator
- How to further customize our head by adding extra sprites
- How to enhance the animation with Adobe After Effects by adding animated transitions
A smooth and simple head turn motion would work perfectly with a talking avatar, for example, which we explored how to make in our last tutorial. In our next tutorial you'll learn how to apply these same techniques to animate a photograph.
What You'll Need
To follow along with this tutorial you will need your own version of Adobe After Effects and Cartoon Animator. You can download a free trial version for Cartoon Animator on the Reallusion Website.
You will also need the following graphic packs from Envato Elements. Click on the links below to download them:


1. Add a Base Bone
Before we begin to create our own custom turning head, let's take a look at the Content Manager inside Cartoon Animator. Here we will be able to browse through the library of character templates, heads and body shapes that we can use as a starting point.
You can access the Content Manager by going to Window > Content Manager or by pressing F4 on the keyboard.


Once you have access to the Content Manager, select the Actor tab and then select Template.


Add a Base Bone
From here you can browse through all the different types of characters, heads, body types and accessories that you can use for your talking avatar character.
To create a custom character head we will need to start with a Bone. You can find this by going to Actor Template > Character > G3 > 5_G3 Free Bone > Base Bones. Select the Base Bones and click and drag it into the stage window.


From here you can enlarge the bone by clicking and dragging the mouse if needed.


2. Add a Template Head
To begin to import your own custom head elements, we need to first go into Composer Mode by clicking on the button near on the top left of the stage preview window.


Within Composer Mode go to the Content Manager and select one of the template heads to use by selecting the Head tab.


For this tutorial we will use the Roger_F head template. Within the Head tab select Head Template > Head > _G3 360 > Roger_F to select the head template.


Now click and drag the head template onto the Bone, which is inside the stage preview window.


Use the mouse to enlarge the head by clicking and dragging if needed.


3. Use the 360 Head Creator
Cartoon Animator's 360 Head Creator is where all the magic happens! Using this tool you will be able to animate your 2D face so that it can turn and look at different angles easily and naturally with up to 360 degrees of motion.
To access 360 Head Creator click on the button located on the left toolbar or by going to Modify > 360 Head Creator.


This will open up the 360 Head Creator where we can begin to make changes to our 2D head and set up the how it will look from different angles.
You can preview how this effect has already been applied to the template head by clicking on the Angle Points. By default the tool will show 9 angle points (up, down, left, right, centre and one for each corner).


Preview
You can also preview how the head might look during animation by clicking on the Preview button on the bottom left of the tool.


Once preview mode has been activated, simply move your mouse inside the angle box and watch how the template head animates as you do so.
For example, if you move your mouse pointer to the bottom right quadrant the template head also looks towards the bottom right.


And if you move the mouse to the top left, the head should also animate and move to look towards the top left.
Take the time to move the mouse around and view all the different angles of the head. This will help give you a good idea of how your turning head will animate, as well as showing you any noticeable flaws in your design or animation.


4. Import a Custom Head
Cartoon Animator has lots of options to create customized heads in the program directly, but you can also import your own custom head assets. We'll use the Sprite (I) tab found within the 360 Head Creator.


From here you can simply click on the element of the face you would like to replace. For example we can click on the Face which will then be highlighted by a thin green box. You can also click on the bone reference points (the yellow crosses) to select assets.


Once the face (or whichever element you want to replace) has been selected, simply click on the Replace button.


This will then open up a window where you can browse for the location of your replacement asset. Select the new face you would like to use and then click Open.


Adjust and Position
Once the new head has been imported, use the mouse to make any adjustments (such as resizing and positioning). In this example the imported head is placed too far down, so we moved it up slightly to better fit the proportions for the rest of the face.


Repeat this process for the rest of your assets, such as the Left Brow, Right Brow, Left Eye, Right Eye Nose, Mouth etc. until you have used all your custom images.
Some elements such as the mouth and the eyes may have several assets that you can import (e.g. SmileOpen, PuckerLip, OpenLip, ShowTeeth, MouthOpen, Normal, etc.)


Remove Unwanted Elements
Once you have imported all the assets that you want to use, you can then remove unwanted elements left over from the template. This is done by selecting the element with the mouse and then hitting the Delete button in the 360 Head Creator.


Once you are happy with the way your face looks, it's time to move on to the next step where we can refine the look of our face from different angles. We can also learn how to add extra sprites (instead of just replacing them) to further customise our character.
5. Add Extra Face Elements
To add extra elements to the face (e.g. facial hair, glasses, extra hair) we need to close 360 Head Creator and open up the Layer Manager. This is usually located as a tab on the bottom right of the screen.


Add Image
To add an extra element to our face design click on the Add Image button near the bottom of the Layer Manager.


This will then open up a window where you can browse for the location of your asset. In this example we want to add a pair of glasses to our face. Select the glasses you would like to use and then click Open.


Size and Adjust
This will add the glasses to you head. Use the mouse to make any adjustments (such as resizing and positioning).


Change Layer Order
You may also need to change the layer order for your imported asset (e.g. the glasses). In this example we would like to move the glasses above the eyebrows.


6. Refine the Head Turn Animation
Now that we have all our face elements in place, return to the 360 Head Creator to further refine our head turn animation. Click on one of the Angle Points to get started. For this example we will click on the Left Angle Point.


From here you can see that we need to make a few adjustments to some of our assets. In this example you can see that we need to replace the nose and change the angle of the glasses.
To do this select the element that you want to adjust and then use either the Transform or Deform tools to make your adjustments. Each tool works differently so experiment with both to get the results that you want.


Adjust Layer Order
Remember to adjust the layer order so that the elements appear correctly. In this case we need to move the glasses layer up again so that it appears above the eyebrows.


Mirror Adjustments
Once you are happy with the way a certain angle looks, you can then use the Mirror button to make the same adjustments to the opposite side. Make sure that the following mirror options have been selected:
- Mirror Target: All
- Mirror With: Transform, Deform, Sprite


Once the mirror has been completed you should see the results applied to your head.


Repeat
Repeat the steps for all the different angles until the whole head is complete.


7. Add Animations to the Custom Head
To add a ready-made animation to the character head, simply go to the Content Manager and then select the Animation tab to browse through the library of different animations you can use.
For this example we will be using the Questioning animation which can be found in Animation Template > Face > _G3 360 > Male_F_Questioning.


Add Animation
Use the mouse to click and drag the animation on to your custom character head. This will automatically start the animation on your character. Otherwise you can simply click on the play button at the bottom of the screen.


8. Export to Adobe After Effects
Now that we have a fully animated character head, it is time to take it into Adobe After Effects where we can enhance the animation even further.
To do this simply click on the After Effects button located on the top toolbar or go to Render > Export to After Effects.


Install After Effects Script
From here you will need to click on the Download Script button to download the script which you will then install in Adobe After Effects, if you have not already.


To install the file into Adobe After Effects, unzip the Zip file and then paste the file Cartoon Animator - AE Script (Beta).jsx to the ScriptUI Panels folder. By default, it is located in the following path:
-
Windows:
C:Program FilesAdobeAdobe After Effects <version>Support FilesScriptsScriptUI Panels
-
Mac:
Applications/Adobe After Effects CC <version>/Scripts/ScriptUI Panels
If this folder does not exist, then create a folder with the name ScriptUI Panels.


Export Your Animation
Back in Cartoon Animator make sure that you look at the following:
- Your character is selected under Select Object(s): this is the character that you have created and animated in Cartoon Animator
- Below that you can go through the Export Settings where you can choose the resolution and frame size
- And finally you can choose the export range to determine how much of your timeline you want to export into Adobe After Effects
Once you've checked through all the options click on the Export button and choose a desired destination for your new Adobe After Effects file.


9. Enhance Your Talking Avatar Animation in Adobe After Effects
To import your animation into Adobe After Effects you need to go to Windows > Cartoon Animator - AE Script (Beta).jsx which will open up a new panel.


Click on the Import Project (JSON) button and locate the project location. Select the JSON file which you just exported from Cartoon Animator.


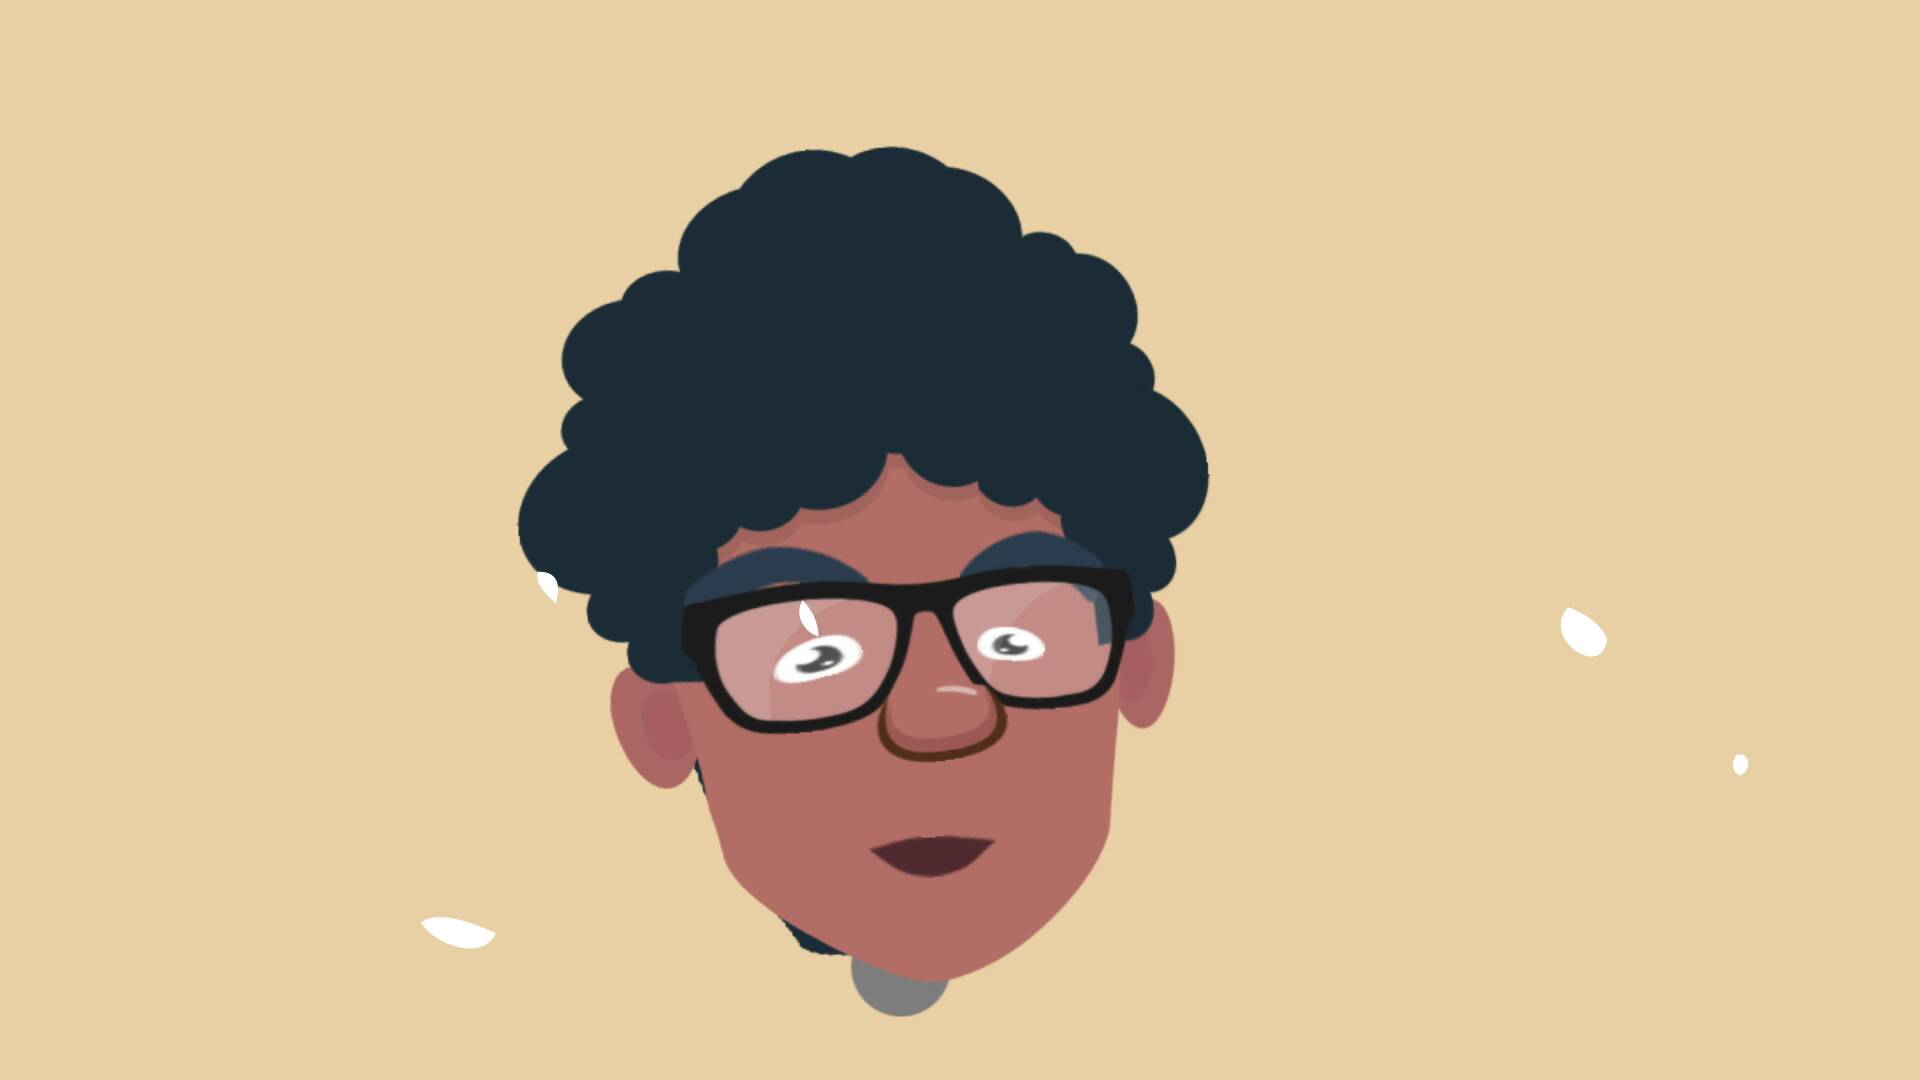
This will open up the animated turning head in Adobe After Effects! Now we can treat this animation as if it were any other After Effects project. For example, let's change the colour of the background and add a smoke animation.


Open Scene Composition
Open up the Scene Composition by double clicking on it either in the Project Panel or in the currently open composition.


Hide Background
Hide the current background by clicking on the Eye Icon next to the background layer.


Create New Background
Create a new background layer by going to Layer > New > Solid (Control - Y) and then choose a new colour for the background. For this example we will be using the following:
- R: 237
- G: 209
- B: 162


Make sure that the new solid layer is at the bottom of the layer stack and the new colour should appear in the preview window.


Add a Transition Effect in After Effects
Download and extract a animation transition pack. You can use your own footage or download one from Envato Elements. For this tutorial we'll be using the one below:


Import one of the extracted video files into After Effects by clicking and dragging the video into the Project Panel or by going to File > Import > File.
For this example we will be using the video Element 05.mov from the animations pack.


Drag the new imported footage into the Scene Composition from the Project Panel. Make sure that the video layer is at the top of the layer stack so that it appears on top of the turning head animation.
 source / continue reading