Tips & Tricks

How to Adjust Saturation in Photos With Lightroom Mobile
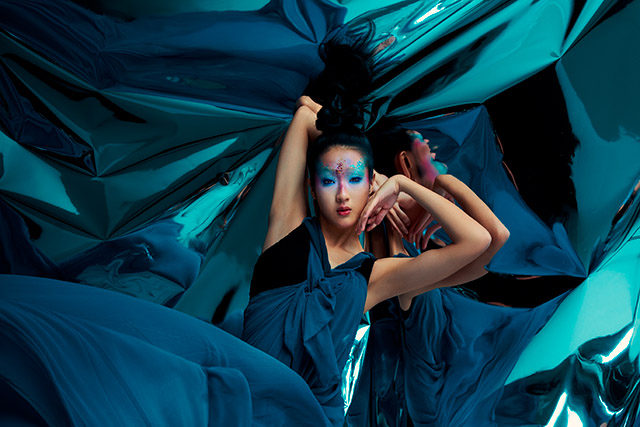
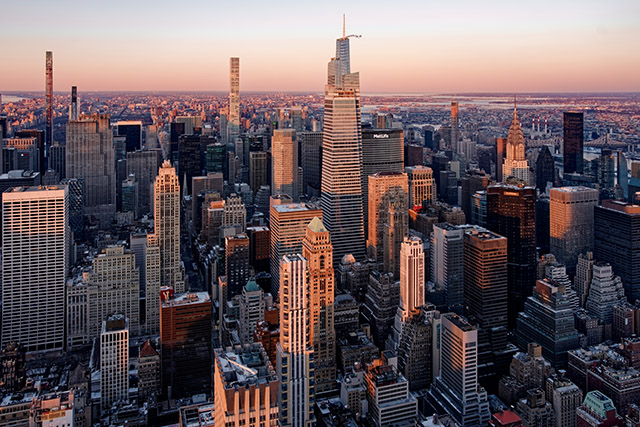
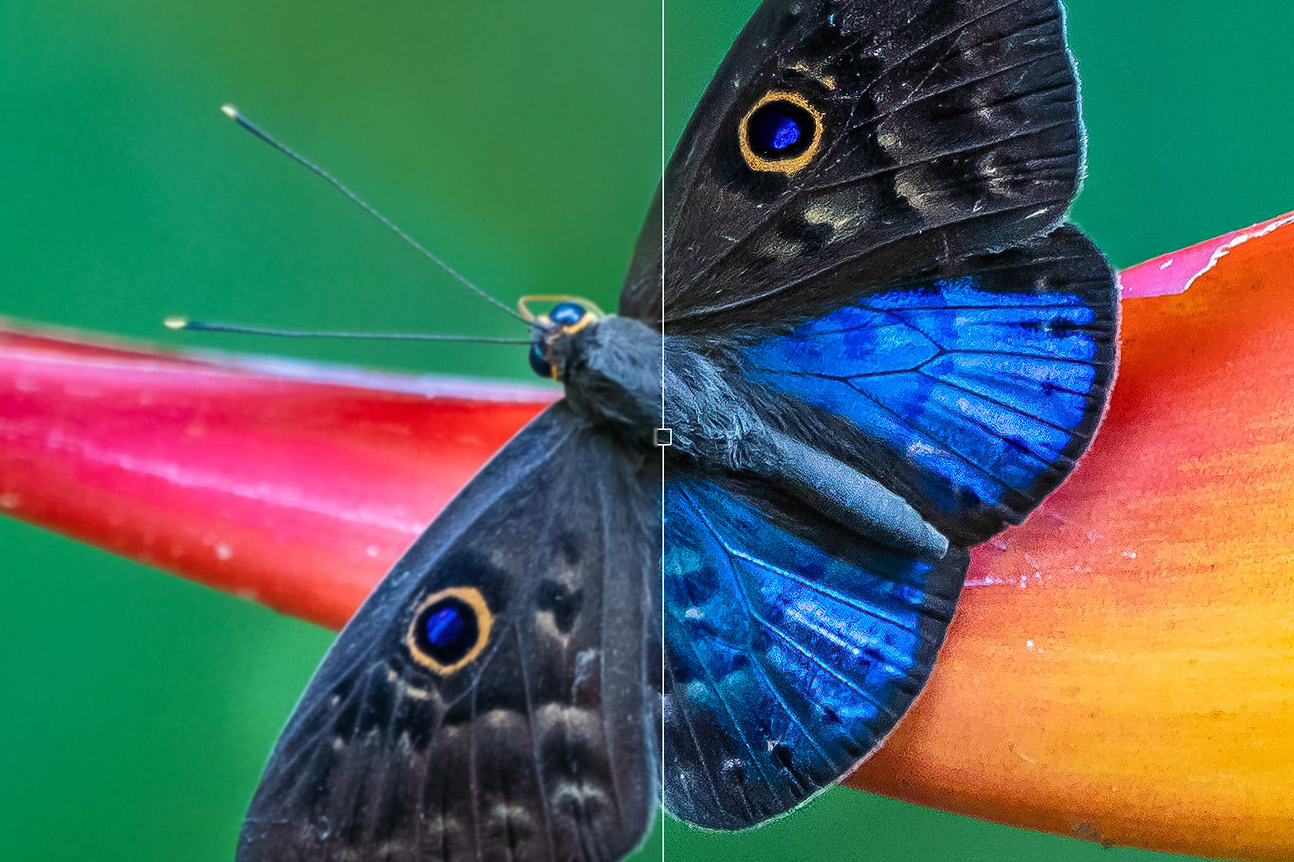
Tuts+PhotographyAlong with exposure and contrast, saturation has an immense effect on an image and how viewers take it in. An image with no saturation at all is black-and-white. An image with high saturation has vivid, intense color. A realistic-looking image lies somewhere in between, with a nuanced saturation that mirrors the color intensity we see in the every day world.
In this tutorial, we break down into very simple steps how you can achieve the precise saturation you desire in an image. Check out how easy it is to adjust the saturation, or color intensity, and read the steps that follow. In just a few taps, you’ll learn how to make your photograph sing with the exact color nuance you prefer.
The Basics
Adobe Lightroom Mobile is an intuitively designed app with an impressive array of editing tools that make post-production a breeze in the palm of your hand. This and forthcoming tutorials focus on the editing capabilities Lightroom Mobile provides, but it is equally powerful at helping you organize, store, share your images—and even capture them in HDR.
Lightroom can be purchased on its own, including access to the latest updates and releases, or by purchasing a Creative Cloud Photography plan. Both plans start at $9.99 a month. Creative Cloud plans come packaged with other perks and apps, as well as GBs of cloud storage. Businesses, students & teachers, and schools & universities are offered special plans and pricing. You can also try it out by activating a free seven-day trial.
How to Adjust Saturation in Photos With Lightroom Mobile
1. Open Lightroom Mobile
Open Lightroom Mobile.


2. Select the Image
Locate the image you would like to adjust.


3. Tap Color
At the bottom of the screen in the editing tool scroll bar, scroll right.


Then tap Color.


Doing so reveals the options for adjusting the color in your photograph.


4. Move the Saturation Slide
Scroll to the bottom of the color editing window and locate the Saturation Slide.


The Saturation Slide within the color editing tools allows you to alter the color intensity.
Moving the Saturation Slide to the left decreases the color intensity. An image with no saturation at all is black-and-white.


Moving the Saturation Slide to the right increases the color intensity. An image with high saturation has extremely vivid color.


5. Tap the Arrow
Once you have adjusted the saturation of your image, tap the arrow at the top left to save your edits.


6. Voilá! Your Perfectly Saturated Image
Just a few steps later and your image is saturated to your precise liking! The white dot below the Color editing icon indicates your edits have been made.


Saturation Speaks Volumes
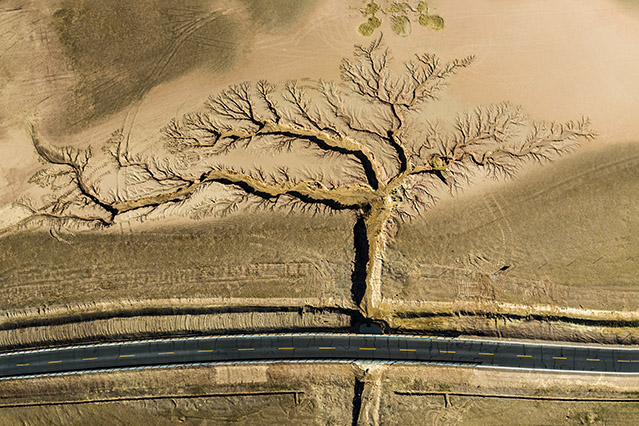
The color intensity of an image has a major effect on the elements within the frame and the subject being portrayed. A picture with low saturation can make a subject look elegant or drab. A picture with high contrast can make a subject look energetic or gaudy. Moreover, there is no “correct” saturation. It is just one of many decisions you make to create a compelling image. The only exception is if you desire a realistic saturation. In that case, paying attention to skin tones and giving them a color intensity that appears natural is paramount.

 How to Shoot Raw Photos on Your Phone Using Lightroom Mobile's DNG Camera
 Duncan Clark02 Jun 2021
 How to Edit Raw Photos in Lightroom Mobile
Duncan Clark29 Jul 2022
How to Edit Raw Photos in Lightroom Mobile
Duncan Clark29 Jul 2022
 How to Correct Contrast in Photos With Lightroom Mobile
Duncan Clark20 Dec 2022
How to Correct Contrast in Photos With Lightroom Mobile
Duncan Clark20 Dec 2022
 How to Correct Exposure in Photos With Lightroom Mobile
Duncan Clark20 Dec 2022
How to Correct Exposure in Photos With Lightroom Mobile
Duncan Clark20 Dec 2022