Tips & Tricks
How To Get a Side-By-Side Before/After in Lightroom
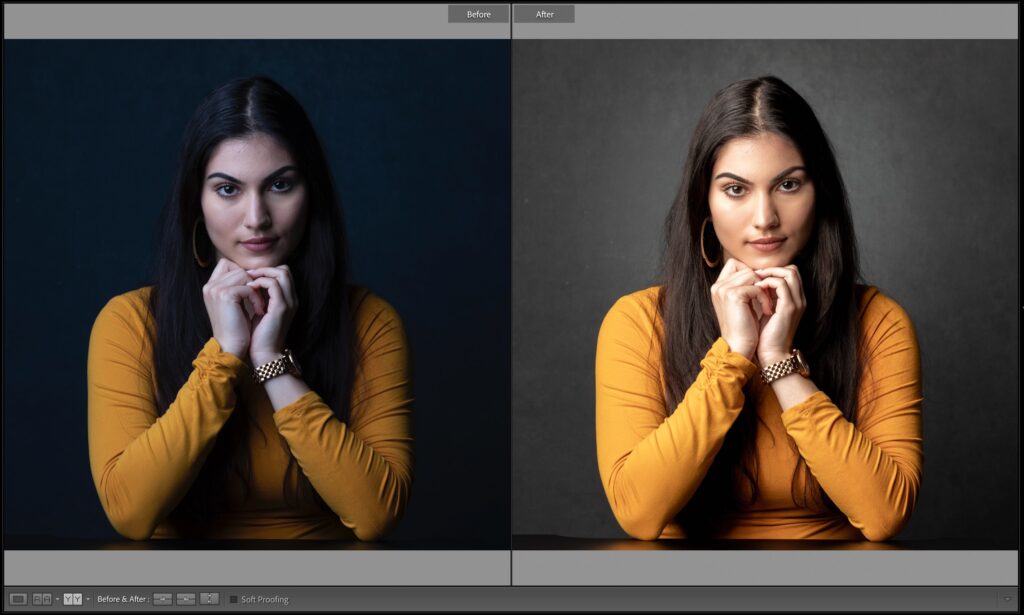
Lightroom Killer TipsThis is a Lightroom Classic feature, and it’s a super useful one. When you’re in the Develop module, to see a side-by-side before-and-after view, just press the letter Y on your keyboard, and — voilà — a side-by-side before/after appears onscreen (as seen below). If you want to zoom in, press Command–+ (PC: Ctrl–+) and you get the tighter view you see above. If you press the letter Y again, you return to normal view (the after view). If you want to toggle through the different comparison views (left/right, top/bottom, and single-image split-screens of each), click the button with YY on it on the left of the toolbar, just to the left of the words “Before & After.” To leave this mode altogether, press the rectangular button to the left of the YY button (or just press the letter D). Hope you found that helpful.