Tips & Tricks
Clearing Up Some White Balance Myths
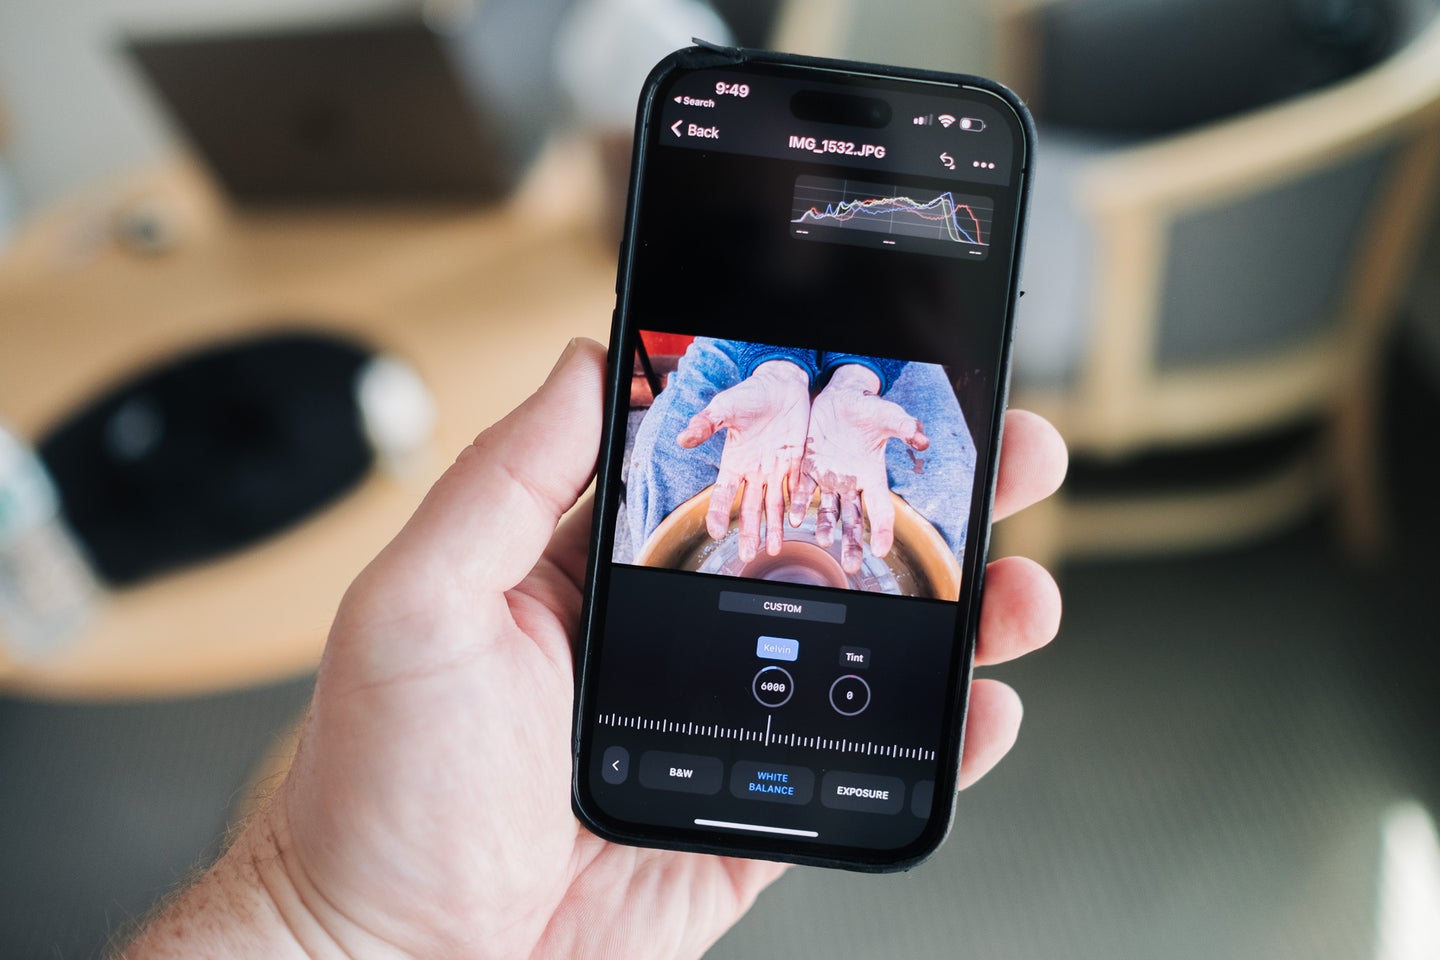
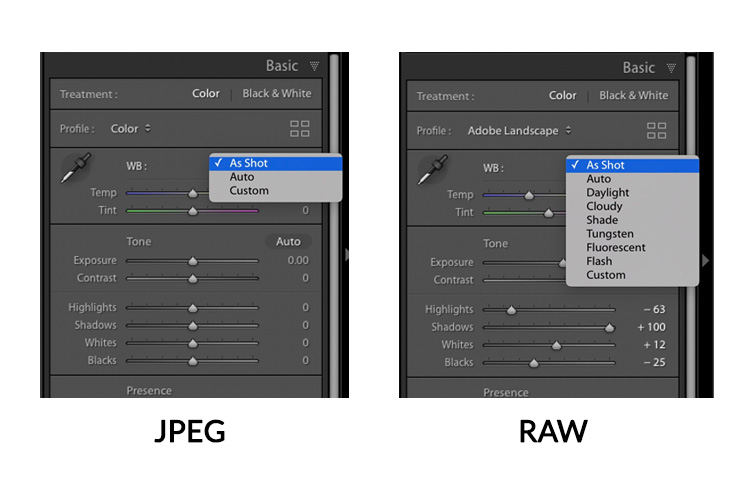
Lightroom Killer TipsToday, I’m answering some questions and addressing a myth I often get about adjusting White Balance in Lightroom. But first, just a quick reminder: Just one week until the Worldwide Photo WalkIt’s this Saturday, October 7 all around the world – it’s free, it’s fun, and it’s all a great cause (to support the Springs of Hope Orphanage in Nakuru, Kenya). Sign up for a photo walk near you at worldwidephotowalk.com – see you there! OK, on to today’s tip: Q. Why is it that sometimes, when I go to the White Balance presets menu in Lightroom, I get a list of a bunch of different white balance presets, and sometimes I only get two choices: Auto and Custom? A. It’s because one time you were looking at the White Balance presets for a RAW image, and the other was a JPEG or TIFF. You only see that longer list of preset choices (seen above right) when you’re working on a RAW image — if you click on the JPEG or TIFF image, you’ll only see Auto and Custom (seen above left) as your choices because the white balance you chose in in the camera is already assigned to JPEGs and TIFFs. With a JPEG, you don’t get all those other choices like you would from a RAW image where the white balance preset isn’t already “baked in” (so to speak). Q. I heard you have to shoot in RAW because if you don’t, you can’t change your White Balance. Do I have to switch to shooting in RAW? A. This is actually an age-old myth — you absolutely can change the white balance for JPEG or TIFF images, no problem. I think this myth started because when you shoot in JPEG, you don’t get all the White Balance presets like you do for Raw images (you only get the Auto preset, as I mentioned above). That doesn’t mean you can’t change the White Balance. You still can change it using the Temperature/Tint Sliders and the White Balance Eyedropper tool (and I personally use those two the most anyway). So, the fact that you “can’t” adjust the White Balance for JPEG images is absolutely a myth. However, I feel the results you get when tweaking your white balance look better when performed on Raw images versus JPEG, and you can test this and see for yourself. The next time you’re out shooting, change your camera to shoot in “Raw + JPEG” mode so you have two files of the exact same photo — one in Raw and one in JPEG format. Find an image whose white balance is off, then open both images in Camera Raw and correct the White Balance on both of them, and compare the results and you’ll see what I mean. Q. I notice that when I’m adjusting the Temperature and Tint sliders, sometimes I’m adjusting the Kevin amount, and other times it’s just positive and negative numbers like +14 or –12. Why is that? A. It’s that whole “RAW vs JPEG” thing again. When you adjust the Temperature settings on a RAW image in Lightroom, you’re adjusting the Kelvin temperature, so you’re getting the same familiar Kelvin settings you’d have if you chose a custom white balance on your camera. When you shoot in JPEG, you’re adjusting a white balance already embedded in your file, so you’re not adjusting Kelvin numbers. Hope you found those helpful. 🙂 It’s going to be a great week. Let’s rock this!


