Tips & Tricks
Jewelry Photography Workshop with Brooks
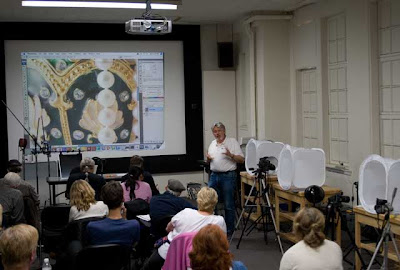
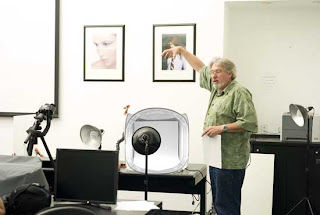
TableTop Studio Blog The last Jewelry Photography workshop at Brooks Photography Institute was a big success. We are always thrilled to hear feedback from workshop attendees; and find some of our own TableTopStudio customers were there! This workshop group had some questions about ways to photograph long necklaces.
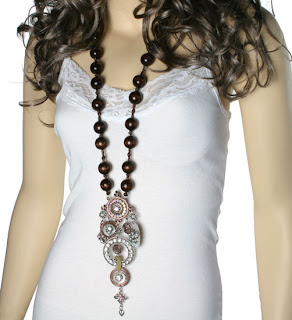
We will be exploring a few ideas this month, to see which one works best. One idea is to use a mannequin designed for clothing. This larger size form may work better than the small jewelry busts designed for store display use. The small busts are odd looking on the web because of their headless shape, and do not look natural. This detracts from the actual necklace on display.
The challenge is to find a way to achieve a more natural "drape" of the longer necklaces and show a btter sense of scale. Keep in mind you will always still need a close up photo to show more detail. We'll search for a better way to shoot your necklaces and let you know here. A special thank you from Tabletop Studio to Connie Myers {a student at Brooks Photography Institute} for providing the above photo.