Tips & Tricks
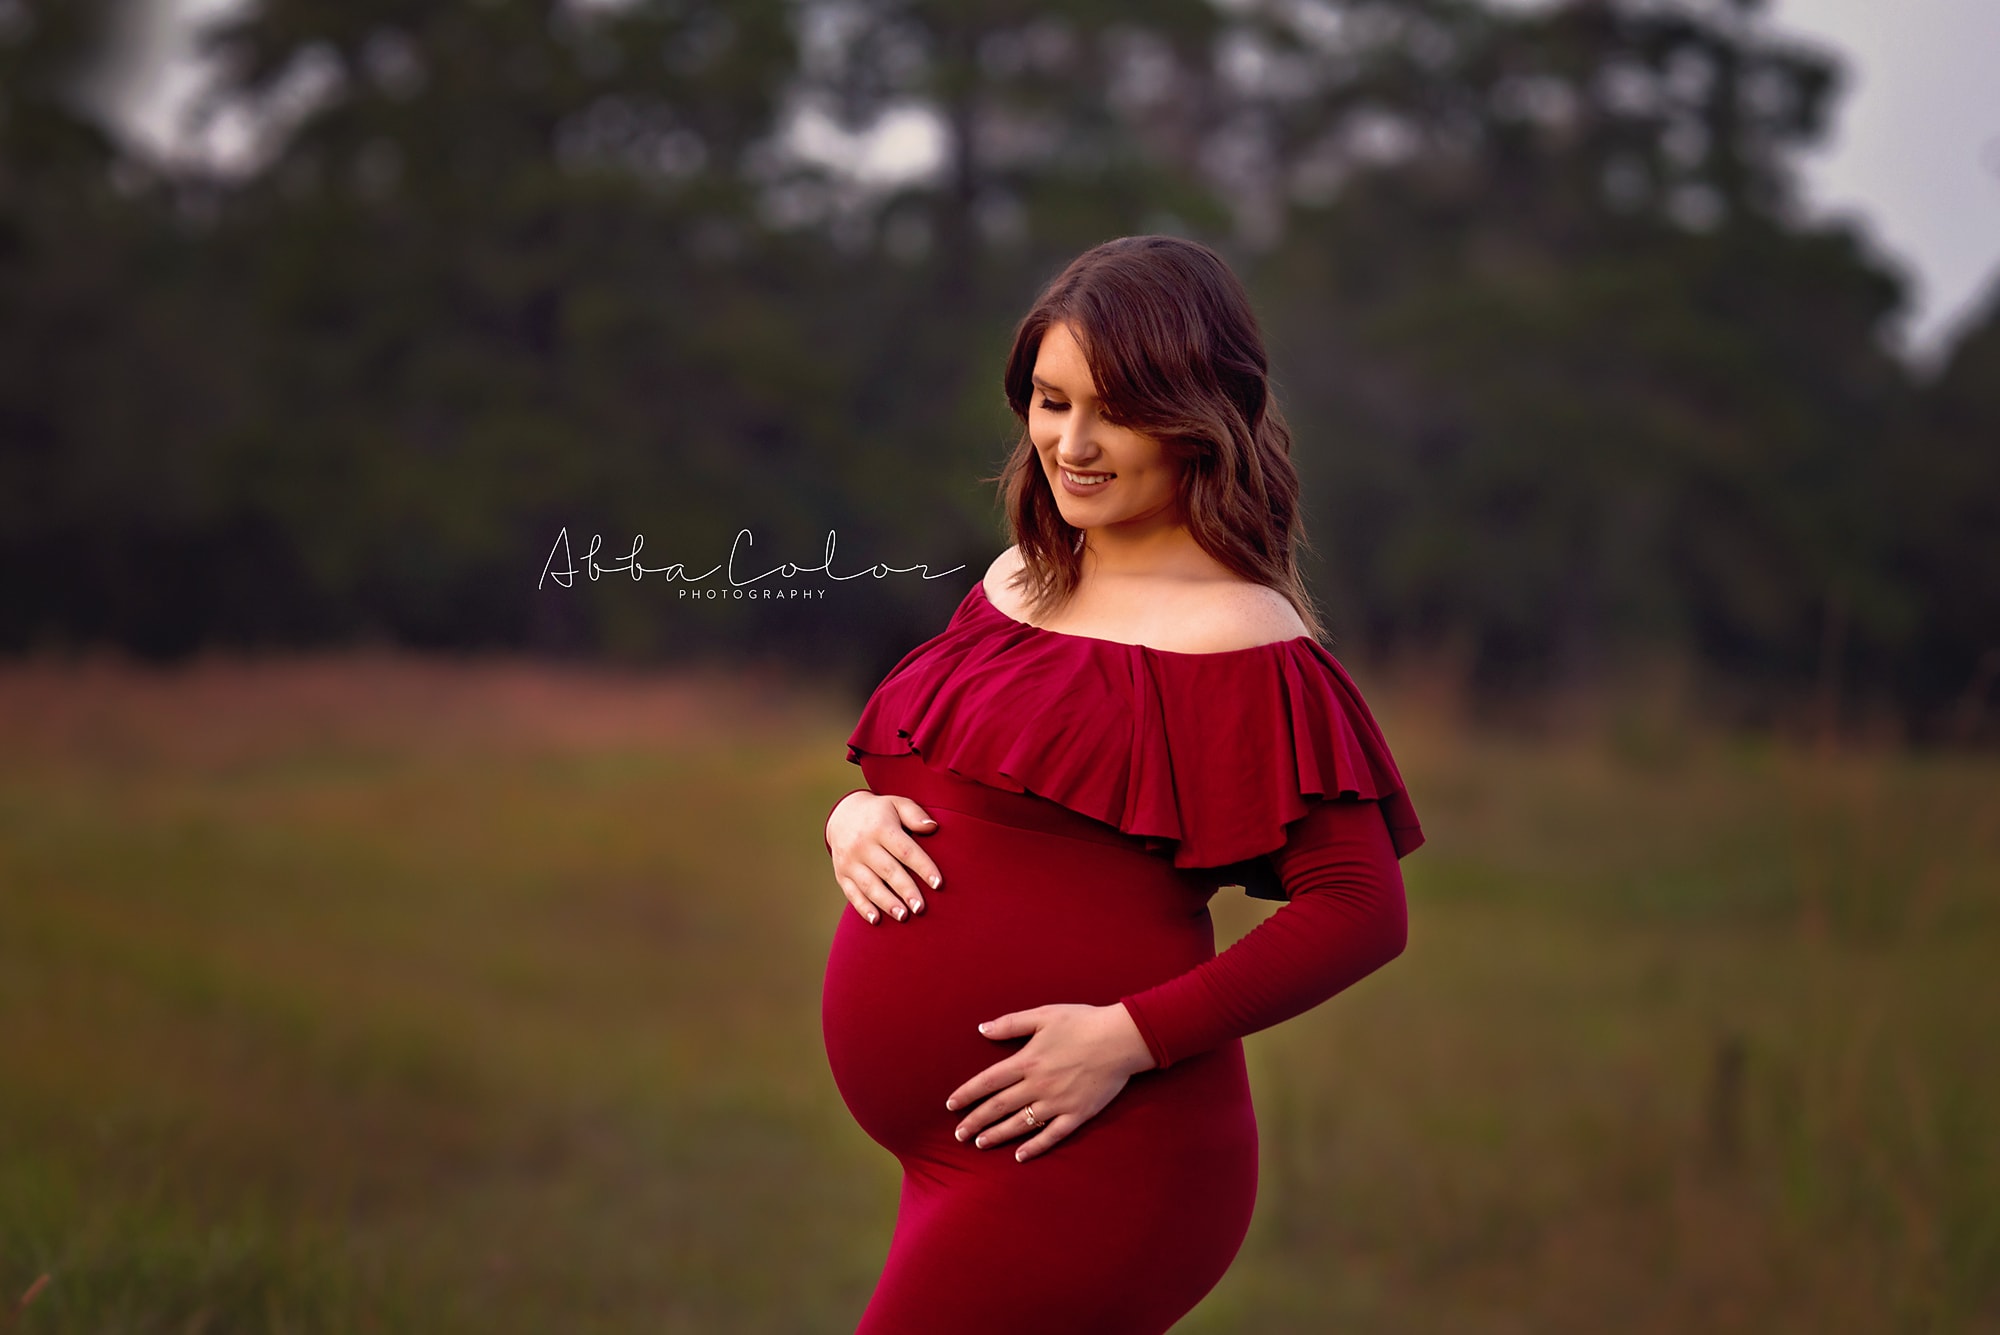
Use These 5 Lightroom Tips to Instantly Improve Your Portraits
Photography Talk
Ok, ok...
So in order for these Lightroom tips to work, you first have to capture a quality photo in the field. If you put a crap picture into Lightroom, no amount of editing will do you any good!
However, if you've done things the right way and you have a solid portrait with which to work, there are tons of tools at your disposal in Lightroom to enhance your photo.
In the video above, Julia Trotti offers up some great advice for improving your portrait editing workflow.
Follow along as she describes each tip, or for a quick rundown of each, check the article below!
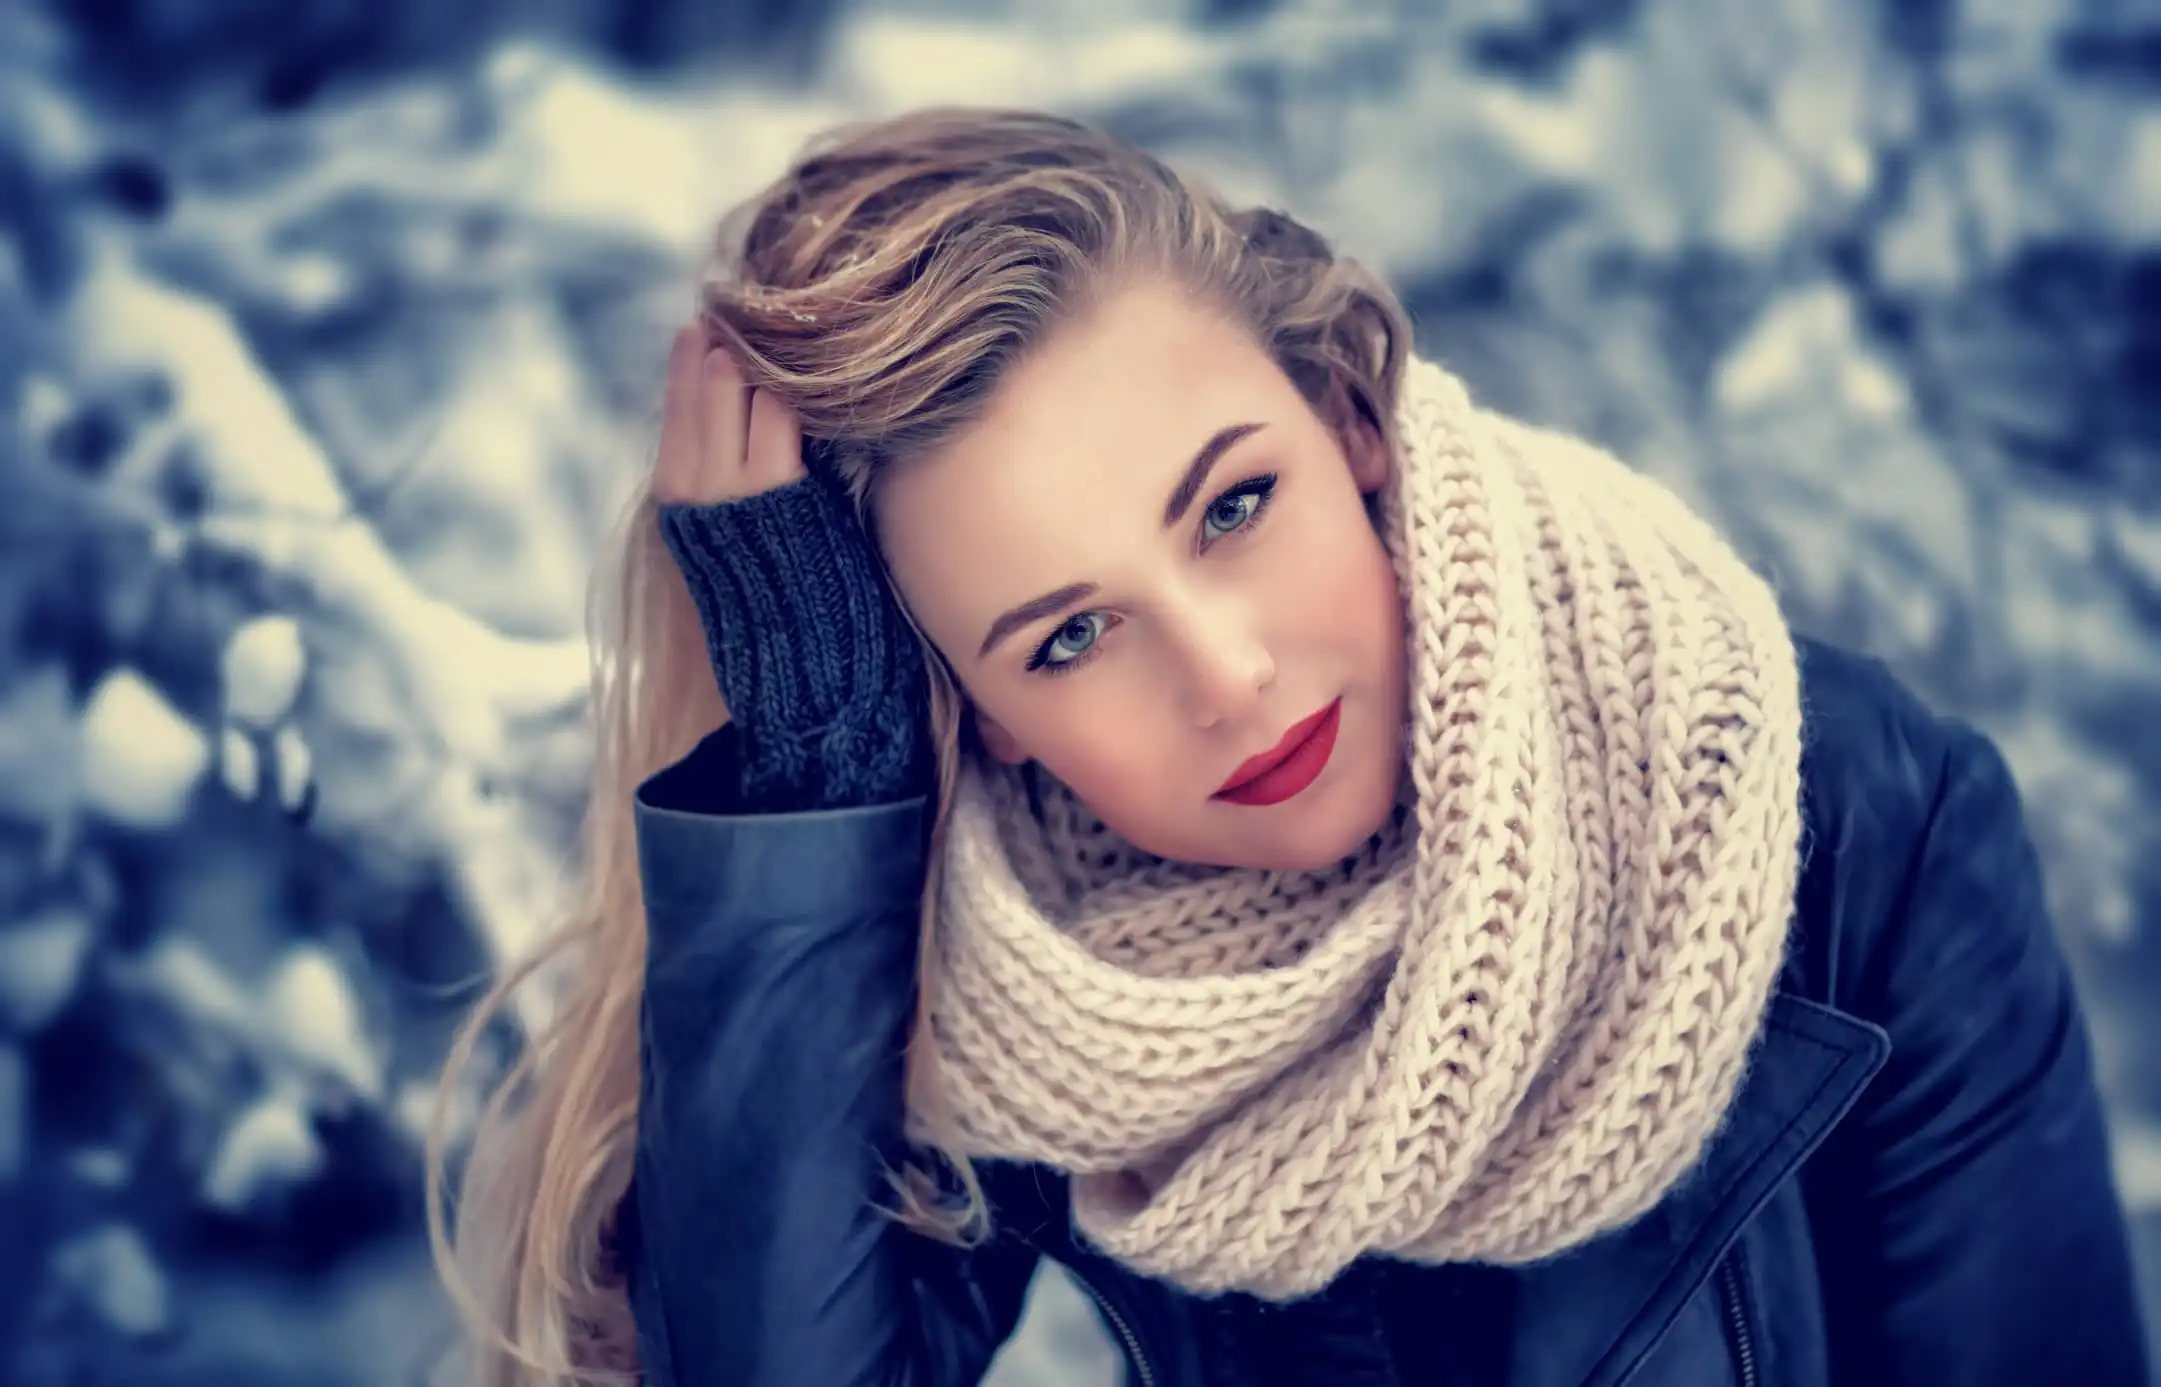
Set the White Balance
 YouTube Screenshot/Julia Trotti
First things first...
You want to correct any color-related issues in your photos by adjusting the white balance.
In Lightroom, that's a simple task that's accomplished by using the white balance slider in the Basic Panel to warm up or cool down the image.
 YouTube Screenshot/Julia Trotti
You can also adjust the tint, to correct for skin tones that are too pink or too green.
The final result?
Natural-looking skin tones that form the basis of a high-impact portrait
Learn More:
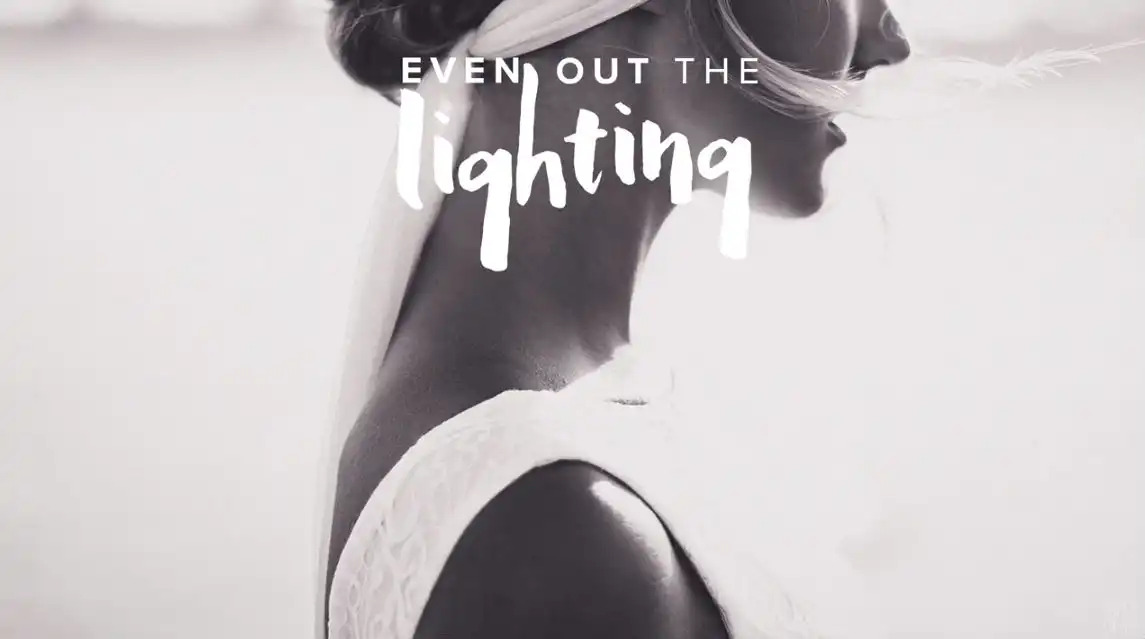
Even Out the Lighting
 YouTube Screenshot/Julia Trotti
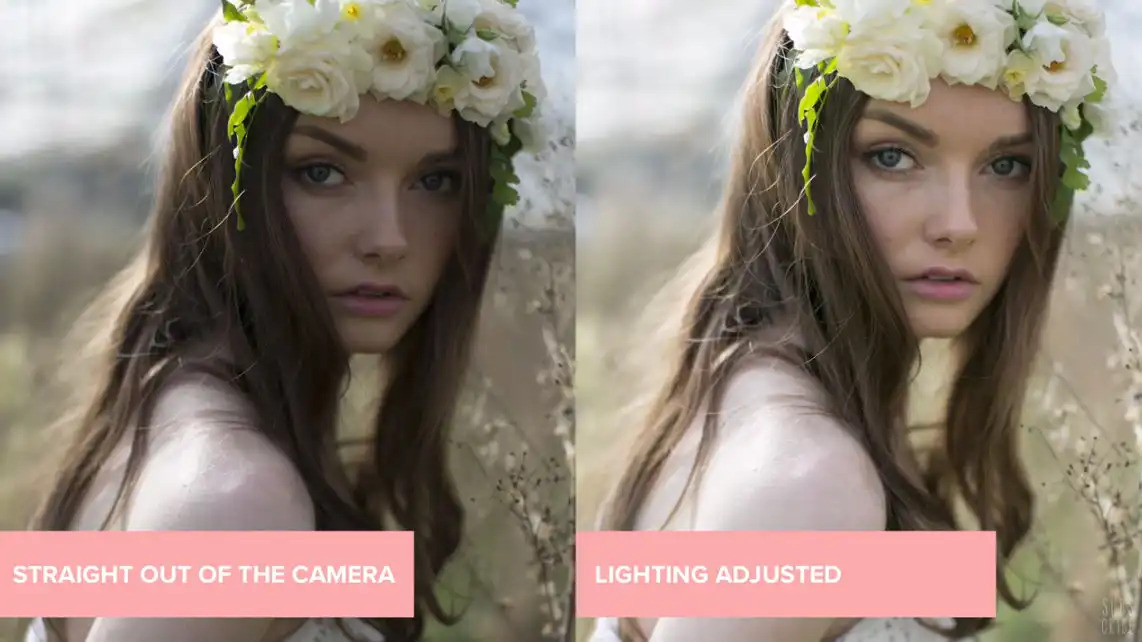
Out of the camera, your image will not have ideal lighting.
But, again, Lightroom offers tons of tools that help you adjust the lighting in the shot for something that's much more dramatic and eye-catching.
In the Basic Panel, simply adjust the sliders for exposure, contrast, highlights, shadows, whites, and blacks.
 YouTube Screenshot/Julia Trotti
Doing so gives you pinpoint control over the lighting in the shot, helping you to create a gorgeous look.
Additionally, by manipulating these settings, you can help draw the viewer's eye to the model's face by brightening their face or eyes.
Though there's tons of sliders involved in lighting, once you get the hang of using them, you can make quick work of correcting the lighting in your portraits.

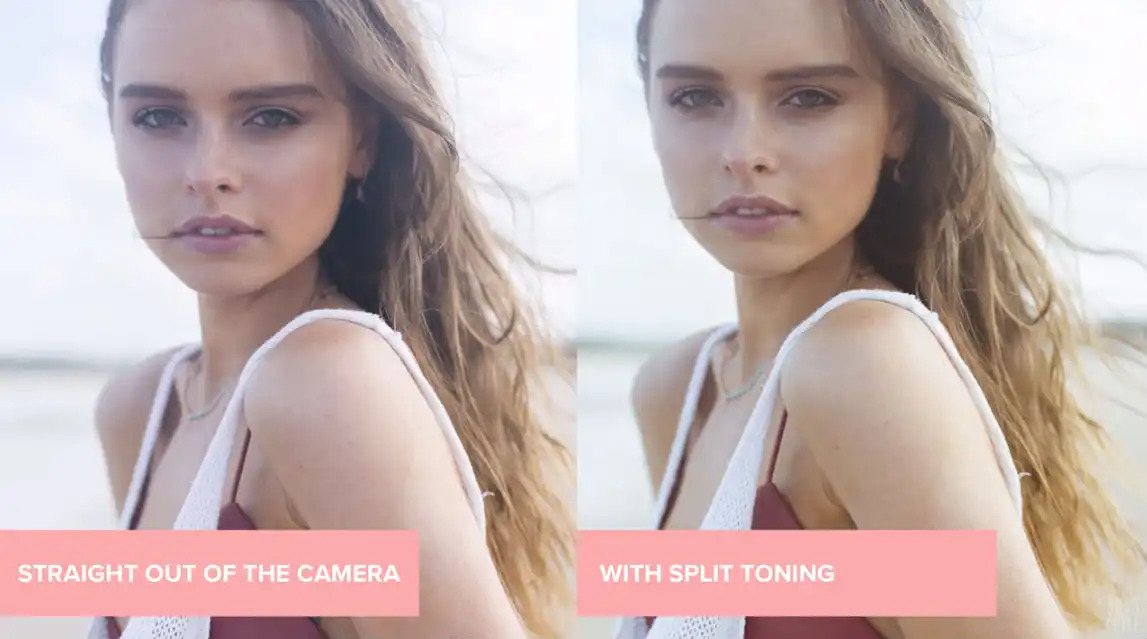
Use Split Toning to Add Personality to the Shot
 YouTube Screenshot/Julia Trotti
By using Lightroom's split toning feature, you can add color to the highlights of the image while adding a completely different color to the shadows.
For example, if you need to warm up the skin tones of your subject's face, you can add a warm tone, like red, to do so.
At the same time, if you want to cool down the background, you can add a cool tone, like blue, to give it that cool effect.
 YouTube Screenshot/Julia Trotti
The great thing about split toning is that it gives you yet another level of control over the style of your image.
That is, you can adjust the intensity of both colors, their saturation levels, use preset colors in Lightroom, or select your own colors to use.
In that regard, it's one of the most powerful tools Lightroom offers for creating photos that have your signature style.
Learn More:
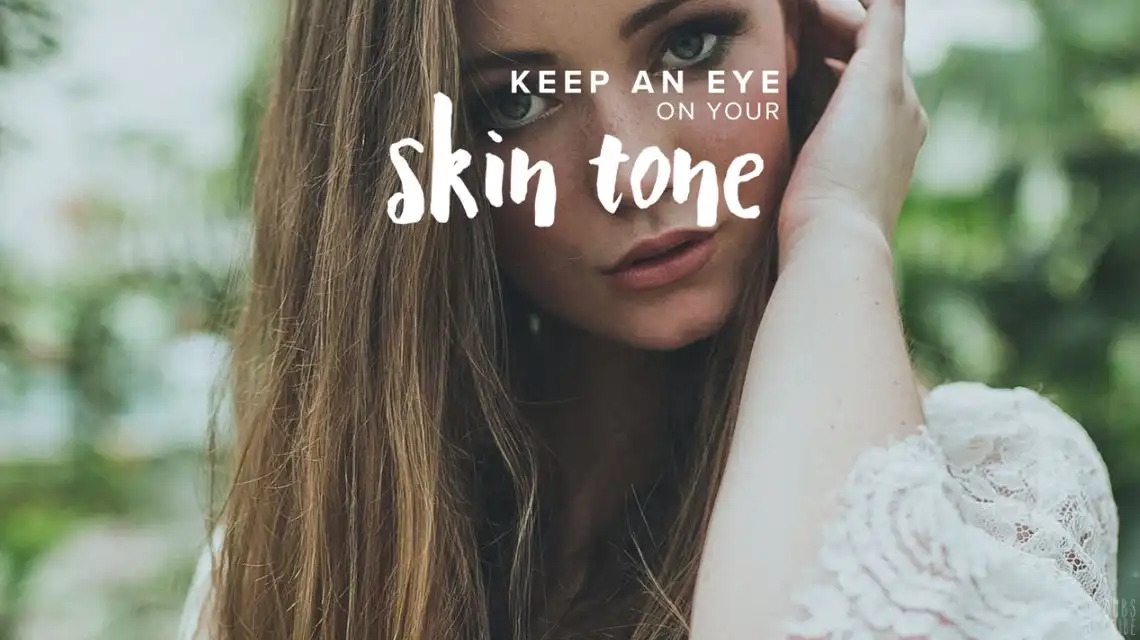
Keep an Eye on the Skin Tone
 YouTube Screenshot/Julia Trotti
Despite all the tools and features Lightroom offers you to customize the look and feel of your portraits, one thing should remain the most important - that the model's skin tone looks natural.
As you're adjusting the lighting, using split toning, and other tools to enhance the shot, just make sure that what you're doing doesn't alter what the model's skin tones look like.
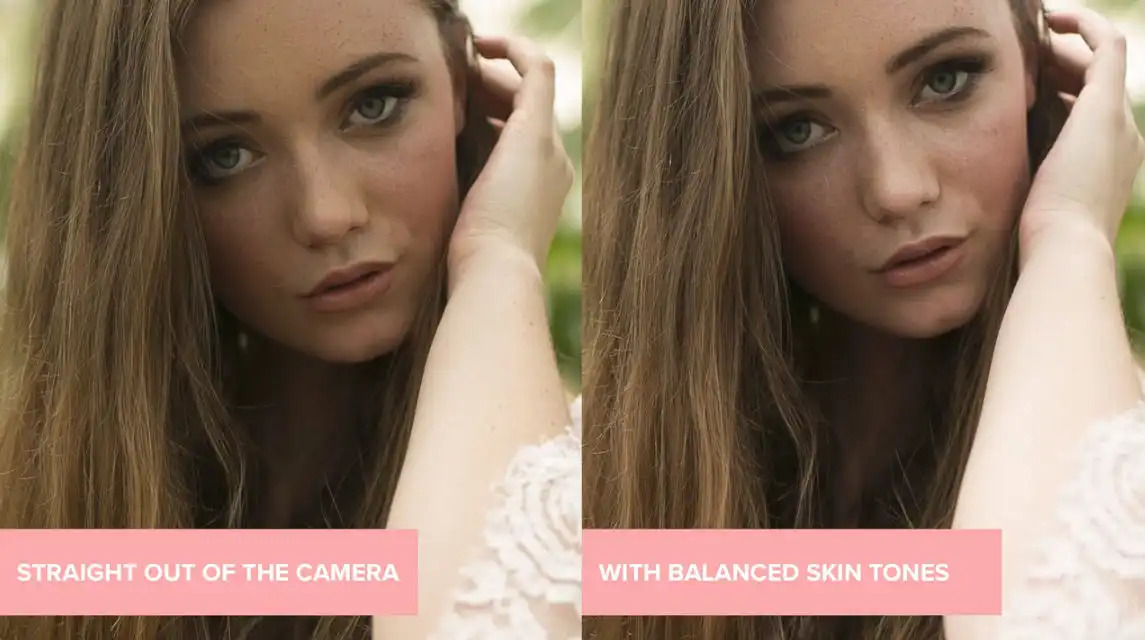
To fine-tune how skin tones appear in your shots, use the Hue, Saturation, and Luminance (HSL) tools.
 YouTube Screenshot/Julia Trotti
This collection of sliders gives you incredible control over how colors are rendered in the shot.
In fact, you can use the color picker tool to select a specific tone in the image, and then use the HSL sliders to make adjustments only to that color.
It's an easy way to ensure your model looks their best in your portraits!

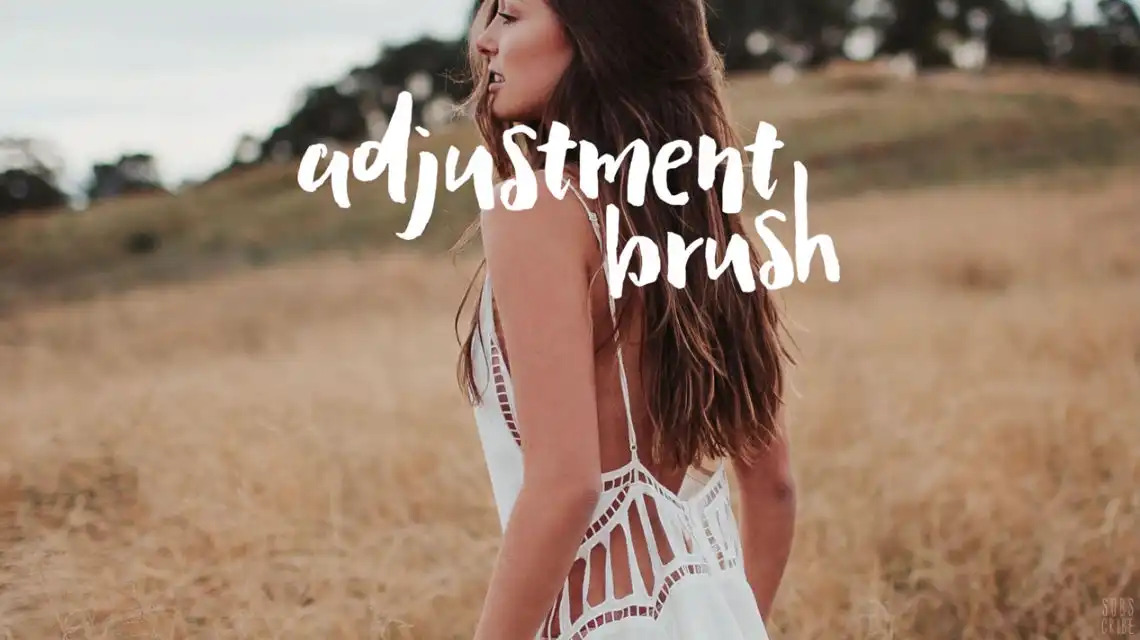
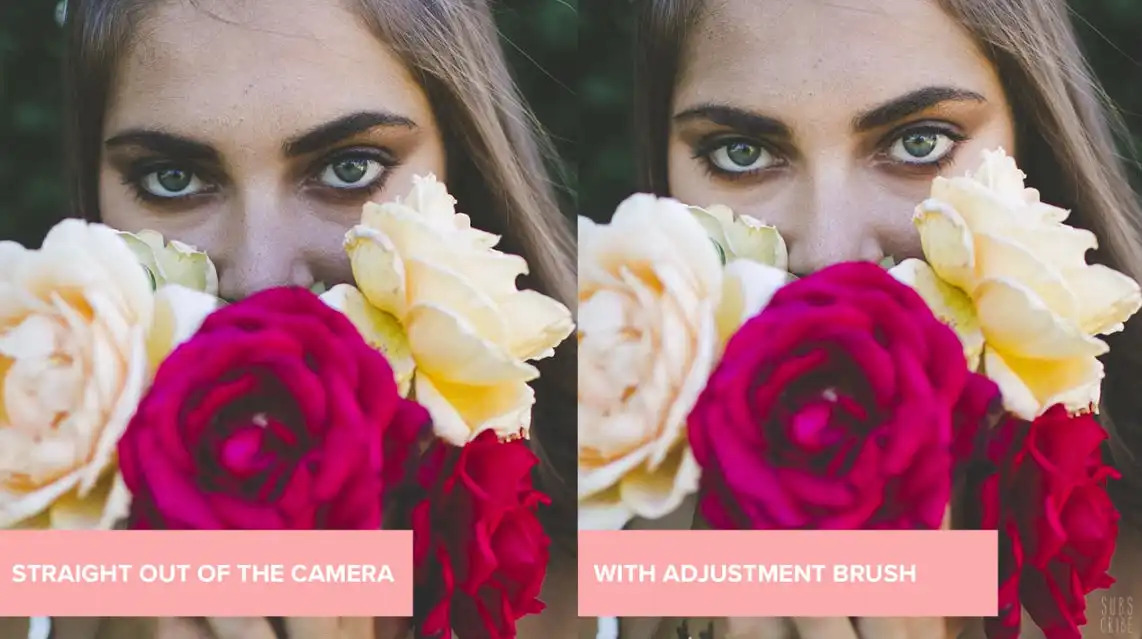
Make Use of the Adjustment Brush
 YouTube Screenshot/Julia Trotti
To make edits on even more specific areas of your portrait, you can use Lightroom's adjustment brush.
This brush gives you the ability to paint over an area of the photo, then adjust the settings specifically for that area.
You can use this tool to brighten areas of your subject's face, darken the background, and everything in between.
 YouTube Screenshot/Julia Trotti
You can also use the adjustment brush to saturate or desaturate certain areas of your portraits.
Naturally, being able to brighten or darken specific areas and manipulate things like saturation only gives you that much more firepower for creating portraits that fulfill your creative vision.
And that's what these tips are all about - empowering you to use Lightroom to create photos that fit your personal taste and style!