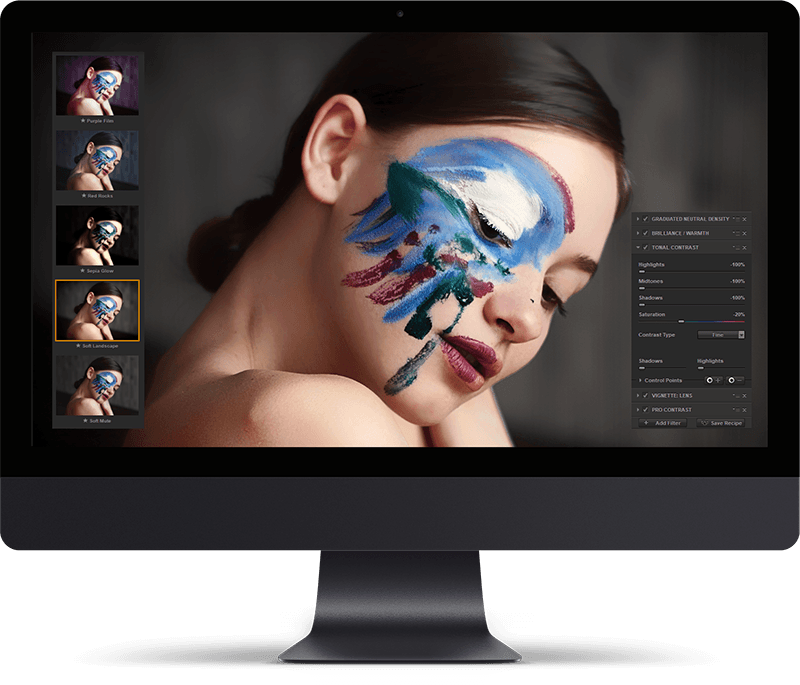
Tips & Tricks

How to Create a Wedding Photoshop Action
Tuts+PhotographyWith Photoshop actions, you can create your own Photoshop filters that can be used on your images to achieve cool photo effects. In this tutorial, I'll show you how to create an action in Photoshop that is perfect for wedding photos. By creating this wedding Photoshop action, you'll learn how to easily create your own photo filters and effects.
Follow along with us over on our Envato Tuts+ YouTube channel:
How to Create a Wedding Photoshop Action
Step 1
First, make sure your image is a background layer. If not, go to Layer > New > Background From Layer.

Step 2
Use your chosen selection tool to outline the silhouette of the couple. Try to be as precise as possible. I used the Pen Tool (P), and then I used the Refine Edge (Select > Refine Edge) panel to make the edge softer.

Step 3
Create a New Layer. Fill it with black using the Paint Bucket Tool (G).


Step 4
Create a New Layer below. Fill it with a black and white gradient using the Gradient Tool (G). The white part will be later affected by the blur. The black part will stay as it is. Plan your gradient accordingly.


Step 5
Click somewhere outside of the layers to deselect them. Create a New Action. Give it a name and click Record.

Step 6
Go to the Channels tab. Right-click any channel and select Duplicate Channel. Name it mask. Select the RGB channel again and go back to the Layers tab.

Step 7
Hide both masks. Duplicate the Background layer with Control-J. Go to Filter > Blur > Lens Blur. Use the channel mask as the Source for the Depth Map. Adjust the Radius for the amount of blur, and the Brightness and Threshold for the bokeh effect.


Step 8
Let's create a custom photo filter by mixing a couple of adjustments. First, add a Gradient Map. The left side colorizes the dark tones of the image, and the right side the light ones. You can add a hue and change the lightness of these areas by adding colors to this gradient. You can also achieve a trendy effect of lower contrast by colorizing the darker areas with a bright color.
Feel free to experiment with the colors, but if you want to achieve the same effect as me, here are the exact values:
-
#3b1a5c, Location 0% -
#698646, Location 34% -
#59edfa, Location 100%


Step 9
Lower the Opacity of this layer to make the effect subtler.


Step 10
Add a Curves adjustment. Switch the Channel to Green and drag the curve down to make the greens more subdued.


Step 11
Add a Levels adjustment. Drag the left marker of the Output to brighten the dark shades.


Step 12
Double-click the layer to open the Blending Options panel. Drag the lower left marker of the Blend If settings to remove the effect of the adjustment from the dark areas. Split the marker with the Alt key to make the effect more transitional.


Step 13
Adjustments can be also added selectively to a part of the picture. Go to the Channels tab, hold Control, and click the thumbnail of the mask channel. Then go back to the Layers tab and add a Solid Color adjustment. Make it blue (#548cdf).


Step 14
Change its Blend Mode to Divide and lower the Opacity to make the effect subtler.


Step 15
Finally, let's make the bright parts brighter. Add a Brightness/Contrast adjustment. Make the whole image brighter, without trying to keep it looking good.


Step 16
Double-click the layer. Adjust the Blend If settings to make the brightening effect more selective. Lower the Opacity if the effect is still too intense.


Step 17
Let's make the image just a little sharper as well. Make a selection out of the silhouette of the couple and duplicate the Background layer with Control-J. Drag it to the top. Go to Filter > Other > High Pass. Drag the Radius until you see the lines without too much glow around.


Step 18
Change the Blend Mode to Linear Light. If you want to make this effect more intense, duplicate the layer.


Step 19
The action is finished now, so click Stop Recording.

Now you can add the same photo effect to other photos. Just create the masks and click Play. Because this Photoshop filter consists of various adjustment layers, they all can be adjusted afterwards to customize the effect.


Wedding Photoshop Actions
Wedday Matte Photoshop Action
Wedding Photoshop actions can make your wedding photos even more special and beautiful than they already are! This set of actions will provide a soft and non-destructive matte pastel toning, enhancing the overall look and feel of your images, adding atmosphere and an artsy touch. Plus that little white balance tune-up that you were looking for.

Bouquet Wedding Actions for Photoshop
The Bouquet Wedding collection features beautiful photo actions for wedding, engagement, love-story, and portrait photography. Enhance your Photoshop post-processing and create your signature artistic style!

Vintage Wedding Action for Photoshop
Vintage Wedding Action for Photoshop is specially designed for wedding and event photography. It will provide a beautiful and non-destructive film-inspired toning, enhancing the overall look and feel of your images and adding atmosphere and expression.

12 Beautiful Wedding Effects
Add beautiful effects to your photos with one click. These Photoshop actions simulate the popular subtle faded looks used in wedding photography, and they’re extremely easy to use. Simply play one action and pick from any of the 12 effects.

Caramel Wedding Photoshop Action
Caramel Wedding is a must-have Photoshop action for wedding, event, portrait photographers, and bloggers. Whether you are a pro or an amateur, Caramel will speed up your post-processing and help you get awesome results fast. It allows full customization with adjustment layers!

Good Job!
Now you know how to create a wedding Photoshop action. If you're interested in other photo filters and effects, check out these tutorials:
 Adobe PhotoshopHow to Create a Cool Glitch Photo Effect in Adobe PhotoshopMelody Nieves
 Photoshop ActionsHow to Create a Vintage Photo Effect Action in PhotoshopMarko Kožokar
 BrushesHow to Make a Stellar Photo Effect With a Star Brush in PhotoshopMelody Nieves
 Photoshop ActionsHow to Make a Photoshop Action to Create a Portrait Photo EffectMonika Zagrobelna
 Photo ManipulationHow to Create a Dark Double Exposure Effect in Affinity PhotoAbbey Esparza