Tips & Tricks

How to Apply RAW Profiles to Photos Automatically on Import With Lightroom
Tuts+PhotographyWhen you shoot RAW images, you're capturing a lot of data. As you bring those shots into Adobe Lightroom, the program interprets all that data to turn it into a recognizable image, as a starting point for your edit.
In this tutorial you'll learn how to adjust the default settings that Lightroom applies while importing RAW images. Careful settings for these defaults can save you lots of time and create a solid base for the rest of you RAW processing workflow.
Custom Profile Settings for Raw Photos
If you just started shooting in RAW, you might have noticed that your images start off a bit flat. The colors might not be as saturated as what you're used to and the details aren't as sharp. New photographers are sometimes disappointed when they initially switch from JPEG.
Have no fear: it's normal if your RAW images underwhelm you. The magic of a RAW file is that they're loaded with more data than a JPEG (hence their larger file size) and therefore give you more room to apply edits. The format makes less baked-in choices for you, and expects that you'll make some changes to how the photo looks; a JPEG image has already been interpreted by your camera.
Get To Know Your Camera Profiles
In this tutorial, we're learning to set defaults for processing RAW images. Before we set our processing options, it pays to spend a little time on Camera Profiles and how they affect your image.
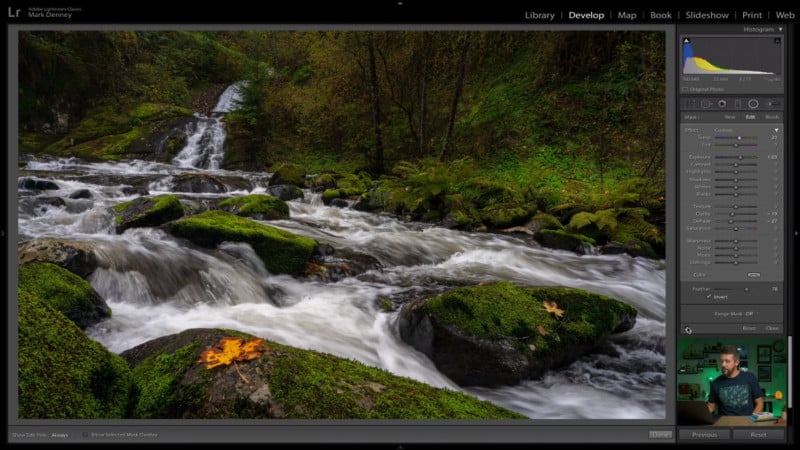
Start off by switching to the Develop module. At the top of the Basic panel, you'll see a dropdown labeled Profile. Click on this dropdown menu and you'll see the available profiles.

Unless you know that one of the others is what you need, start with Adobe Standard, as this will give you the most neutrality and flexibility in your edit. But do spend a little time trying out these profiles. Maybe you always shoot black and white, for example, and Adobe Monochrome is a better "starting point" for your images, or you're a portrait photographer and prefer the smoothly rendered skin tones of the Adobe Portrait profile.
Set Import Defaults to Apply RAW Profiles
OK, let's begin to set your import defaults. First, go to the Lightroom Classic > Preferences menu, then switch to the Presets tab.

Do you want to set camera-specific or master settings? Depending on this choice, the defaults we'll set will either apply to every image you import, or only images for a specific camera.
I
recommend making your default choices only for a specific camera. Each
camera renders RAW images differently, even of the same brand and make,
and it's best to align a profile with the camera. Therefore, I
recommend ticking the Override master setting for specific cameras.
For maximum accuracy, you can even make your own color profiles for your camera. We'll stick to the stock profiles for this tutorial but if you do color-critical work, like product photography, check out our tutorial for details.

If you want to set a fallback option when you don't have a camera-specific setting, choose a dropdown option on the Master setting.

Set Import Presets for Specific Cameras
Now let's learn to set camera-specific settings. First, on the Camera dropdown, you'll see a list of all of the cameras that have captured an image in your Lightroom catalog. Choose the camera that you wish to set defaults for from this dropdown.

Click on the Default dropdown: You'll see a few options like Adobe Default, Camera Settings, and Preset.
Think of Adobe Default and Camera Settings as options that let either Lightroom or your camera interpret the RAW image with standard settings. If you want to set your own import preferences, use the Preset dropdown.

In this list, I highly recommend sticking to the Defaults menu. Again, the idea is not to totally style an image with a Develop preset, only to set your most basic default import options to create a baseline for your images.
Notice that many of the options in the Defaults menu have names like "+ Lens + NR". Those trailing parts of the preference will automatically apply lens corrections and noise reductions, respectively. I recommend including the + Lens options to automatically add lens corrections, but I do not recommend you apply noise reduction at this stage, because it's better to save noise reduction for the very end of the process instead, after you've done your creative processing.
Finally, click on Create Default. You'll see a new entry added on your list. You can set as many camera preferences as you wish using the dropdown.

Synchronizing Cameras With Custom Profiles
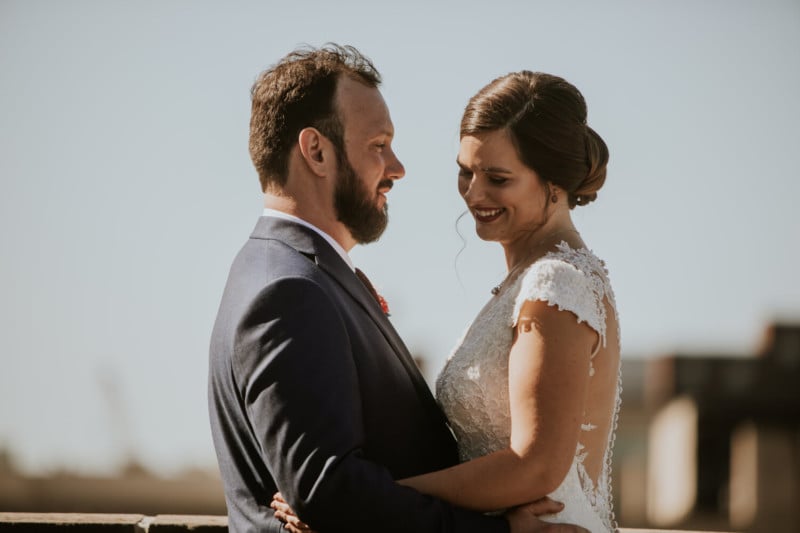
If you have two cameras that need to match—say for a wedding shoot—you can use this feature to automatically apply custom profiles for each camera so that the colors match exactly. We'll cover that process in another tutorial.
More One-Click Options to Style Your Images in Lightroom
If you checked out this tutorial, I'll bet that you're interested in using Lightroom to apply creative adjustments, too. The modern digital darkroom gives us a limitless number of tools to sculpt a RAW image into finished art.
Sometimes, it's difficult to know where to start. When you use Adobe Lightroom presets, you can borrow one-click looks from talented photographers and editors. The best source for Lightroom presets is Envato Elements, thanks to the curated and high-quality selection.

Let's look at three of the top preset packages, all included with Adobe Lightroom.
1. Monochromatic Vol. 3—20 Lightroom Presets
Who knew that there were so many ways to desaturate an image? Well, this preset package shows that there are more than 20 ways to take your image from full color to something more refined. Try them out for a new way to expand beyond simple black-and-white.

2. I'm Blogger—50 Lightroom Presets
Ready to influence? You need the bright and contrasty colors that are sure to stand out in a social feed. That's exactly what the I'm Blogger pack includes. There are 50 looks inside a single package, each with a different way to style an image with one click.

3. Premium Looks Lightroom Presets (Vol. 1)
The drama runs high in this pack of 14 Lightroom presets. In total, there are 70 files to help you vary each preset's strength while applying it to your image. This package also includes light leaks for an imperfect film look.

Keep Learning Adobe Lightroom
 Colour CorrectionHow to Use Creative Color Curves for Expressive Images in LightroomAndrew Childress
 PhotographyHow to Make Local Adjustments Fast With Color Masking in LightroomAndrew Childress
 PhotographyHow to Fade Your Adobe Lightroom Presets (for Precise Control)Andrew Childress
 PhotographyHow to Quickly Review Large Batches of Photos with Auto-Advance in LightroomAndrew Childress