Tips & Tricks

How to Adjust Contrast in Photos With Highlight and Shadow Controls in Lightroom
Tuts+PhotographyIf you're working to level up your Lightroom skills, I'll bet you're ready to move beyond the Exposure slider. While Exposure controls the entire image, sometimes to get the best photo possible you need to adjust in specific tonal ranges.
The dark and light areas of your raw file often contain useful extra information—extra parts of the image you can use—that does sometimes make or break a photo. In this tutorial you'll learn how to tease out the best from these area as using the Highlights and Shadows slider in Adobe Lightroom Classic.
How to See Your Photos in Tone Ranges
Is there a more important slider than Exposure in Adobe Lightroom?
Exposure is a single slider that controls the overall amplification, or brightness, of the entire image. Adjusting Exposure shifts all the tones in the image up or down, darker or brighter. It's the best way to save an image that's over-all too dark or too bright. It's a single slider that has saved countless photos in my collection.
With sliders like Highlights and Shadows, however, you have more precise control over specific tonal ranges of an image.
The Basic Tone Ranges: Black, Dark, Mid, Light, White
You might have noticed two sliders near the Highlights and Shadows sliders, Whites and Blacks.
When
you adjust these sliders, you're adjusting the brightest and darkest points of the image. This controls how white the whites are and how black the blacks are. Pull the Whites slider to the left and your white
sky will become a lighter grey. Pull the Blacks slider to the right and
you'll shift the darkest point to a grey range. Most of the time, you'll want to leave these alone.
Highlights and Shadows are where the real action is, though. These sliders adjust the tonal range for light-but-not-white and dark-but-not-black areas in your image, respectively, and allow for a lot of precise contrast control.
To learn about basic exposure corrections, make sure to check out our tutorial on basic exposure corrections with Adobe Lightroom.

Image Corrections With Highlight and Shadow Sliders
You'll find the Highlights and Shadows sliders in the Develop module, just below the Exposure slider, as you can see in the screenshot below.

Before we dive into working with these sliders, there are two tips to keep in mind that will improve your results:
- Shooting in RAW gives you more image data to work with while post-processing images in Adobe Lightroom. This preserves the quality and gives you more data to recover with the sliders.
-
Calibrating your monitor ensures that your image appears "accurately" on screen as set to a neutral target. Calibration includes setting brightness so that you can properly see the shadows and highlights in an image.
How to Use the Highlights Slider
First up, let's look at the Highlights slider. It adjusts the brighter areas of your image specifically.
When you use the Highlights slider, you begin to control exposure in a more precise way. Instead of just applying a shift to the entire image, this adjustment controls only the brighter pixels in your image. Pulling the Highlights slider to the left will darken the bright parts of an image. Pulling it to the right will increase the brightness of your highlights.
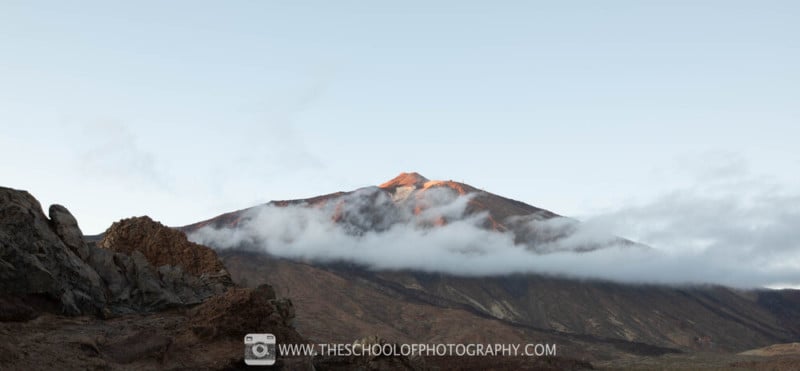
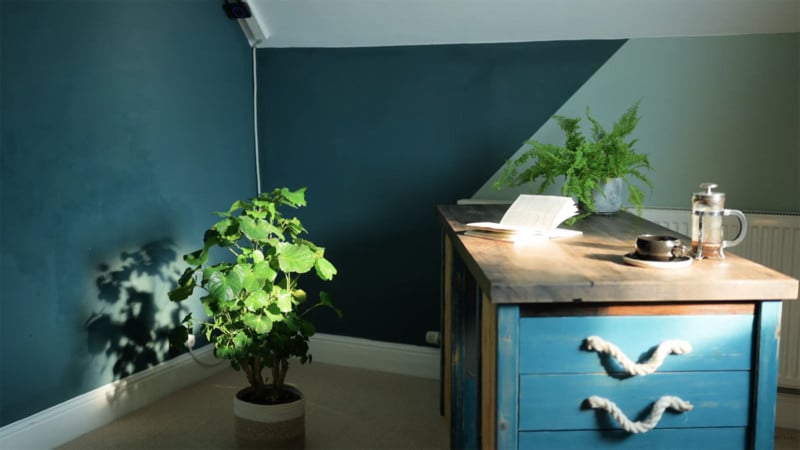
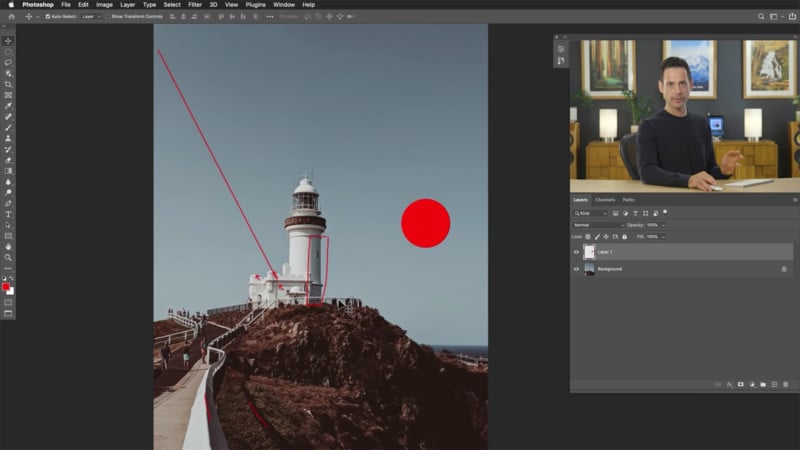
Like most sliders in Lightroom, it's as easy as dragging it to adjust, but the power lies in controlling the image in a way that brings your creative vision to life. The image below is the perfect example of the power of adjusting the Highlights slider. Notice that in the brighter parts of the image like the sky and white building, the exposure shifts with the adjustments shown below.

However, notice that the darker parts of the image like the grass are not affected by the adjustment. This is a great illustration of the fact that the Highlights slider only controls the brighter parts of the tonal range.
Here are common examples of using the Highlights slider to your advantage:
- Dial Highlights down to bring back detail in an overexposed sky, balancing it with other parts of the image for a controlled dynamic range.
- Shift the Highlights slider to the right if you want to create more contrast, such as making the detail in a bright area disappear. That draws more focus to the other parts of the image.
How to Use the Shadows Slider
Now that you've seen the Highlights slider in action, you probably have a feel for the effect of the Shadows slider.
To adjust the Shadows in an image, use the aptly-named slider. Pull it to the left to darken the shadowed areas of an image, and pull it to the right add to increase exposure and show more detail.
The example below is an illustration of how this slider works. You'll see that most parts of the building are unaffected across all adjustment levels. The Shadows slider adjustment is particularly noticeable on the road in the foreground.

Lean on the Shadows slider to bring back details that would otherwise disappear. Pull it to the right to show more detail in your image.
How to Avoid Overadjustments in Adobe Lightroom
When you start pulling on sliders in Adobe Lightroom, it's easy to overdo it with adjustments. It's a good idea to step away from an edit and come back after a break with fresh eyes, to ensure that you've not overdone it with any of the adjustments.
When working with exposure, you'll want to watch your histogram and look out for clipping. If you pull the sliders too far, it is possible to overdo it, and "blow out" detail in highlights or "crush" the shadows. Luckily, Lightroom has a tool that helps you monitor for these adjustments.
Turn on the clipping indicators by clicking on the triangles in the corner of the histogram in the Develop module.

As you start adjusting the sliders, you'll see warnings with red and blue shaded areas in the image. This cautions you against pulling sliders to the extent you lose detail in the brightest and darkest areas of the image. It's a good way to ensure that your adjustments don't go too far.
How to Apply Highlights and Shadows Adjustments to One Region
Throughout this tutorial, the adjustments we've made to shadows and highlights have impacted the entire image. So, what if you want to make targeted adjustments?
Local adjustments give you the flexibility to apply these adjustments to part of an image. If you want to accentuate the highlights or shadows of a specific part of the image, this is the best approach.
To learn more about making targeted adjustments, make sure to check out our tutorial:
Contrast Adjustments With One Click
This tutorial focused on using the highlights and shadows sliders to recover detail. You might have even noticed while working with the sliders that you can get creative while adjusting an image.
As you're learning Adobe Lightroom, you might want to know more about creative adjustments to your images. Even if you can visualize the style you have in mind, it's difficult to know how to achieve it.
This is the perfect situation to use a Lightroom preset. With one click, you'll transform your images based on pre-built styles. The best source is Envato Elements, the all-you-can-download service that includes Lightroom presets.

Let's see three packages of Adobe Lightroom presets you'll unlock. with your subscription to Envato Elements:
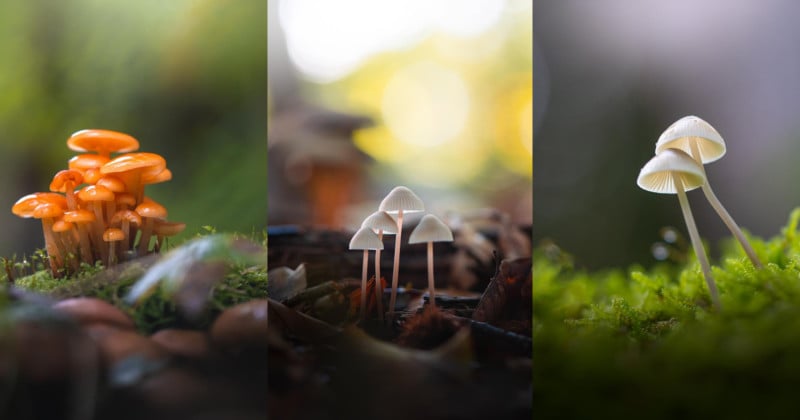
1. Monochromatic Vol. 3—20 Lightroom Presets

If you want to see presets that really work the shadows and highlights, this package is a great example. You've got 20 different styles to choose from in a single download. Each of them is a monochromatic style but no two are the same.
2. Bordeaux Mobile & Desktop Lightroom Presets

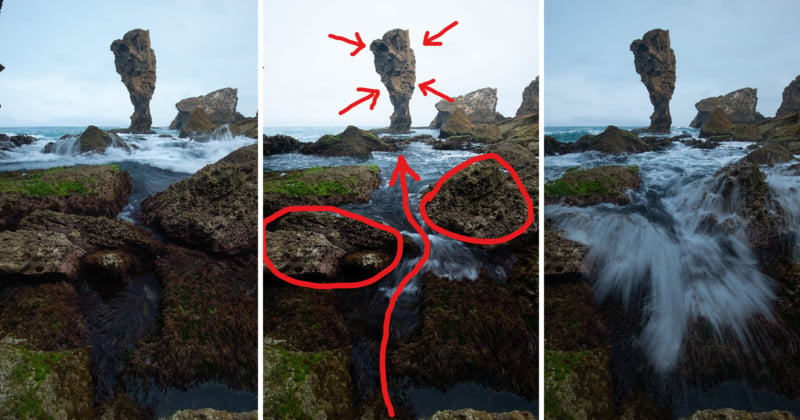
Capturing the spirit of one of France's most historic cities, the Bordeaux preset package is a contrasty set of presets. Inside you'll find 11 presets that work across all versions of Adobe Lightroom so that you can replicate the style easily across all apps.
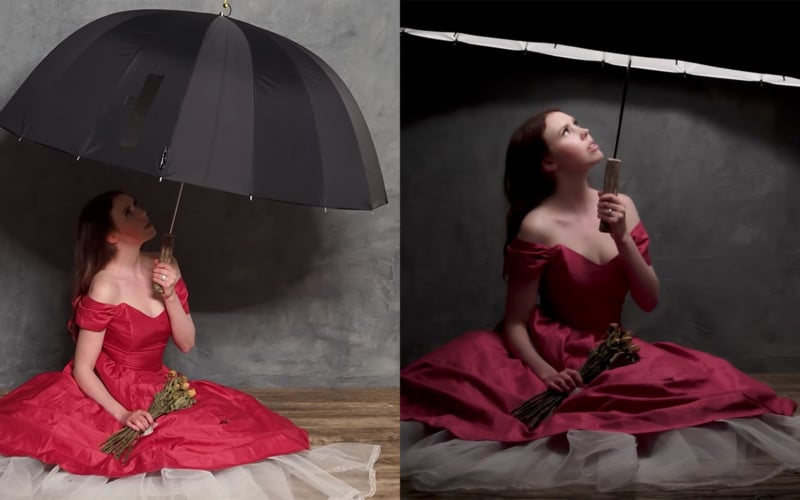
3. Scarlet Fantasy Lightroom Presets

These presets come highly recommended for natural light portraits. The smooth and contrasty warm tones are perfect for outdoor portraits. Each of the five presets includes warm, cool, and sepia versions.
Learn More About Image Adjustment in Adobe Lightroo
 PhotographyHow to Apply RAW Profiles to Photos Automatically on Import With LightroomAndrew Childress
 Photography10 Top Instagram Look Presets and Color LUTs for Lightroom CC and MobileAndrew Childress
 PhotographyLess is More: How to Alter Photos Creatively in Lightroom With Negative AdjustmentsAndrew Childress